Sweet, rich, and a little indulgent, caramel creamer is a café-style favorite. This article shows you how to create your own version in minutes. Don’t stop here—scroll down and find more homemade creamers that will make mornings better.
The Creamer
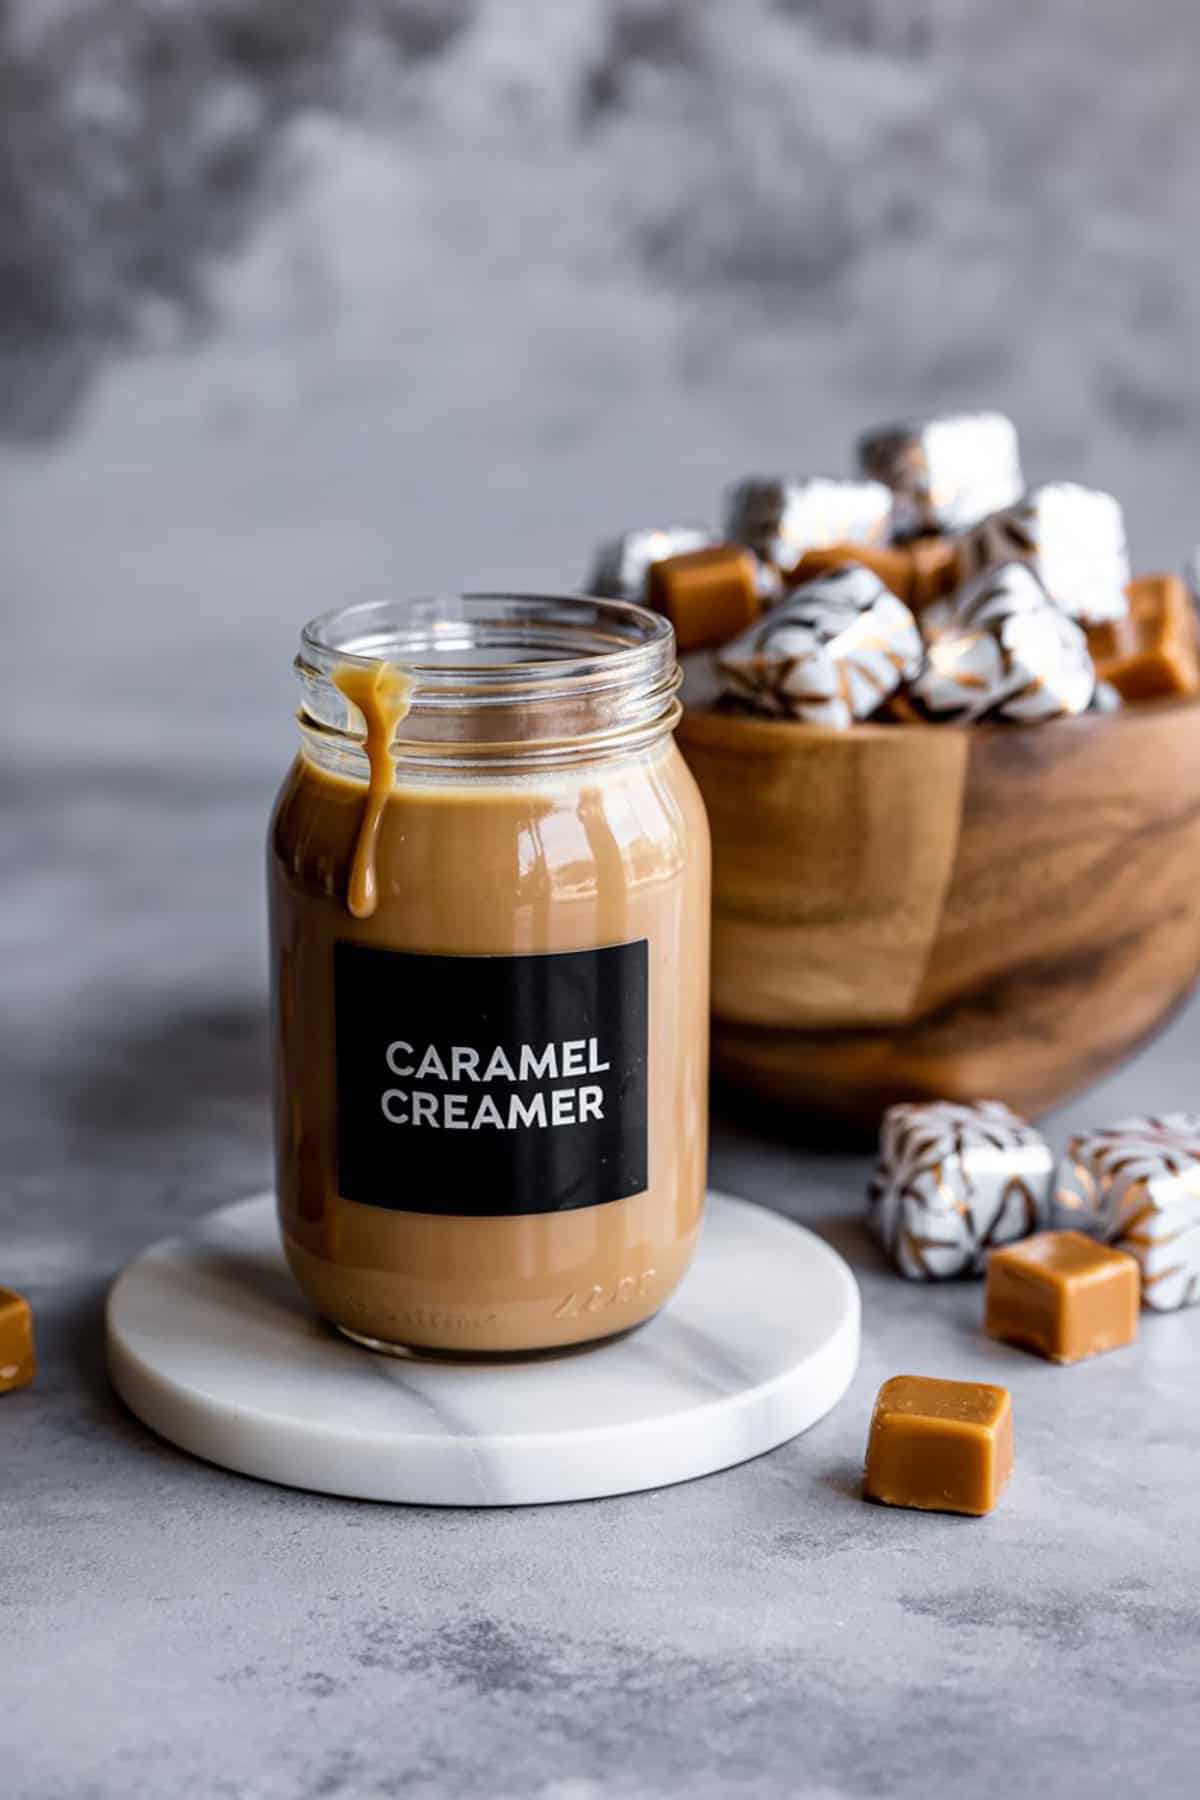
There’s just something about the creamy sweetness caramel creamer brings to coffee. Making it at home only takes a handful of tools and ingredients.
Equipment
You don’t need anything fancy. A medium saucepan does the trick for warming and mixing. Grab a whisk to keep things smooth—nobody wants lumps in their creamer.
Measuring cups and spoons keep things on track, and a heat-resistant spatula is handy for scraping down the sides. Once it’s done, you’ll want a glass jar or bottle with a tight lid for storage. A funnel makes pouring less of a mess, honestly.
If you’re picky about texture, a fine-mesh strainer will catch any stray bits. Stash your creamer in the fridge to keep it fresh.
Ingredients
Here’s what you need for roughly 2 cups of caramel creamer:
- 1 cup half-and-half or whole milk
- 1 cup heavy cream
- 1/2 cup granulated sugar
- 2 tablespoons brown sugar
- 2 tablespoons water
- 1 tablespoon unsalted butter
- 1/8 teaspoon sea salt
- 1 tablespoon vanilla extract
- 1/4 cup caramel sauce (store-bought or homemade)
Go for real dairy if you’re after that classic richness, but honestly, plant-based milk works too. Just make sure your caramel sauce is decent quality—you’ll taste the difference.
Instructions
Here’s how to throw it together:
- Combine both sugars and water in a saucepan. Heat on medium until the sugars dissolve and start to bubble.
- Turn the heat down low and stir in the butter until it melts.
- Add caramel sauce and whisk until everything’s smooth.
- Pour in the half-and-half, heavy cream, and sea salt. Keep whisking. Warm it up, but don’t let it boil.
- Take it off the heat and stir in the vanilla.
- Let it cool a bit, then pour it through a funnel (or strainer, if you want) into a clean bottle or jar.
- Refrigerate. Shake before using—it settles a bit.
The result? A smooth, homemade creamer with real caramel flavor. No weird steps or fancy tricks required.
Tasting Notes
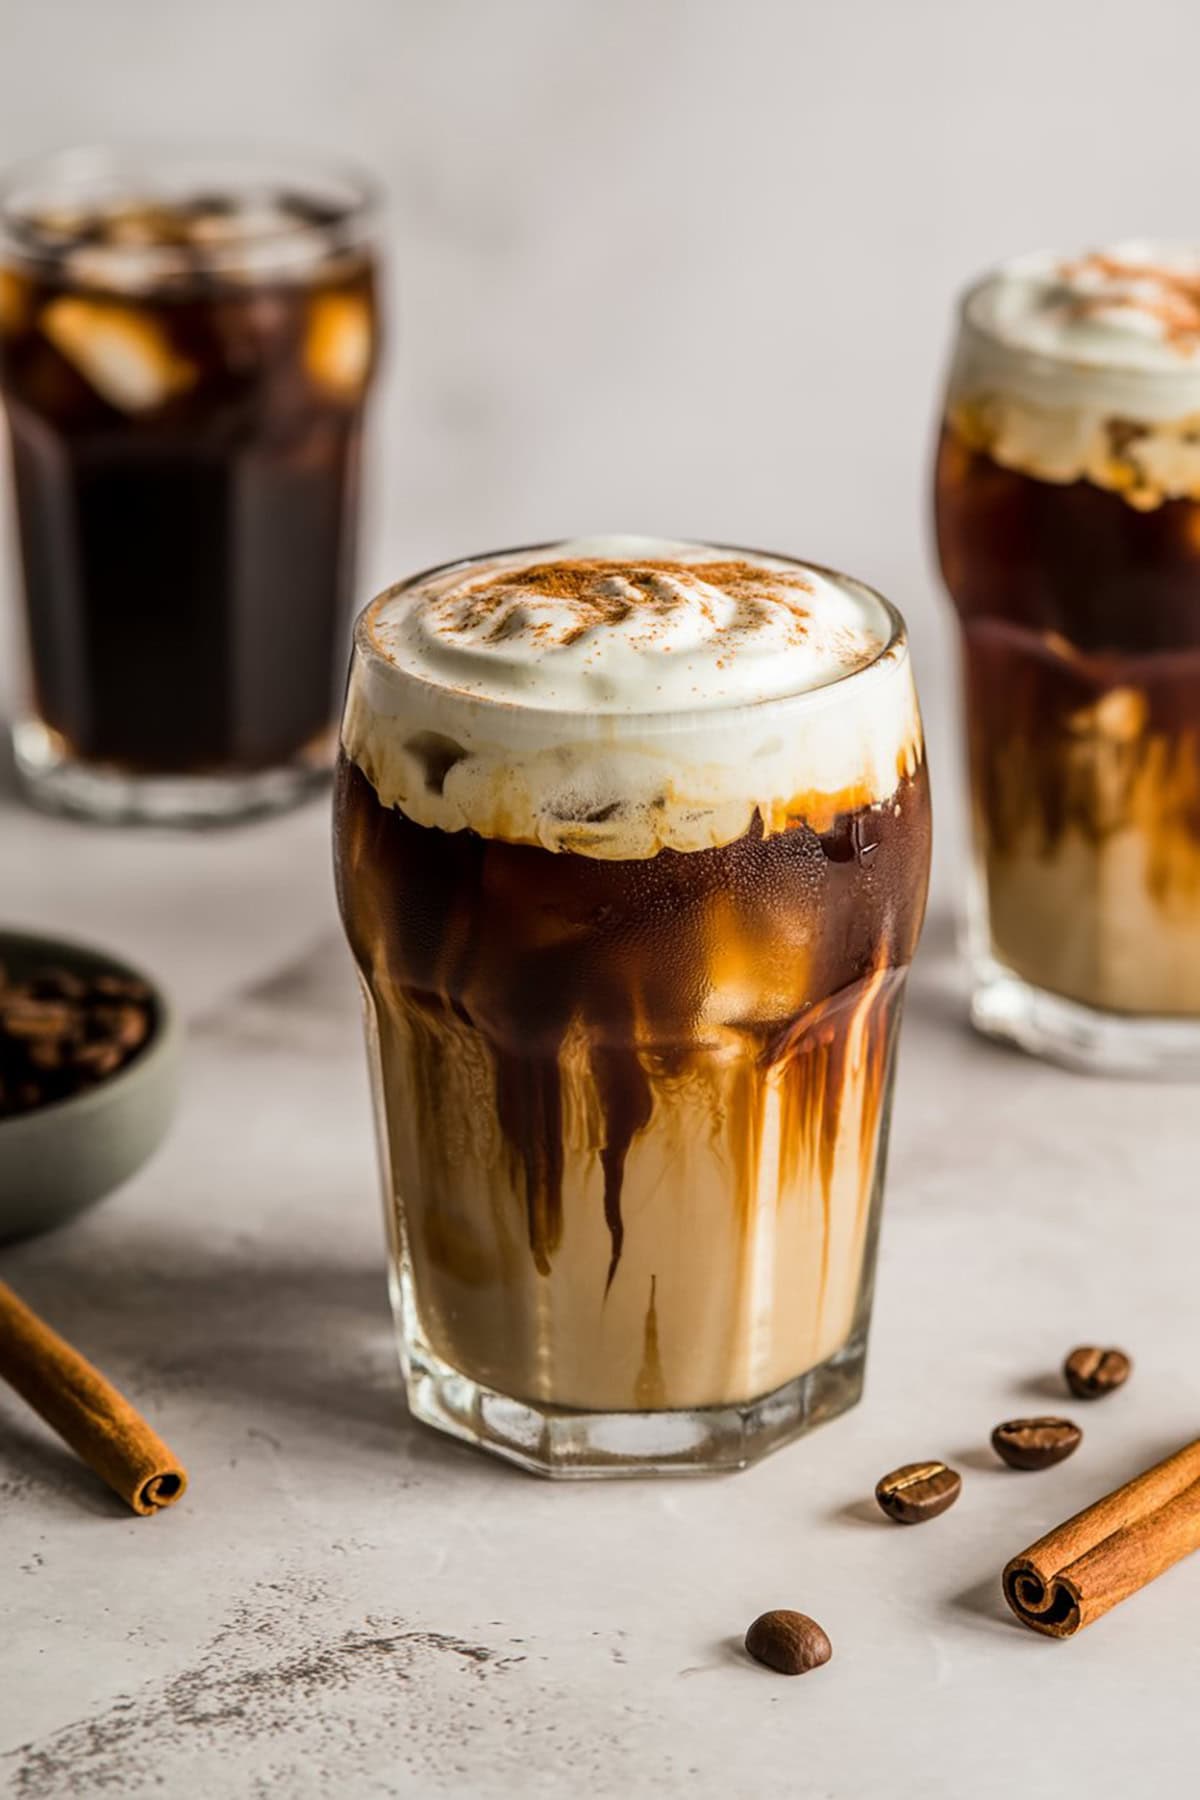
There’s a sweet, buttery richness that hits first, but it doesn’t smack you over the head. The caramel is mellow, and the cream rounds it out nicely.
Add it to your coffee and it blends right in, lightening the color and softening any bitterness. As your coffee cools, the caramel flavor comes forward a bit more.
The texture is velvety, and the sea salt keeps the sweetness in check. You might notice a little pop of vanilla, especially when it’s freshly made. Not bad, right?
Quick Pro Tips
Honestly, a good caramel sauce makes all the difference—don’t skimp on quality if you want that rich, layered flavor in your creamer. While you’re heating things up, keep an eye on it and stir here and there; caramel’s quick to burn or stick if you look away too long. And whatever you do, don’t let it boil—trust me, it gets weird and grainy fast.
Once it’s done, stash your caramel creamer in the fridge with the lid on tight. It’ll keep for about a week, give or take. Give it a good shake or stir before pouring since it tends to separate a bit.
Need it dairy-free? Go with oat milk mixed with coconut cream instead. Want the caramel to really pop? Throw in another spoonful of caramel sauce. Just taste as you mix, and tweak the sweetness till it’s right for you.