If you want to start with a coffee creamer that’s both simple and versatile, vanilla is the way to go. This article will walk you through the steps so you can whip it up in minutes. Don’t stop here—read on and discover even more homemade creamer ideas.
The Creamer
This creamer brings a smooth, sweet lift to your coffee. Making it yourself? It’s pretty straightforward—no need for barista training or specialty gadgets.
Equipment
All you need are basics: a medium saucepan, a whisk, and a measuring cup. If you like things extra smooth, a fine-mesh sieve does the trick.
Store your creamer in a jar with a tight lid. A funnel makes pouring less messy, especially if you’re using bottles. Glass is best, since it won’t hang onto flavors like plastic sometimes does.
A small spoon or mini whisk helps when mixing it into your coffee. Most kitchens already have these lying around, so you’re probably set.
Ingredients
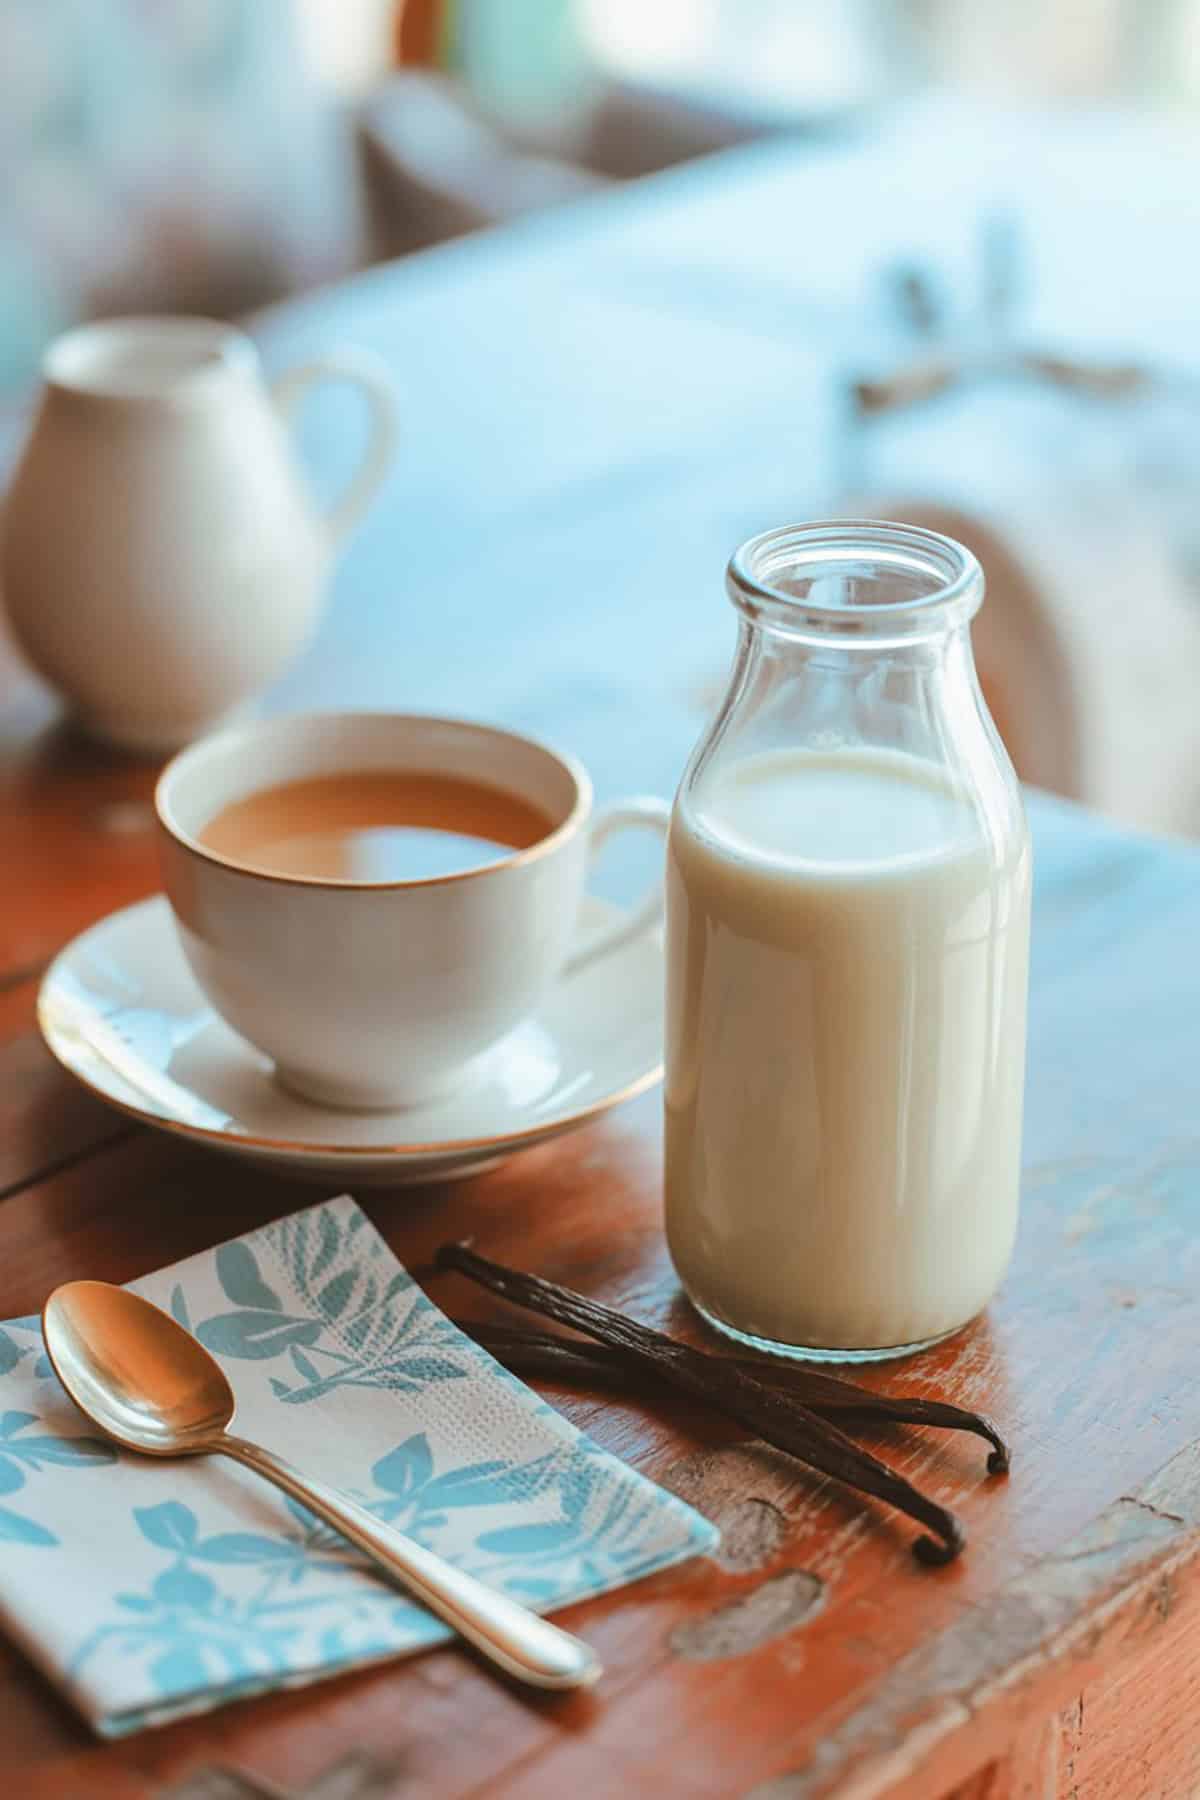
It’s all everyday stuff. You can tweak the sweetness and texture as you like. For about 2 cups, here’s what you’ll need:
- 1 cup whole milk (or almond, oat, or soy milk for a dairy-free twist)
- 1 cup heavy cream (or coconut cream if you’re skipping dairy)
- 3 tablespoons granulated sugar or maple syrup
- 2 teaspoons pure vanilla extract
- Pinch of salt
Go for real vanilla extract for the best flavor. If you’re after a deeper vanilla punch, toss in half a vanilla bean (split and scraped) during heating.
Instructions
It’s a breeze. Here’s how it goes:
- Combine milk, cream, and sugar in a saucepan.
- Warm over medium heat, stirring now and then, just until the sugar’s dissolved. Don’t let it boil.
- Take off the heat.
- Stir in the vanilla extract and that pinch of salt.
- If you used a vanilla bean, add it during heating and fish it out before storing.
- Let it cool for about 10 minutes.
- Strain through a fine sieve into your storage jar.
- Pop it in the fridge; it’ll keep for up to a week.
Give it a little shake before using, since it can settle.
Tasting Notes
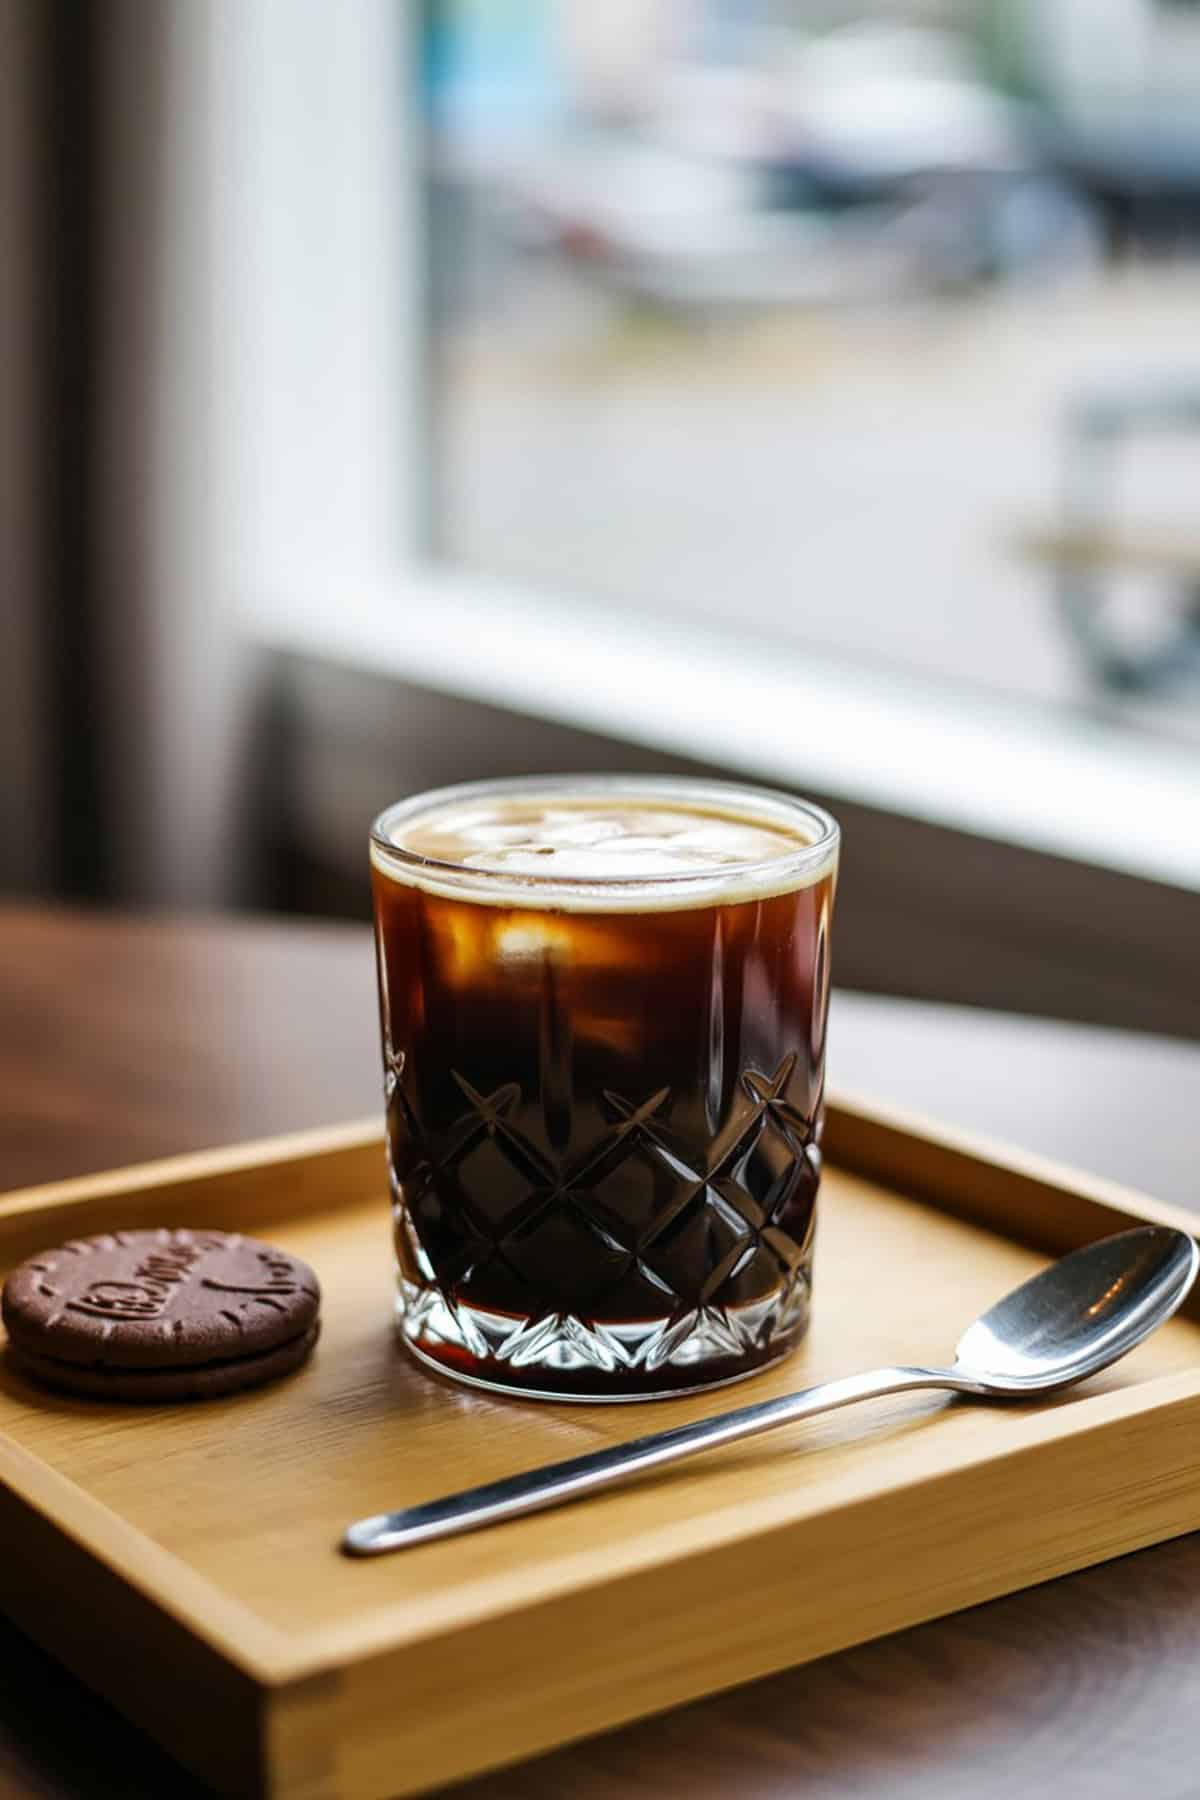
This creamer brings just enough sweetness and a lovely creamy feel to your coffee—no weird artificial aftertaste. The real vanilla stands out, adding a touch of warmth and a hint of something floral. The cream makes it rich, but not heavy or cloying.
It thickens up a bit when chilled, which actually helps it melt right into hot or iced drinks. You can always play with the sugar or vanilla amounts if you want a stronger or softer flavor. Isn’t that the beauty of making it yourself?
Quick Pro Tips
Fresh dairy or plant milks really do make a difference—your creamer will taste way better. Want it extra smooth? Give it a quick blend for about 10 seconds once it cools. If you’re into that frothy latte vibe, just shake the bottle before pouring.
Try swapping in honey or agave if you’re bored of plain sugar; you might find a new favorite. Start with less sweetener, then tweak it after a coffee taste-test. Oh, and stash your creamer toward the back of the fridge—it tends to stay colder and last longer that way.