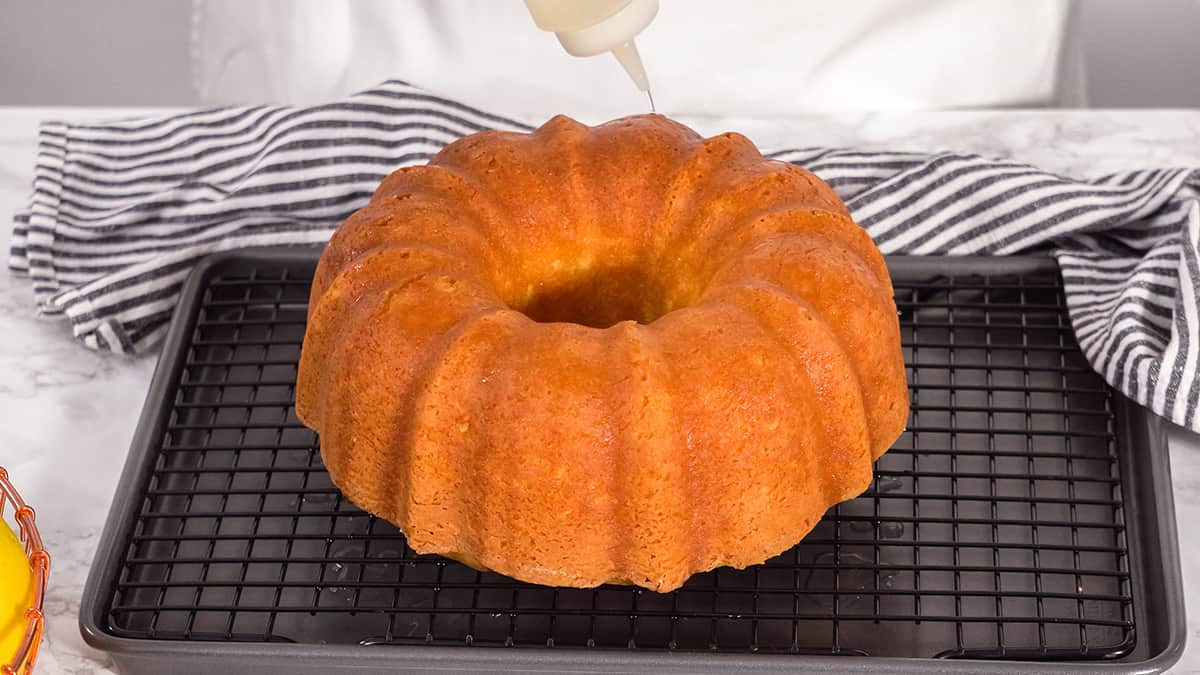
Baking cake is an exciting thing to do. But that’s not to say it’s not a stressful task. Most times, after baking cakes I feel so burnt out to decorate them the same day. Which makes freezing them important to preserve their freshness. Especially if you have a busy schedule.
It is better to make desserts and cakes in advance, either for a party or a gathering to avoid rush hour preparations and stress. The very last position you want to find yourself in while preparing for an event.
But how long can your cakes last inside the freezer before they go bad or lose their quality?
Continue reading to find out not just about that, but also how to freeze your cakes to preserve their freshness and how to thaw them without hammering their integrity.
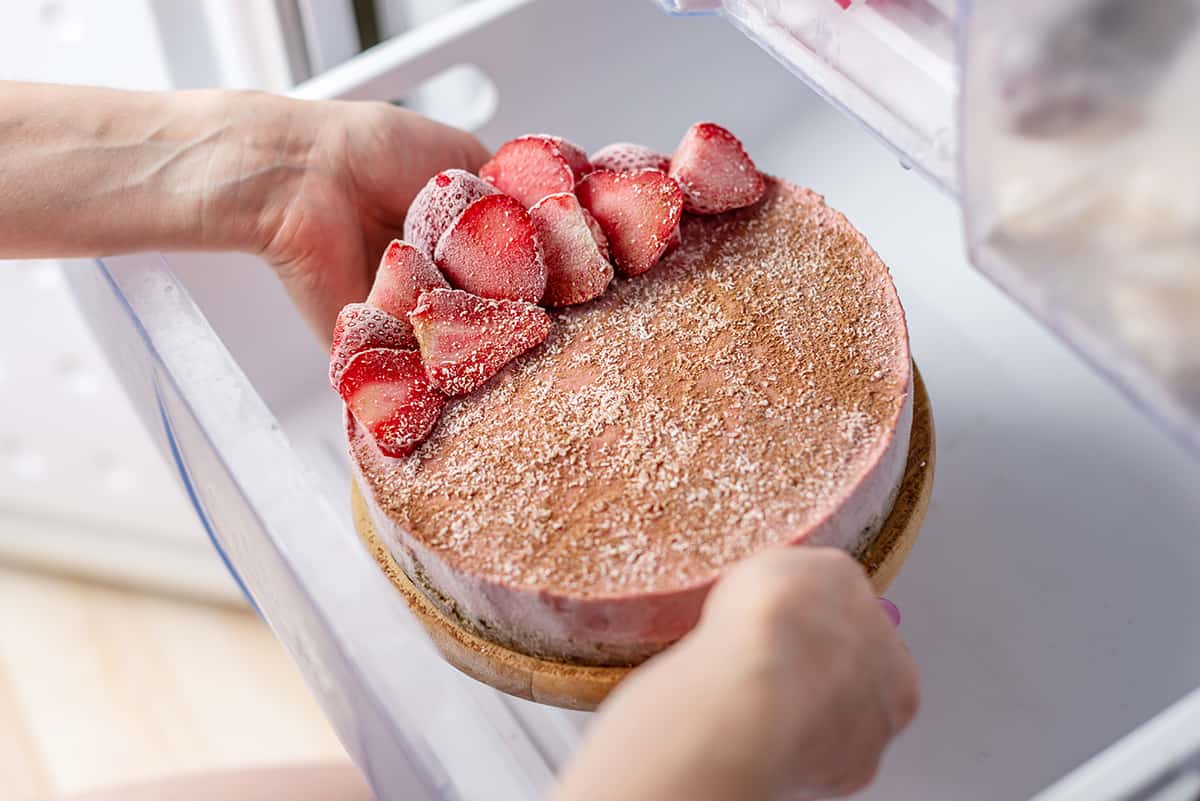
Normally, a frozen cake in the freezer can last as long as 2 or 3 months without going bad. This is different for cakes that are not yet frozen.
Cakes that are stored in the fridge, not the freezer can go up to 5 to 8 days and still maintain their freshness to a certain degree. While those not in the fridge or freezer at all can have a shelf life of about four to five days, depending on the method used in preparing the cake.
When preparing for an event or a gathering, the easiest and best way to prepare cakes and desserts is to prepare them in advance and store them in a freezer undecorated and unassembled.
In the course of the past few years, I’ve tried different ways of freezing cakes and have learned how each of the processes affects the cake. From the process of cooling the cake to wrapping the cakes, the containers used for storing the cakes, the duration of freezing, methods for defrosting the cake, and so on.
And I am more than excited to share this knowledge and skills with you.
How To Properly Freeze Your Cakes
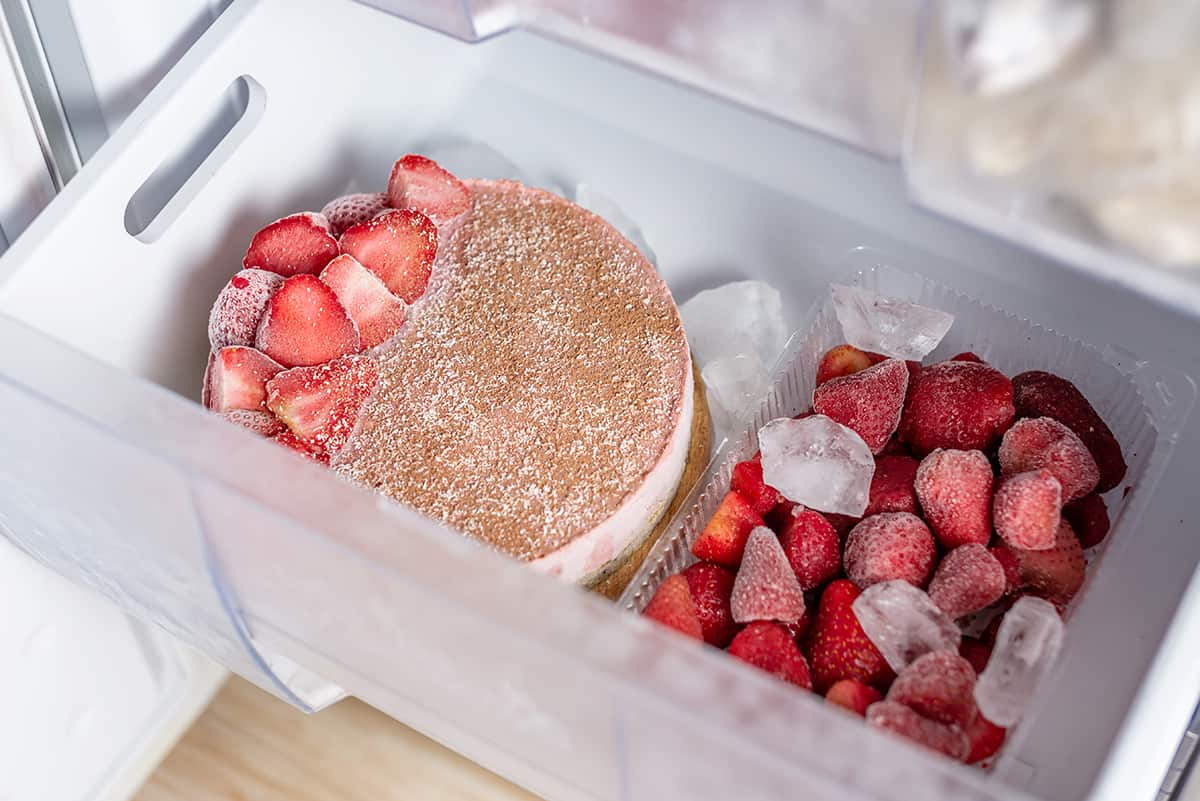
You know how long your cake can last in your freezer, but do you know how to properly freeze your cakes so that they can last that long and still stay fresh?
Continue reading to find out how to properly freeze your cakes and how to defrost them when you need them without affecting the freshness and integrity of the cake.
Step 1: Bake and Cool the Cakes
Of course, before you can freeze a cake, you should have a cake to freeze. Now baking a cake is not all that matters, but make sure the method of preparation and recipe of the cake is such that it can be frozen.
Remember, not all cakes can be frozen, and most cakes are better when eaten fresh from the oven.
After baking, allow it to sit on a rack and cool completely.
Step 2: Wrap Cake in Press & Seal.
After allowing your cake to cool down completely, it’s time to wrap them in the press and seal storage bags or wraps. It’s best to avoid saran wraps or very thin plastic wraps. These two wraps are almost always clinging to the cakes and it becomes frustrating during defrosting.
Although they are still good, especially when doubled. Press and seal wraps do amazingly well in preserving the freshness of the cake before freezing and after defrosting.
Step 3: Label the Cakes and Wrap with Aluminum foil
After wrapping the cakes, that’s the initial wrap, as I call it, with the press and seal, it’s time to label the cake.
To do this, I use aluminum foil, then write the date my cake was made and the type of cake inside the wrap, before wrapping the cake with it. This helps me to keep track of my cake. It can also help you too.
Remember, always write on the foil before wrapping the cake with it, in case the ink plans to seep through the foil.
For better results, 3 months is enough to preserve your cake. But if you follow the steps I’m showing you, it can last up to five months or more. However, the sooner your cake is served, the better the taste of the cake.
Step 4: Put Wrapped Cake in Container
After labeling your cake and wrapping it with aluminum foil, you need to put the wrapped cake in a container or bag that is safe for the freezer.
Most times, you might not have a container that’s big enough for the cake you have made. But no problems.
You can always wrap your cake with another aluminum foil. Also, remember to label this new foil with the contents of the initial labeling.
Step 5: Freeze your Cake
After you have either placed the cake in a container that is safe for the freezer or in another aluminum foil, it’s time to put your cake into the freezer.
Are you worried about condensation?
You don’t have to be. That’s why your cake has several layers of protection.
While the press and seal are to keep your cake fresh and airtight, the aluminum wrap will make sure condensation does not seep into the cake and your cake doesn’t experience freezer burn.
Remember, in freezing cakes, the enemy is moisture. So don’t be afraid to go the extra mile in ensuring your cake is well protected by using more layers of wraps.
This method is not only used for freezing cakes. It can be used to freeze bread as well. Like banana bread or other similar recipes.
How to Defrost your Cakes
Defrosting cakes is as simple as freezing them. You can defrost the cakes in the refrigerator, a process that takes up to 6 to 8 hours, or you can leave them on your countertop to thaw at room temperature.
Whatever method you decide to use is okay. But the best method is to leave it in your refrigerator.
Always make sure to thaw your cakes while they are still wrapped, to avoid having moist cakes while thawing after perfectly freezing your cakes.
Best Kind of Cakes to Freeze
The best kinds of cakes to freeze are most flavorful cakes like:
- Chocolate cakes
- Banana cakes
- Pumpkin cakes
- Carrot cakes
- Pound cakes
- Bundt cake, and so on.
Some cakes freeze differently like cheesecakes, and others like vertical cakes; angel food cake, pavlova, or already decorated cakes shouldn’t be frozen at all. Except they are leftovers.
