Nothing elevates a get-together or soothes a rough day quite like a warm pan of brownies. But there’s a catch—diving into them too soon can lead to gooey pieces that fall apart or worse, you could end up burning your tongue. The cooling stage is actually a big deal in the brownie-making process. It’s the make-or-break moment that determines whether you’ll get that chewy, fudgy texture and rich flavor you’re after.
It usually takes 30 to 45 minutes for brownies to cool down to room temperature, around 70°F (21°C), when they’re good to eat or be stored. However, if you’re cutting into them, you’ll want to wait at least an hour to ensure they’ve set properly.
In this guide, we’ll cover everything from why cooling time matters, the tools you need to cool down brownies, and how to cool down brownies the right way.
The Importance of Cooling Time
Cooling your brownies is more than a waiting game—it impacts the brownie’s taste and structure. But why does this matter?
How Cooling Affects Texture
When your brownies exit the oven, they’re not done cooking. The residual heat keeps the baking process going. By allowing them to cool, you’re letting the inside achieve that dreamy, fudgy or cakey consistency. If you’re a fan of chewy edges, those come to life during cooling too. Cut them too early, and you’ll have a gooey mess that’s tough to serve.
How Cooling Enhances Flavor
As brownies cool, something magical happens—the flavors meld together. The chocolate gets richer, and other ingredients like vanilla or nuts become more pronounced. It’s almost like the ingredients have a little meeting to decide how to wow your taste buds best. Dive in too soon, and you miss out on this flavor fiesta.
Tools and Equipment for Cooling Brownies
Getting brownies out of the oven is just half the game. The tools you use for cooling them are the unsung heroes of perfect brownie texture and flavor.
1. Using a Cooling Rack
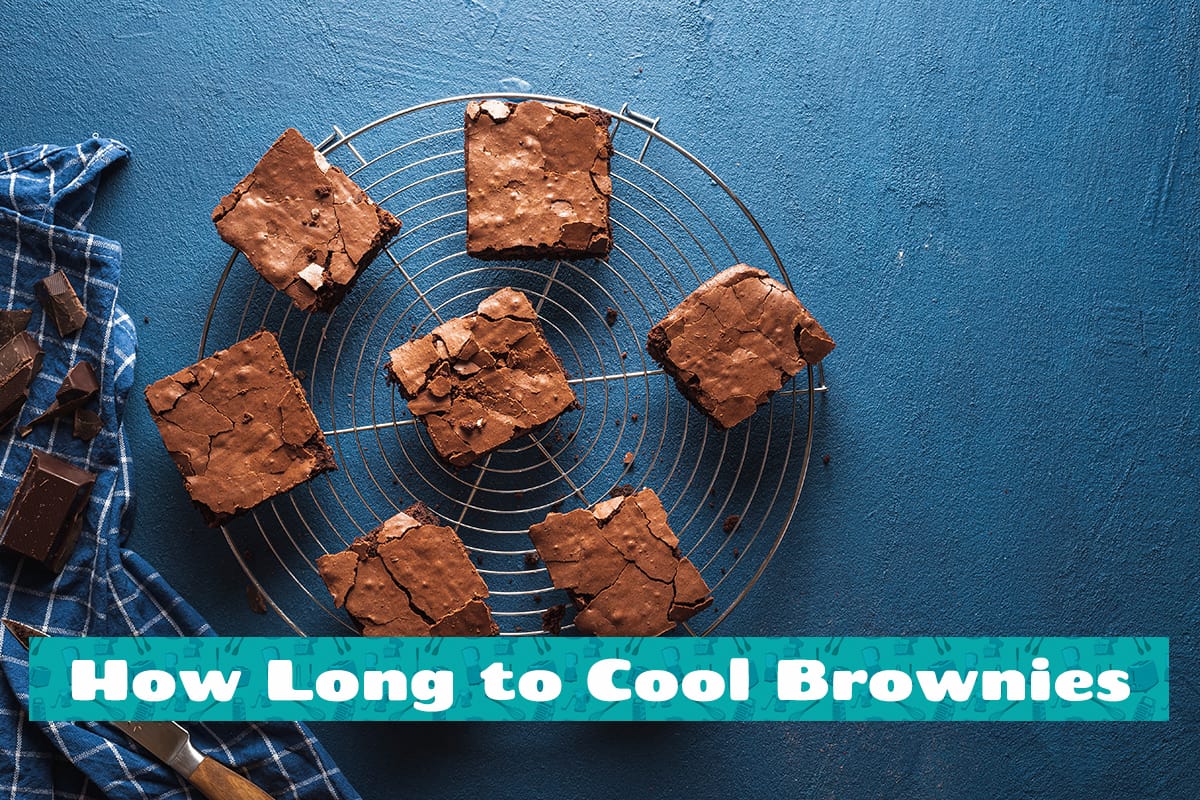
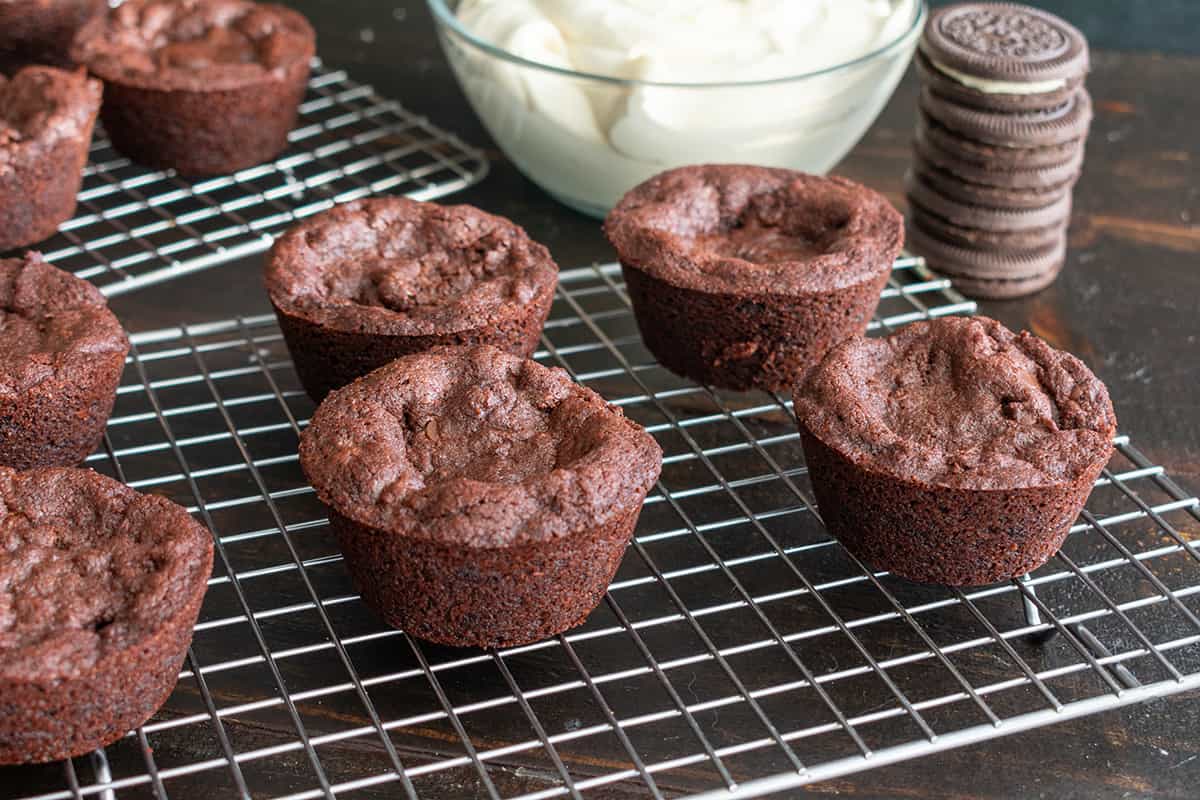
The cooling rack is a kitchen MVP for good reason. It allows air to circulate around the brownies, speeding up the cooling process and preventing the build-up of condensation that could make your treats soggy. Just slide a spatula under your brownies, lift them out of the pan, and let them chill on the rack.
2. Aluminum Foil or Parchment Paper
This debate is as old as time. While parchment paper is non-stick and easy to use, aluminum foil conducts heat away faster, reducing cooling time. So, if you’re looking to accelerate the cooling, foil is your buddy. But for ease of removal and cleaner edges, parchment paper wins.
3. The Role of the Baking Pan in Cooling
Think your baking pan’s job is done once the brownies are baked? Think again! The material of your baking pan—whether it’s glass, ceramic, or metal—affects how quickly your brownies cool. Metal pans cool fastest, followed by ceramic, and then glass. Keep that in mind if you’re in a time crunch.
How to Cool Down Brownies the Right Way
So, you’ve mixed, baked, and smelled the heavenly aroma of your brownies filling your kitchen. Now comes the waiting game: cooling them down just right so you can dive in.
First things first. Once your timer dings, turn off the oven, but leave the brownies inside for about 5 minutes with the oven door slightly ajar. This helps them to start the cooling process slowly and makes sure they keep their shape.
Once they’ve had a bit of an oven spa day, take the brownies out and place the pan on a wire cooling rack for at least 10 minutes. Why? This keeps them from going soggy and helps the edges get that chewy texture you love. If you have a metal pan, it’ll cool down faster; glass or ceramic pans will take a bit more time.
Overall, the entire cooling process, starting from the moment your brownies exit your oven, should take around 45 to 60 minutes. By then, your brownies should have reached a temperature of around 70°F (21°C)—the perfect temperature to enjoy the fudgy delights without burning the roof of your mouth!
How to Store Brownies After Cooling
Alright, so your brownies are cool, both literally and figuratively. The hard part is over, but now comes the sequel: How to store these tasty squares so they stay fresh and fabulous.
Short-term Storage: Countertop and Bread Bin
For brownies you plan to eat within a couple of days, an airtight container on the countertop is your go-to. A common trick to keep them moist is placing a slice of bread at the bottom of the container. It might sound weird, but the bread will go stale while your brownies stay fresh.
Brownie Hack: Pre-Cut or Not?
To cut or not to cut—that’s the question. Keeping your brownies in one big block will help retain moisture. But if convenience is key, go ahead and pre-cut. Just make sure to pack them closely to minimize air exposure.
The Fridge Chronicles
Storing brownies in the fridge will give them a longer life, about up to a week. Use an airtight container and separate layers with parchment paper to avoid a sticky mess. The catch? The texture might change a bit, becoming more dense.
Freezing: The Long Game
If you’re the type who likes to have an emergency dessert stash (no judgment here), freezing brownies is a great option. Wrap them individually in plastic wrap and then foil, or place them in a Ziplock bag with as much air squeezed out as possible. They can last up to three months in the freezer. Remember to label the bag with the date so you don’t play brownie roulette.
When it comes time to thaw those frozen treasures, you’ve got options. For quick results, you can microwave Ziplock bag for about 15-20 seconds. If you prefer to take things slow, let them thaw at room temperature for a couple of hours.
