Smoking a brisket to perfection is a culinary achievement that many people, probably including yourself, aspire to. It’s not just about cooking; it’s an art form that requires precision, patience, and passion. However, achieving perfectly smoked brisket is not without its challenges, especially regarding cooking time and temperature.
This guide will delve into the essentials of smoking brisket, providing you with an easy-to-follow time and temperature chart, tips on choosing and preparing your brisket and selecting the right appliances.
The Smoking Process
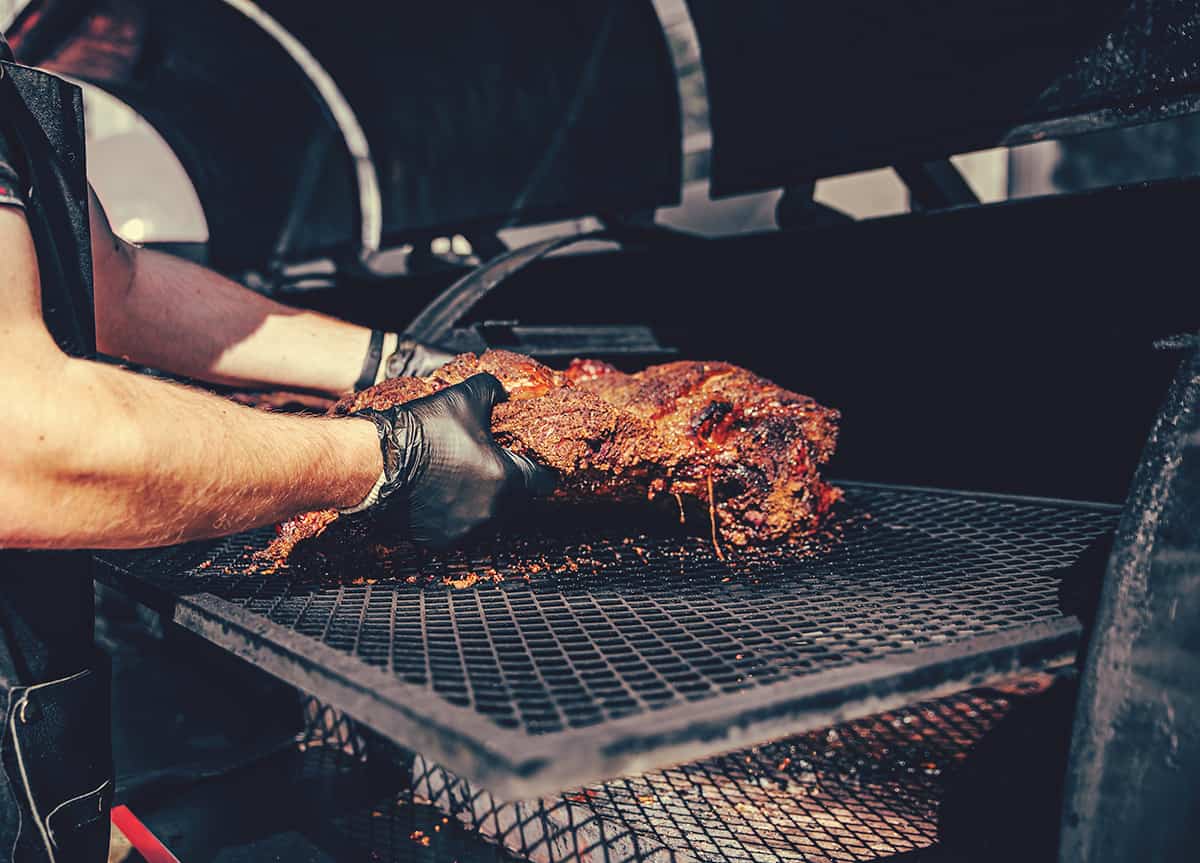
Smoking brisket is an exercise in, among other things, precision, patience, and control. Here, we will cover the basic insights of the smoking process with specific emphasis on the choice of wood, temperature control, and maintaining moisture.
The Importance of Wood in Smoking
In brisket smoking, wood is an ingredient that imparts flavor. Different woods create different smoke, influencing the taste of your brisket. While there’s no definitive best wood for smoking brisket, commonly used types are oak, hickory, and mesquite.
Controlling Temperature in Your Smoker
Maintaining a consistent temperature in your smoker is critical for a tender, juicy brisket. Fluctuations can result in overcooked, dry, or unevenly cooked meat. A digital meat thermometer can help you with temperature control, but more on this later.
Maintaining Moisture during the Smoking Process
Brisket, particularly the lean flat cut, is prone to drying due to its long cooking time. There are several techniques to maintain moisture during smoking.
Spritzing or basting your brisket in a liquid (like apple cider vinegar) during smoking introduces moisture onto and into your brisket while also encouraging the development of a flavorful crust or ‘bark.’
A water pan in your smoker introduces steam into the smoking environment, where the steam penetrates the brisket during this long-term cooking process.
Smoked Brisket Cooking Time & Temperature Chart
The crux of achieving a perfectly smoked brisket is mastering the interplay between cooking time and temperature. There’s quite a lot to unpack here as we will cover brisket cooking times and temperature, timing your smoke, and employing the Texas Crutch method to control cooking time.
A Basic Brisket Temperature Chart
A brisket temperature chart is a useful tool that guides you on how long to cook your brisket at a particular temperature. The objective is to slowly cook your brisket to an internal temperature of 195°F to 205°F, where it becomes tender and flavorful.
| Brisket Weight | Smoker Temperature | Estimated Cooking Time |
| 3-4 lbs. | 225°F | 4-5 hours |
| 5-7 lbs. | 225°F | 6-8 hours |
| 8-10 lbs. | 225°F | 8-10 hours |
| 11-14 lbs. | 225°F | 11-14 hours |
| 15-18 lbs. | 225°F | 15-18 hours |
As you can see, the smoker temperature should be consistently set to 225°F, regardless of your brisket’s size. The main variable here is the estimated cooking time (heavy emphasis on estimated as your doneness preference may vary) based on the weight of your meat.
Timing Your Smoke for the Perfect Brisket
Timing your smoke involves monitoring the meat and making adjustments based on its appearance and internal temperature.
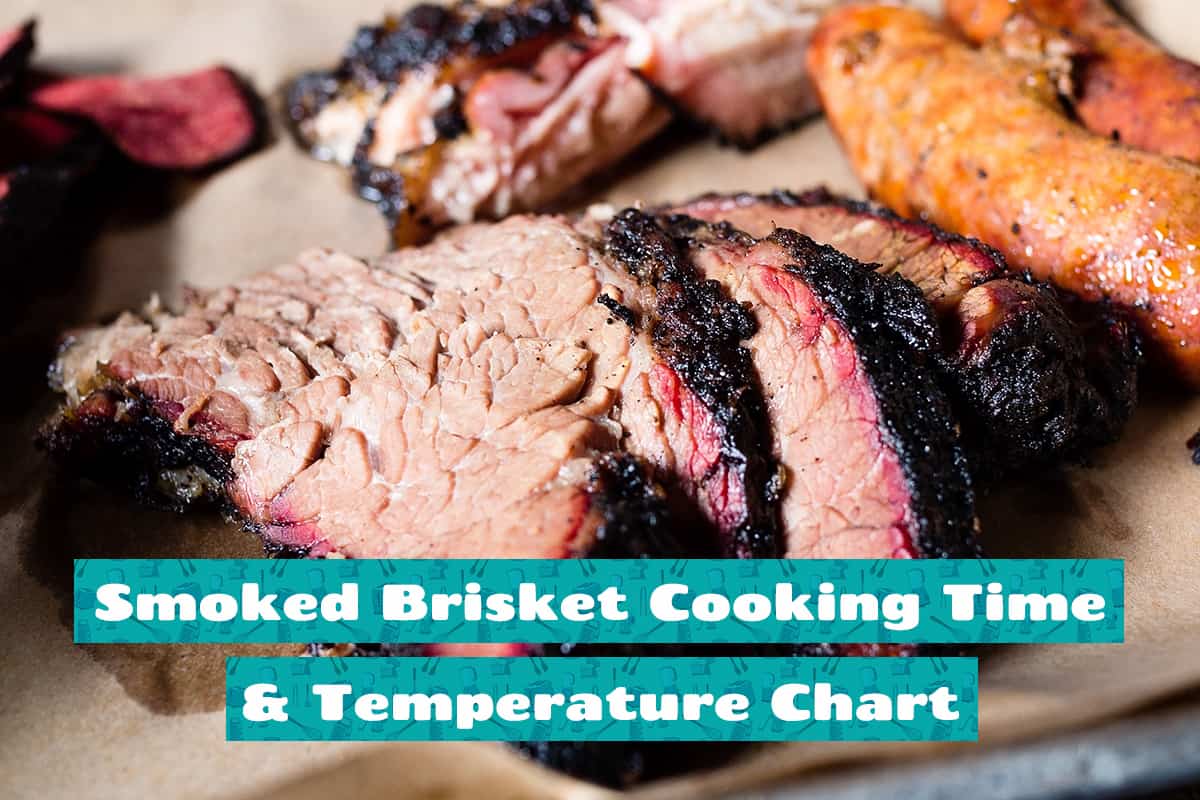
In the early stages, a pink “smoke ring” forms on the brisket’s outer layers. After about three to four hours, the brisket’s surface begins to darken into a rich brown—this is the “bark” forming.
Next comes the “stall,” which occurs when the brisket’s internal temperature reaches about 150°F to 170°F. The stall can last several hours.
Using the Texas Crutch Method to Control Cooking Time
The Texas Crutch method is used to navigate the stall without drastically prolonging the cooking time. When it hits the stall temperature, it involves wrapping the brisket in aluminum foil or butcher paper.
This creates a mini-oven around the brisket, trapping the heat and helping it cook more efficiently. The wrapping also locks in moisture, preventing the brisket from drying out during the long cooking period.
Brisket Basics: Choosing and Preparing Your Brisket
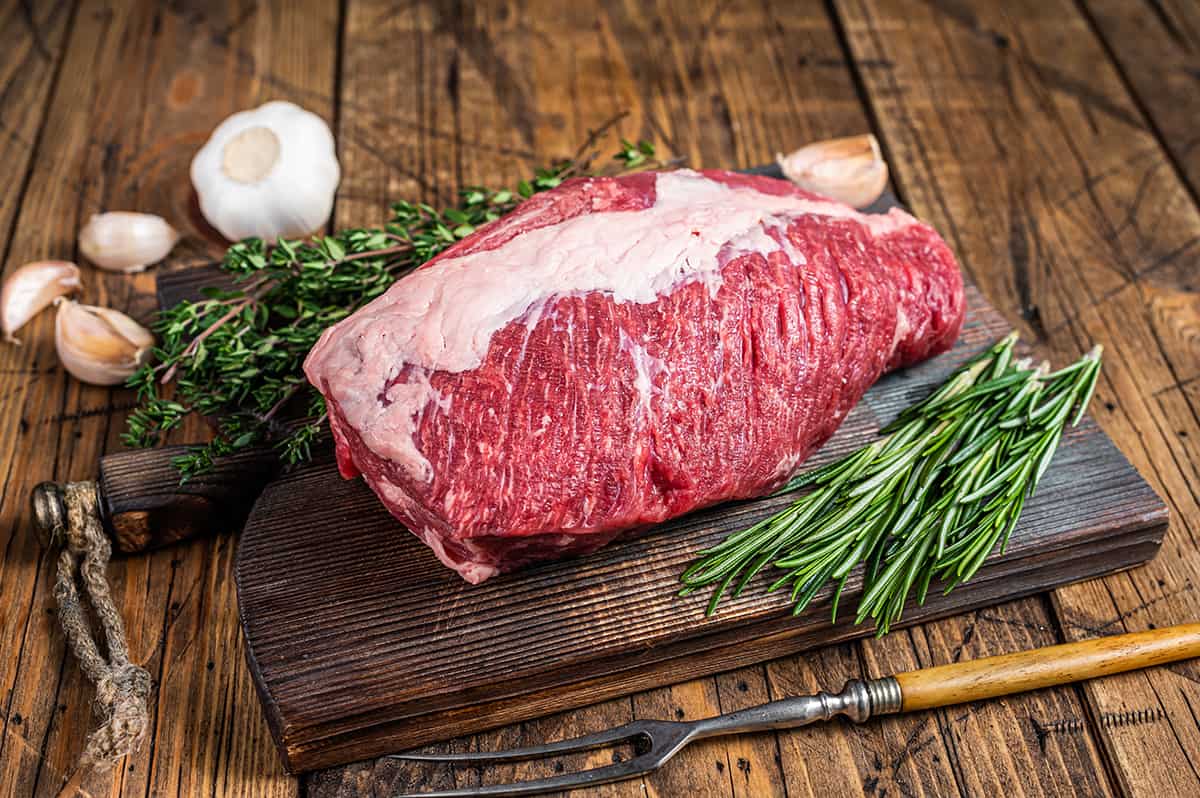
Smoking brisket begins at the butcher shop or the supermarket. Your choices during this initial stage can greatly influence the quality of your smoked brisket.
How to Choose Your Brisket
The perfect smoked brisket starts with the right cut of meat. Brisket comes from the chest area of the cow and consists of two primary muscles: the flat (lean and thin) and the point (fatter and thicker). Here are the variables when choosing the right brisket:
- Size: Think about how many people you’re feeding. As a guide, plan for about ½ pound of cooked brisket per person. Since smoking reduces the brisket’s weight by almost half, you’ll need to buy double the weight of the cooked meat you plan to serve.
- Grade: Beef is graded based on the animal’s age and marbling. Go for USDA Prime or Choice grades, which have more marbling and render a more flavorful and tender brisket.
- Marbling: Look for brisket with good marbling (white flecks of fat within the muscle). The fat melts during smoking, adding flavor and keeping the meat moist.
- Thickness: Ensure the flat end of the brisket isn’t too thin, or it may dry out during smoking. A consistent thickness across the brisket promotes even cooking.
Preparing Your Brisket for Smoking
Once you’ve picked your brisket, the next step is preparation. Properly prepping your brisket will help in maximizing flavor and tenderness.
- Trimming: The brisket comes with a fat cap, which should be trimmed to about ¼ inch thick. This allows for enough fat to keep the brisket moist during smoking without preventing the smoke and rub from reaching the meat.
- Dry Brining: Dry brining involves seasoning the brisket with salt and letting it sit in the fridge for a few hours or overnight. The salt draws out the meat’s juices, which then dissolve the salt and are reabsorbed, helping to tenderize and flavor the brisket.
- Applying the Rub: The rub is a mix of seasonings that adds flavor to your brisket. A basic brisket rub can include black pepper, garlic powder, onion powder, and paprika. Apply a generous layer of the rub all over the brisket before you start smoking.
- Resting: After applying the rub, let the brisket rest at room temperature for about an hour. This allows the brisket to reach a uniform temperature, ensuring it cooks evenly.
Essential Kitchen Appliances for Smoking Brisket
The key to a successful brisket smoking experience is not just the quality of your brisket or the precision of your smoking process. The appliances and tools you use can significantly affect the outcome.
The Smoker
At the core of your smoking setup is the smoker itself. While there are various types of smokers, they all serve the same basic purpose—to slow-cook your brisket while infusing it with a smoky flavor.
- Charcoal Smokers: These are the traditional smokers, favored for the intense smoky flavor they provide. They require a bit more effort as you manually control temperature and smoke levels. A chimney starter can help get your coals burning quickly and evenly if you’re using a charcoal smoker.
- Electric Smokers: These are a convenient option for beginners as they maintain a steady temperature with minimal effort. However, they might not deliver the same depth of smoky flavor as charcoal smokers.
- Pellet Smokers: These smokers use hardwood pellets for fuel and are easily controlled. They offer a good balance between convenience and authentic smoke flavor.
Meat Thermometer
A reliable meat thermometer is instrumental in monitoring your brisket’s internal temperature. Choose a digital, dual-probe thermometer: one probe to monitor the brisket’s internal temperature and another to track the smoker’s temperature.
Aluminum Foil or Butcher Paper
You’ll need aluminum foil or butcher paper for the Texas Crutch method, which helps control cooking time and retain moisture in the brisket. Both work, but butcher paper is breathable, which can help maintain the brisket’s bark.
