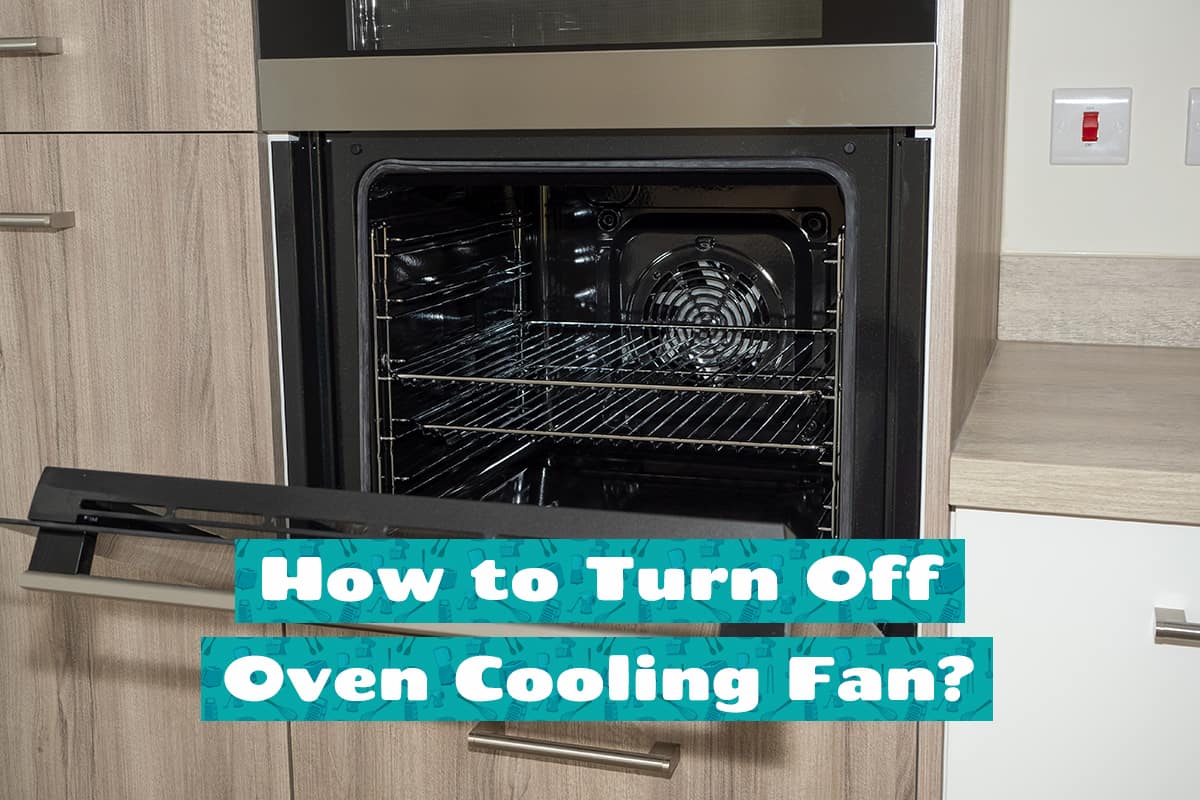
It’s imperative that you keep your oven clean. After all, you don’t want the ghosts of a thousand casseroles infusing their aromas into your freshly baked cookies, do you? But what does it mean if your oven smells like burning plastic?
There are several causes for why your oven smells like burned plastic, which are as follows:
- You accidentally baked plastic in the oven.
- There are oven cleaner chemicals in your oven.
- The manufacturer’s protective chemicals are being burned off.
- The oven’s insulation is being burned.
For the remainder of this guide, I’ll discuss in more detail why your oven smells like burning plastic, what you can do to troubleshoot the problem, and how to remove burned plastic from inside your oven.
Oven Smells Like Burning Plastic (Causes & Troubleshooting)
When you open a clean oven, it’s not supposed to smell like anything. You may catch a few whiffs of vanilla, cinnamon, or other aromatic spices if you baked something recently, but that’s the extent of it.
One common problem many people face is that their ovens smell like burning plastic. So, why does this happen?
1. You accidentally baked plastic in the oven
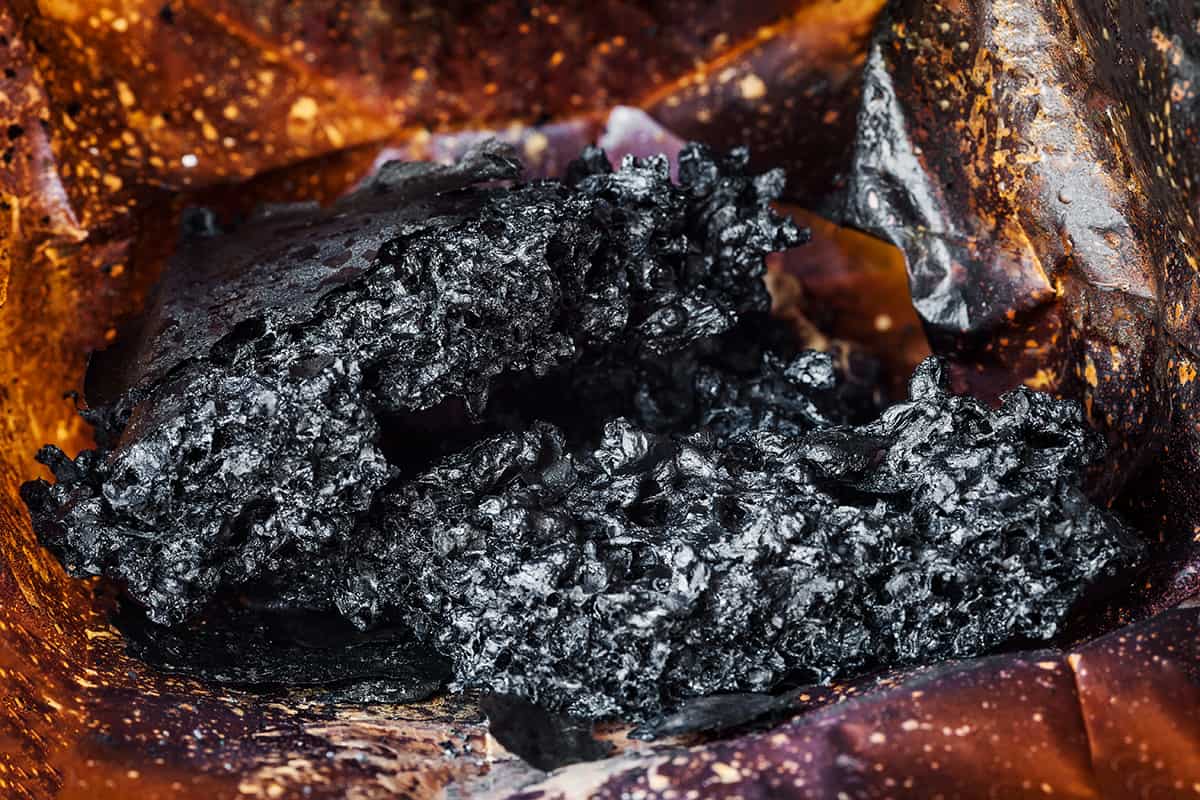
Sometimes, the problem is sitting right under your nose. Your oven smells like burning plastic because you burned plastic in the oven.
Regardless of the type of plastic container you have, it belongs nowhere near a hot oven. Silicone is a completely different matter since there’s still some debate about whether or not it’s a type of plastic or a type of rubber
If you just purchased a brand-new oven, you may find that the racks are kept in place with zip ties. The zip ties are there to keep the racks from moving about during transport. If left to their own devices, the racks could smash into the glass panel on the oven door, leaving you with a million glass shards to pick up.
Solutions: Only use oven-safe bakeware and cut the zip ties off the oven racks.
The solution is as easy as diagnosing the problem—do not put plastic containers inside your oven. The only exception is when you want to proof dough in your oven (light only, no heat). The most common oven-safe bakeware materials include:
- Aluminum
- Stainless steel
- Cast iron
- Copper
- Food-grade silicone
- Tempered Glass
- Ceramics
In addition, check the inside of the oven for zip ties. You will usually find them near the back, and the sides. Make sure to remove all of the packaged accessories in the oven, including the plastic packaging, before turning it on. While you’re at it, check for and remove strips of tape and rubber bands from inside the oven.
2. There are oven cleaner chemicals in your oven
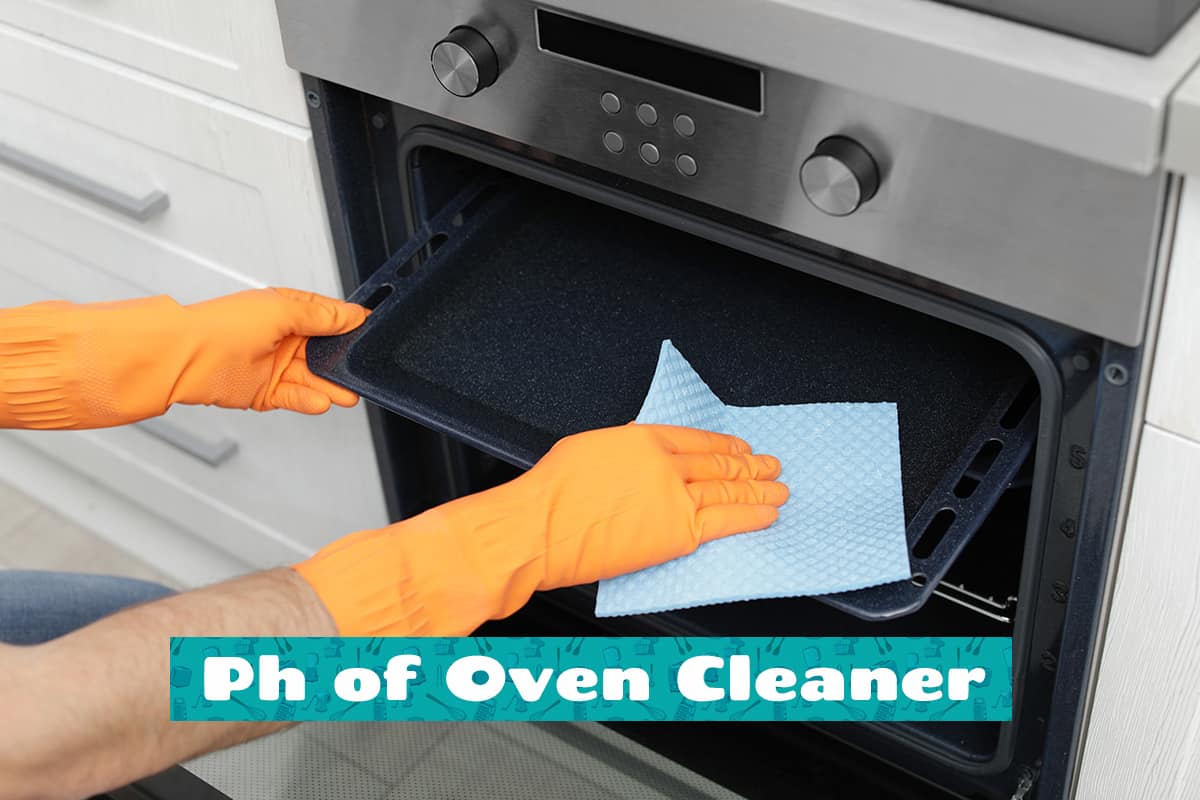
You can find all sorts of reliable oven cleaners, such as Easy-Off Fume-Free Cleaner Spray. These cleaners do a great job of loosening caked-on debris, which requires just a few swipes with a clean rag to remove it permanently.
However, you need to know how to properly use a cleaner before spraying it inside the oven. Many of them come with all sorts of chemicals that aren’t just difficult to pronounce but can become toxic when burned or when the fumes infuse into your food.
Solution: Remove as much of the chemical cleaner from your oven as possible.
Before aiming the nozzle of the spray cleaner into your oven, make sure you give the instruction label a thorough read. It will show you not only how to use the spray cleaner but also how to remove it from the internal surface of your oven.
To get rid of the leftover chemicals from a commercial cleaner, try doing the following:
- Heat the oven to 300°F.
- Let it bake for 15 to 30 minutes.
- Allow the oven to return to room temperature (or slightly warmer).
- Use a moistened cloth to wipe the oven’s walls, floor, and roof.
- Repeat the previous step as many times as necessary.
3. The manufacturer’s protective chemicals are being burned off
Similar to cars, there’s such a thing as a new oven smell, but it should not smell like burning plastic. The smell comes from the protective oils and chemicals that the manufacturer applies to the inside of the oven. The oils are there to give the inside of the oven a nice shine while also lubricating the racks.
Solution: Run a burn-in cycle.
A burn-in cycle involves using heat to break down the protective oils and chemicals from inside the oven. Here’s how you break in a new oven:
- Turn on your range hood or open all kitchen windows (we need to ventilate the kitchen area).
- Turn the oven on to at least 400°F.
- Let the oven bake for 30 to 60 minutes.
- Let the oven return to room temperature.
- Oven the oven door and check for odors. If the oven still smells, repeat steps 2 through 4.
- Use a moistened cloth to wipe the oven’s walls, floor, roof, and racks.
If your oven comes with baking accessories, you may need to run through them a burn-in cycle, too. You can tell whether the accessories are coated in protective oils by running a finger along their surfaces. If they feel slightly greasy to the touch, the chemicals need to be burned off.
4. The oven’s insulation is being burned
Ovens come with all sorts of insulating materials. These materials are there to keep heat inside the oven. Without them, heated air could escape through the oven’s vent ports, making it nearly impossible for the oven to maintain a consistent cooking temperature.
If your oven is brand-new, the insulation will produce a slightly foul, plasticky smell. This is because the insulation is experiencing heat for the first time and needs to be broken in. In extreme cases, the insulating material has caught fire. You’ll know whether this is the case by the presence of smoke.
Solution: Run a burn-in cycle or check the insulation for heat damage
When you turn your oven on for the first time, the insulation will heat up and produce a plasticky smell. You can avoid this in the future by running your oven through a proper burn-in cycle, as described in the previous section.
Alternatively, if your oven is nowhere near brand-new and still produces a plastic smell, check the oven’s insulation. This is a somewhat tedious task that requires disassembling the oven to access insulating material. Steve from Fix.com describes the entire process step-by-step on a Whirlpool range. If you don’t feel confident in your handyman skills, consider hiring a technician to diagnose and troubleshoot the problem for you.
How to Remove Burned Plastic from an Oven
If you’re reading this article after you’ve burned a plastic container, there’s still hope for your oven. I have an in-depth guide on how you can remove melted plastic in a dishwasher, which you can read here. But if you don’t have the time, here’s a summary of things you can do:
Solution #1: Chill the melted plastic and carefully chip it away.
Main method:
- Fill a quart-sized bag with ice.
- Place the ice bag on the melted plastic inside your oven and leave it there for 2 minutes.
- Use a razor or scraper to chip away at the plastic. Make sure you hold the razor or scraper at an angle to prevent causing damage to the oven’s finish.
Alternate method:
- Remove the bottom panel of the oven’s interior by taking out the screws.
- Place the bottom panel inside your freezer for 5 to 10 minutes.
- Use a razor or scraper to chip away at the plastic.
Solution #2: Heat the oven until the plastic is pliable enough to remove.
You can use heat to make the plastic residue pliable enough to pull or scrape away. Turn the oven on to 300°F for 2 minutes before opening the door and scraping the plastic with a wooden spoon or spatula.
Solution #3: Run a self-cleaning cycle
The self-cleaning cycle heats the oven to 800°F and beyond. This is far hotter than necessary to melt the plastic. In fact, it can turn the plastic residue into powdery ash, which you can wipe away with a slightly moistened cloth.
Follow the instructions in the owner’s manual to figure out how to run a self-cleaning cycle properly. It can take up to 2 hours to complete, so make sure your schedule for the day is clear.
Please note that burning plastic can release harmful fumes into the air. So, make sure your range hood is on or that you’ve opened every window in your kitchen. It might also be a good idea to turn a few fans on in your kitchen to get rid of the fumes as quickly as possible.
Solution #4: Replace the oven’s bottom panel
If none of the solutions above worked, I have bad news for you: you may need to replace the oven’s panel. It’s not a good idea to continue using an oven with irremovable plastic residue since the burned plastic’s fumes can be absorbed in your food.

