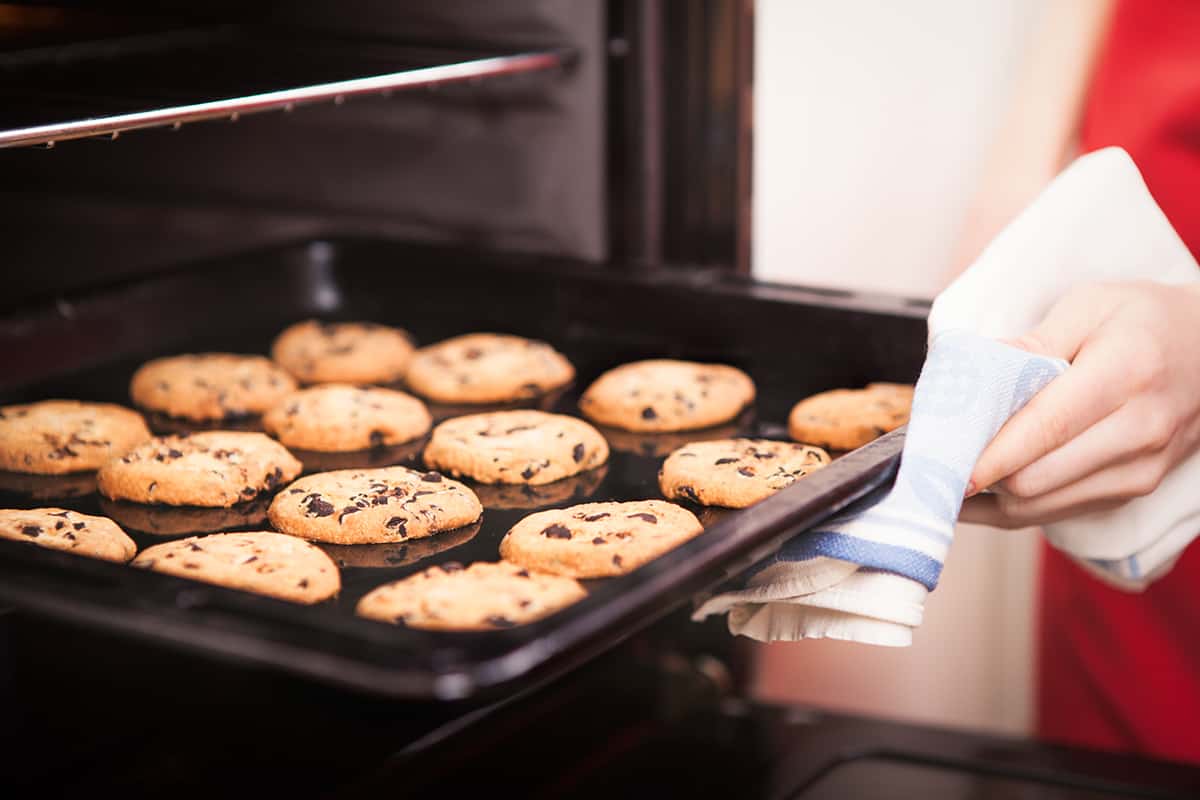
Baking cookies isn’t just about mixing the ingredients together and popping the dough in the oven. Like with any pastry, preparing a batch of homemade cookies is an art, and one of the most significant things you should pay close attention to is the oven’s temperature. So, how hot should your oven be when making a batch of homemade cookies?
The temperature you should set your oven to when baking cookies depends on the desired texture. For a chewy cookie, set the oven to 375°F and bake for 12-15 minutes. For a crispy cookie, crank the oven to 425°F and bake for 8-10 minutes.
However, as far as homemade cookies go, the oven’s temperature isn’t the only thing that will affect the outcome of the cookie. The ingredients that go into the cookie dough, as well as the temperature of the dough prior to baking, are also of grave importance. So, if you’d like to learn more about making cookies, I’ll go into the whole process down below.
Why Does Oven Temperature Matter?
If you look at a hundred different cookie recipes online, you might find that many of the authors ask you to bake the cookie dough at different temperatures. Why is this?
In the most general terms, the temperature of your oven will affect how far and wide the cookies spread. Baking at a lower temperature will allow the dough to spread out, while cranking the oven to 400°F and beyond will cause the dough to set quicker, preventing it from spreading very far.
When it comes to the “correct” oven temperature for baking cookies, you should always follow the recipe. After all, the author has put in months or even years of trial and error to perfect their recipe and to create the perfect cookie flavor and texture.
That said, what temperature should you set the oven to when baking homemade cookies? Well, the answer isn’t as straightforward as you may have preferred.
At What Temperature Should You Bake Cookies?
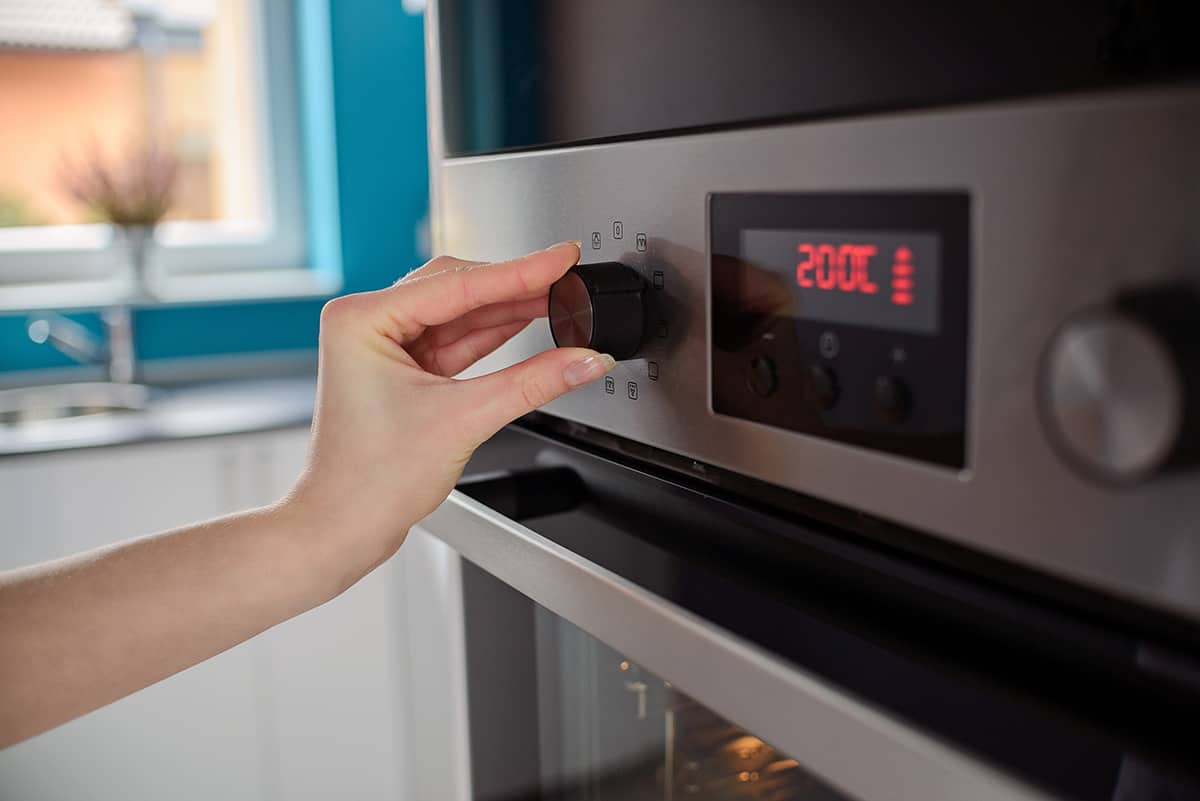
There are 4 common oven temperatures you will find—300°F, 325°F, 350°F, and 425°F.
Baking cookie dough at 300°F is typically the lowest heat a recipe will use. It will also offer the chewiest cookie texture, which is achieved through low heat and extended baking times. When using such low heat, you should bake the cookie dough for roughly 16 minutes.
325°F is typically used for baking frozen cookie dough straight from the bag or tub. It will give the dough enough time to spread while also cooking the exterior and interior more rapidly. It should take anywhere from 14-16 minutes for the cookie to become fully browned and cooked.
The 375°F oven temperature is arguably the most common baking temperature for homemade cookie dough. This will produce a crispy exterior without overcooking the inside, giving you a contract of texture with every bite. The entire baking process should take just 12-15 minutes.
Finally, if a recipe asks you to bake at 425°F, that means the cookie is supposed to have a crispy texture with little to no chewiness. However, when baking at such high temperatures, you shouldn’t leave the dough in the oven for too long as it is easy for the edges to become overcooked. At most, you should bake at 425°F for just 8-10 minutes.
Can I Adjust Oven Temperature When Baking Cookies?
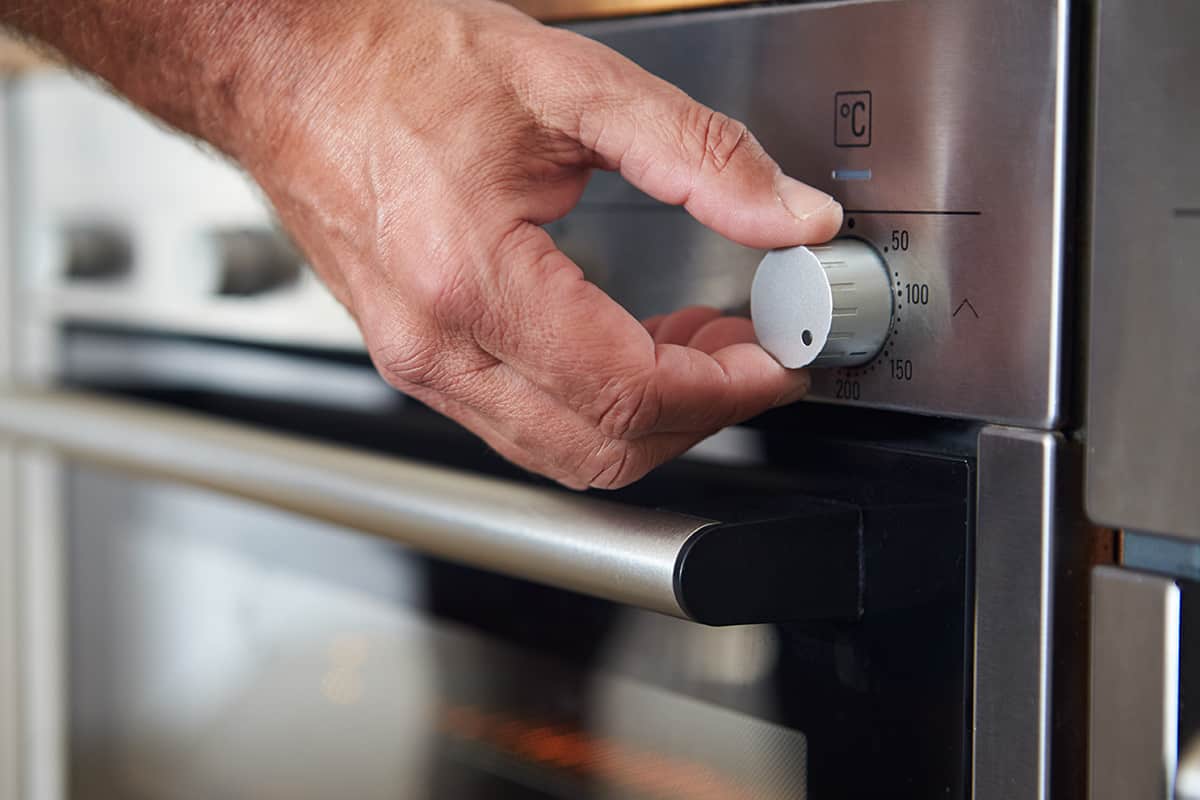
Just so you know, adjusting the temperature of your oven midway through baking a cookie can lead to unintended yet surprisingly delicious results.
Most recipes will ask that you stick to a single temperature (see the figures above) from start to finish. However, you can alter the oven’s temperature, as well as the baking time, if you’d like to add a unique twist to the cookie dough.
For instance, starting at a lower temperature—e.g., 300°F— for about 12 minutes will give the dough enough time to spread. If you’d like to raise the temperature for the final 3-5 minutes of baking, the additional heat will evaporate more of the cookie’s moisture, set the edges, and caramelize the sugars, resulting in a cookie that has a soft center yet satisfyingly crispy exterior.
On the other hand, if you start at a high temperature—e.g., 425°F—for 8 minutes and drop down to 325°F or even 300°F for 2-3 additional minutes, the cookie will have already developed a crispy exterior. However, the lower baking temperature will prevent the cookie’s interior from setting too much, leaving a bit of the dough’s natural chewiness.
So, you are more than welcome to adjust the oven’s temperature during the final third or quarter of the baking process. Just make sure you know how it will affect how the cookie crumbles!
What Other Factors Will Affect Cookie Texture?
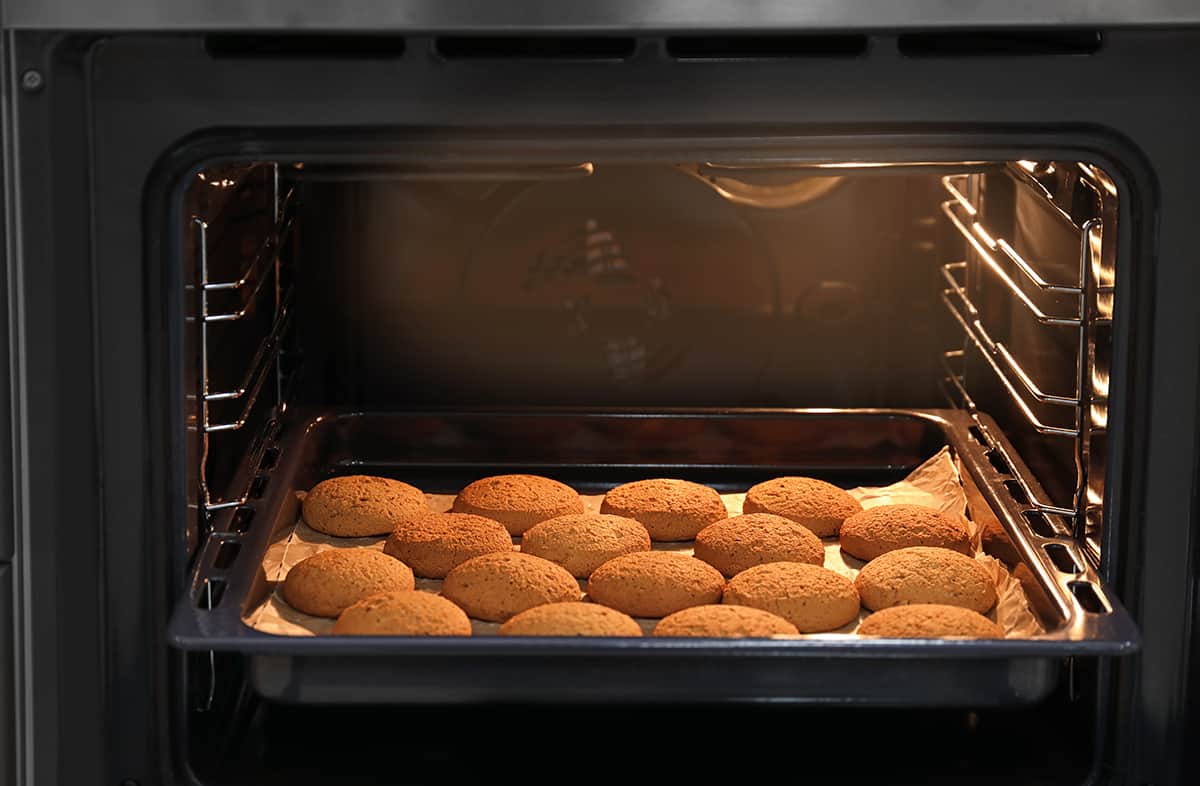
Even though the temperature of your oven plays a significant role in the outcome of your homemade cookies, it’s not the only thing you need to consider. If your goal is to perfect the texture of your cookies, take into account the following factors:
Ingredients
There’s a lot to unpack here, so pay close attention if you’re going to experiment in the kitchen.
Flour Type
Most online cookie recipes will tell you to add all-purpose flour to your mixing bowl. This is the middle-ground flour that is arguably safest to work with as it offers average levels of tenderness, chewiness, and crispiness. However, if you want your cookies to come out chewier, substitute a portion of the AP flour with cake flour. If you like a harder, crispier cookie, use high-protein bread flour.
Sugars
There are 2 kinds of sugars you will end up using when preparing homemade cookies—white granulated sugar and brown sugar. White sugar will help darken the cookie through caramelization, whereas brown sugar—especially the dark brown variety—will add moisture and chewiness. The more sugar you add to the cookie dough, the more the cookie will spread, even at high temps.
Fat
You are most welcome to try different fats when making your own homemade cookies. The most popular fats are butter and shortening. Butter, which has a lower melting point than shortening, will cause the cookie to spread. Shortening will reduce or even prevent gluten development, leading to a more tender, less chew cookie.
Leavens
The two most widely used leavens in cookie dough are baking soda and baking powder. Baking soda, or bicarbonate of soda, is a rising agent that also encourages browning as it reacts with acidic ingredients like sugar, honey, and butter. Baking powder, which is a mix of baking soda and calcium phosphate, introduces air into the cookie, giving it a fluffier texture.
Cookie Dough Temperature
Before you begin forming your cookies, you figure out whether the dough needs to chill in the freezer overnight or not. Cooling the dough down will allow the fats to resolidify, which will cause it to spread less when baked. This reduces the cookie’s surface area and increases its interior, adding tenderness and chewiness to every bite. Overly worked fats or warm dough will spread more quickly in the oven, which is ideal if you want a crisp to your baked cookies.
Shaping
Ideally, you will have an ice cream scoop on hand to create uniform dough balls. That way, your cookies will bake evenly in the oven. Apart from even baking, you should also know that large dough balls will take longer to bake, which will result in thicker, softer cookies. If you flatten the dough balls prior to baking, you’ll end up with a crispier cookie.
Spacing
Make sure not to overcrowd the cookie sheet. This is especially problematic if you are making a batch of soft cookies since, as they expand, they will make contact and possibly throw the entire baking process out of whack. Leave at least 2 inches of space between dough balls before placing the cookie sheet in the oven.
Oven Quality
You should pay close attention to how evenly your oven bakes. You can discover cold and hot spots in your oven by setting it to 350°F, placing a slice of white bread in the center, and baking it for 4-6 minutes.
When it comes out, examine which parts of the bread are still white/slightly browned and which parts are burned. If there isn’t even coloring across the surface, your oven has cold/hot spots. In this case, you will need to rotate your cookie sheet 180° to ensure even baking.
Cooling
It’s never a good idea to pop a freshly baked cookie in your mouth since it can leave your tongue and the roof of your mouth utterly destroyed.
So, when the oven timer goes off, leave the cookies on the sheet for 2 minutes before transferring them to a wire rack to cool. A wire rack will allow airflow underneath the cookies, which allows them to vent steam from all directions. If you leave the cookies on the cookie sheet, the bottoms could become overcooked and overly hardened.
Overmixing
If you use a stand mixer to prepare cookie dough, make sure you don’t overmix. Doing so may result in excess gluten development, which will make your cookies have a mouthfeel akin to bread. In addition, overmixing will introduce too much air into the dough, causing the dough to rise too quickly in the oven before collapsing.


Leave a Reply