There are several reasons why you might need to transport your chest freezer. Although it’s not every time, it might be occasionally. Either for repairs or any other reasons.
Most people find themselves in a fix when trying to transport their chest freezers, either because they are moving into a new house or transferring the freezer to another area of the house, or they just got a new freezer.
Whichever is the case, they are always worried about the best position to transfer the freezer in. Is it better to transport the freezer as it is straight, or at a slanted angle, or on its side?
Continue reading this article to know more about this, as I have researched the best techniques for transporting freezers, and would love to share them with you.
Can a freezer be transported on its sides? Yes. One of the best ways to transport your chest freezer is on its side. Especially the side where the compressor is in. However, it is always better to transport freezers in their normal straight positions.
Anyway, you can always follow the below steps to transport your chest freezer:
- Remove the plug of the freezer’s cable from the electric source
- Empty both the freezer and fridge
- Allow the freezer to defrost
- Thoroughly clean the freezer and allow it to dry
- Ensure that the freezer is properly secured, either with a latch or the doors are properly shut
- Take measurements of your doors, freezers, and stairways if you have any
- Always look for someone to help. Only you can’t move a freezer
- When help is found, move your freezer to the moving truck, if available
- Place the freezer in its normal position inside the truck.
Now you are good to go. Anyway, even I know this is not enough information for anyone willing to safely move their freezer from one location to another.
Let’s carefully look at these steps in detail so you’ll know what to do, when to do it, and how to do it.
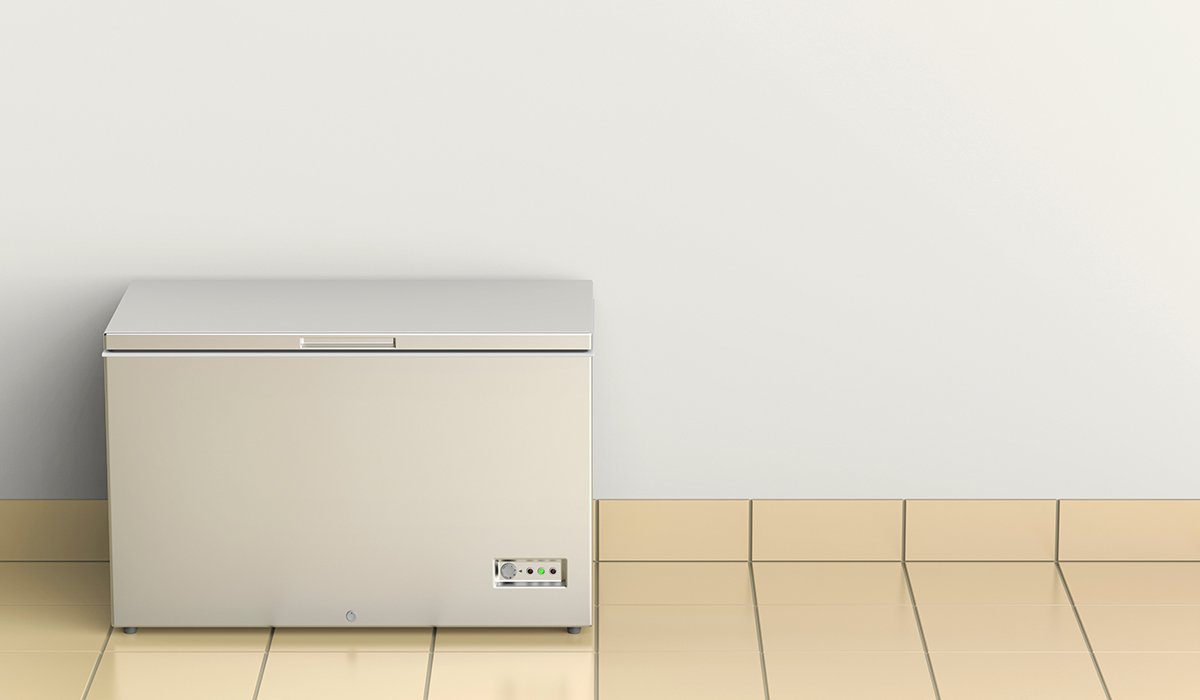
Proper Transportation of Chest Freezer
If you want to properly transport your chest freezer, you will need to do as I say below. Although it might not be the only way because you will find lots of opinions on how to safely move your freezer, it is one of the best methods of moving your freezer.
First Step: Unplug the freezer’s cable from the electric source
The first step in moving your freezer is disconnecting it from the power source. Aside from being one of the safety measures, it also helps to prevent damage to the coolant in your freezer.
Second Step: Empty both the freezer and fridge
After removing the power supply, you need to empty the freezer and fridge of all their contents. It’s best to put this in mind even before moving. If you can consume all that is in the freezer before moving, do so. If you can’t, you can always give the food to food banks, and even your family or friends.
Third Step: Allow the freezer to defrost
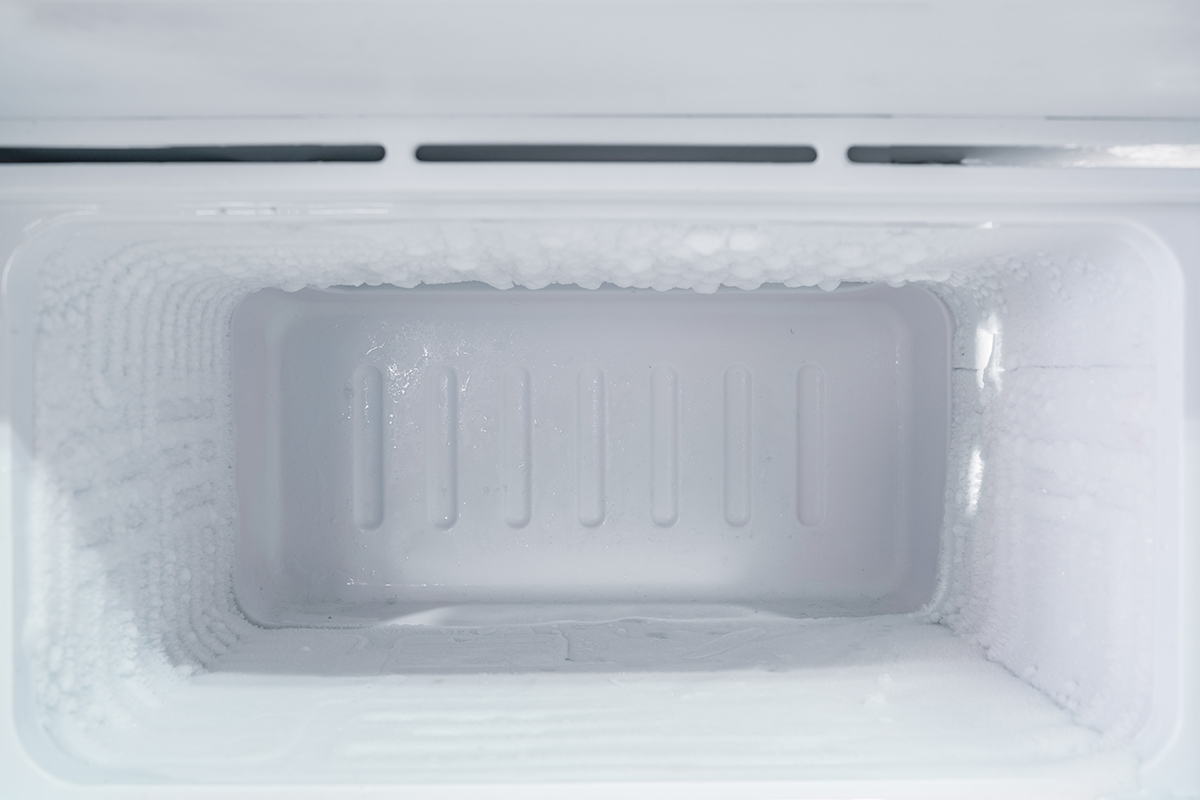
Before moving your freezer, you have to defrost it a day before you move. Because freezers have different models, you need to check the manual of your freezer to know the recommended method.
However, after unplugging the freezer from the power source, and emptying it, you can leave the door open for the freezer to defrost.
For some models, you might need to pour hot or warm water inside to speed up the defrost process. But this has to be done outside.
Fourth Step: Thoroughly clean the freezer and dry it
When you are sure that your freezer has defrosted completely, you have to thoroughly clean the freezer and also dry it to prevent mold and mildew in case the moving process will take a while.
You can use mild detergents or go environmentally friendly by using baking soda or vinegar to clean the freezer. After cleaning the freezer, ensure that no residue is left and it’s completely dry.
Most times after cleaning with baking soda or vinegar you might notice a lingering odor. You can resolve this by leaving activated carbon in a bowl inside the freezer for 1 to 3 hours or a mixture of 2 to 3 tablespoons of baking soda and 1 liter of water for the same time.
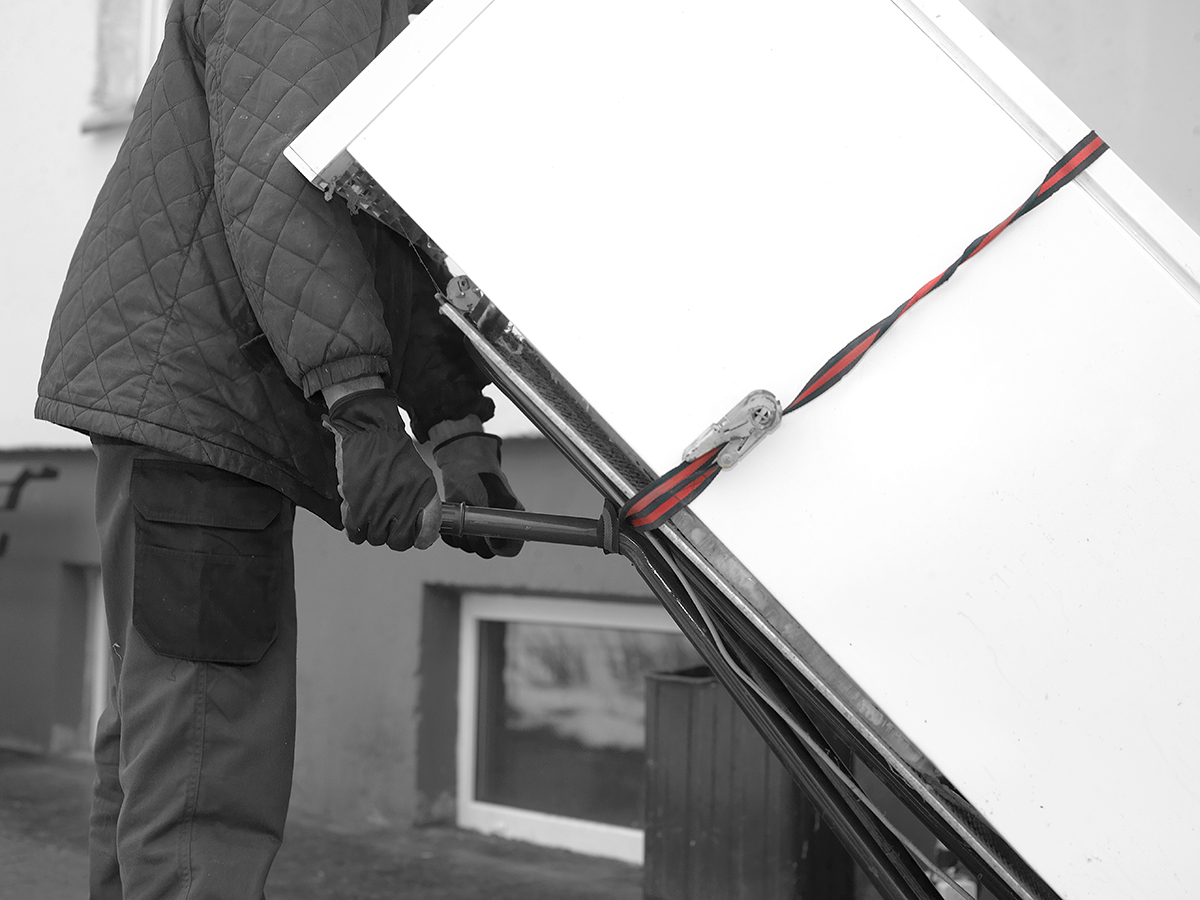
Fifth Step: Ensure that the freezer is properly secured
After your freezer has been thoroughly cleaned and dried, it’s time to secure the freezer to avoid the freezer opening during the moving process.
You can use straps, ropes, or tape. Whichever suits your taste. Masking tapes are better because they cause no harm to your freezer surface.
Also, secure your freezer power cable to avoid tripping over it. After this, wrap the freezer in a protective blanket to prevent any potential bodily damage to the freezer. Make sure the blankets are secured by taping them as well.
Sixth Step: Take measurements of your doors, freezers, and stairways
To avoid any unnecessary stress during movement, measure your doors, freezer, and the stairways if you have any. This way you’ll know how to move the freezer in case of any technical difficulties.
Seventh Step: Always look for someone to help
Moving a freezer is not something you can do by yourself. You can always request help from your neighbors, family, friends, or even a moving company.
Eighth Step: Move your freezer to the moving truck
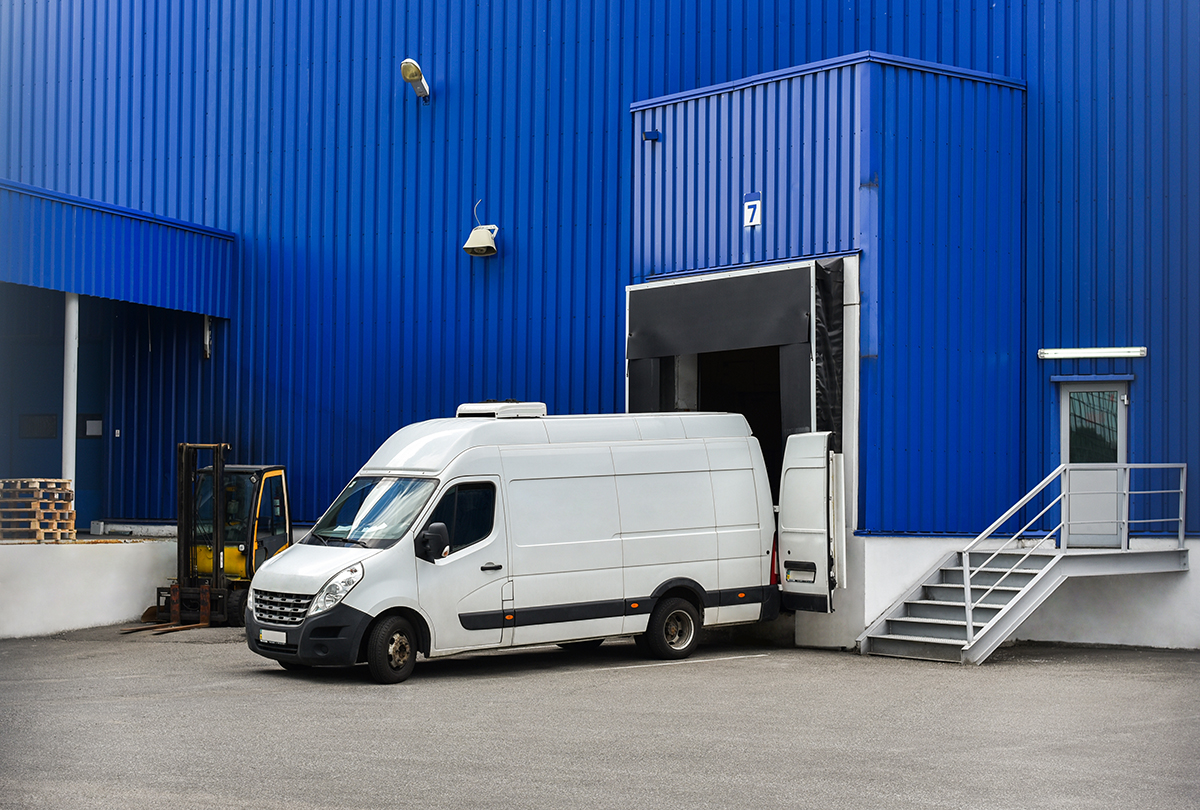
You can always use an appliance dolly to move your freezer. It is even easier to use. You just have to slant your freezer to one side, place the dolly under it, and then pull your freezer atop it until it sits perfectly in the center of the dolly.
After, fasten your freezer onto the dolly and make sure it’s secured to it before moving the freezer to the truck or next location.
Ninth Step: In the truck, place the freezer in its normal position
When you get to the truck, move very slowly while climbing the truck’s ramp. You can pull from the front while your helpers push from the back. This is to ensure that the freezer is well balanced.
Once your freezer is inside the truck, keep it in its normal upright position and secure it to the truck.