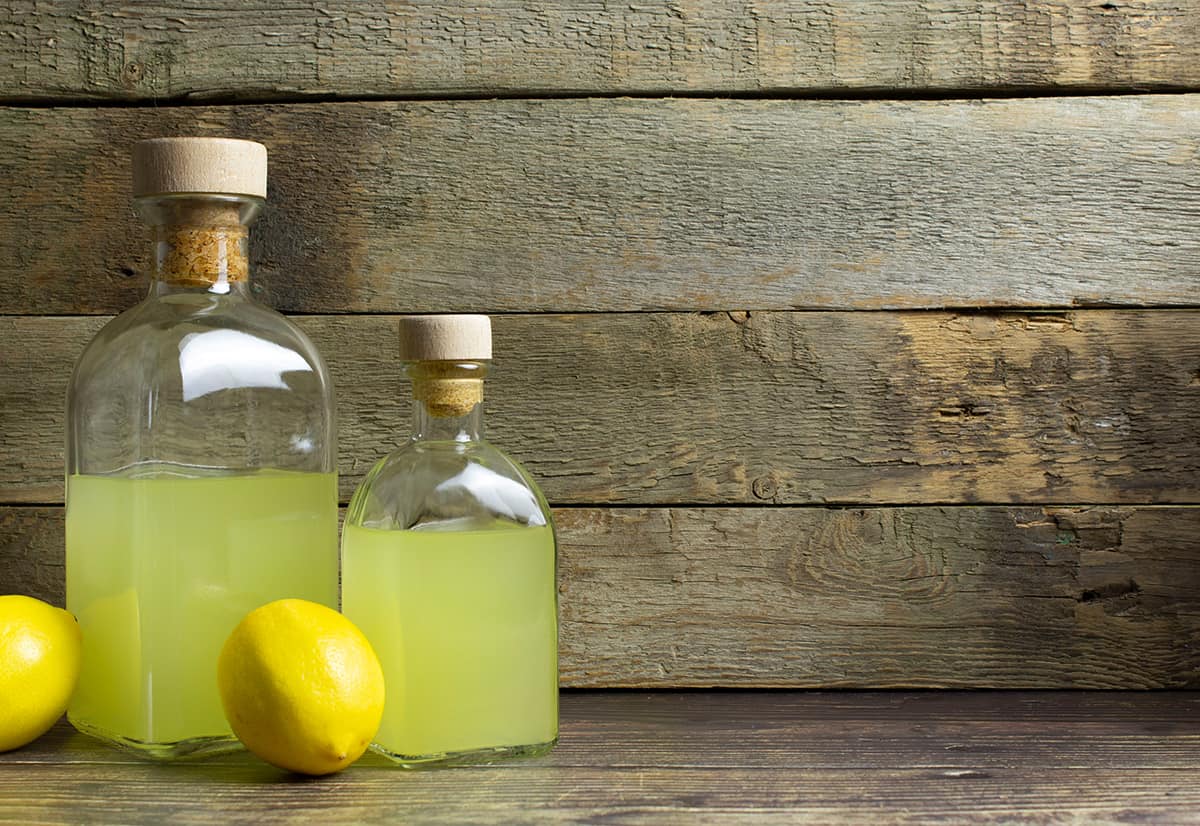
Limoncello is a lemon-flavored liqueur that originated in Italy. It has a sweet and tart taste that makes it perfect for sipping, and the citrus factor makes it especially refreshing on a warm summer’s day.
Limoncello can be stored in the refrigerator or the freezer, but freezing it will not prolong its lifespan. Whether you choose to keep your limoncello lightly chilled or heavily chilled, it can be kept for 12 months when homemade or between 1 and 2 years if it is store-bought.
Where Should You Store Limoncello?
When I was younger, I had an Italian friend who introduced me to his Nonna. She was an industrious elderly woman who couldn’t bear to sit still and took no greater joy than filling the bellies of those who visited her. At one of our meetings, she served me a small glass of strong Limoncello, and I was instantly hooked. Nonna spoke little English, but she proudly showed me the lemon trees she was nurturing in her sunroom and a freezer full of homemade bottles of Limoncello she had made with her homegrown citrus.
I have since learned that Limoncello can be stored in the refrigerator or the freezer, but the vision of Nonna’s freezer lined with glass bottles of the sweet yellow liquid has stayed with me, and as a result, it feels like sacrilege to keep limoncello anywhere other than the freezer.
Limoncello was created in Italy around a century ago, and the Italians traditionally store it in the freezer because it simply tastes better when it is icy cold. You can store it in the refrigerator if you prefer drinks that aren’t ice cold, and it will make no difference to the lifespan of the beverage. Ultimately, you can store Limoncello in the freezer or the refrigerator and it simply comes down to personal choice. It shouldn’t be kept at room temperature.
Does Limoncello Taste Better in The Freezer?
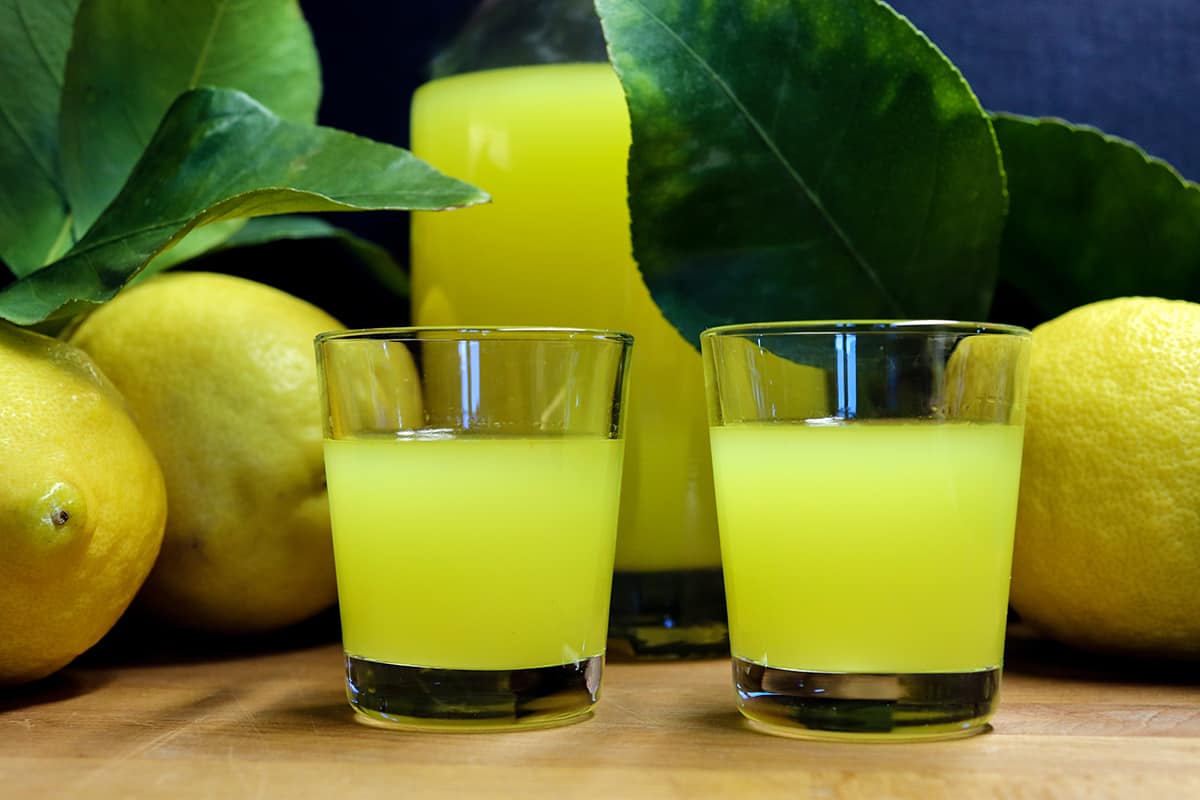
Many people report that limoncello tastes better when it has been stored in the freezer, but this is purely down to personal preference.
Keeping the liqueur in the freezer changes the taste profile slightly and gives it a sense of being sharper and more refreshing. You can test out your limoncello by swapping it out between the freezer and the refrigerator to see which you prefer.
Does Limoncello Last Longer in The Freezer?
If you want to extend the life of a food product, the best thing to do is usually to freeze it. However, this doesn’t work with limoncello since it won’t actually freeze when stored in the freezer. Alcohol has a lower freezing temperature than water, so it will remain a liquid even when stored in the freezer.
In some instances, you might find that your limoncello takes on a slushy consistency, but it will not turn into a solid. Since limoncello does not freeze, keeping it in the freezer won’t make it last longer. Homemade limoncello has a lifespan of around 12 months, whether you keep it in the refrigerator or the freezer. Store-bought limoncello usually lasts longer, typically up to 2 years, in both the refrigerator and the freezer.
Do You Need to Thaw Limoncello?
Limoncello has a high alcohol content, and alcohol has a very low freezing point. This means that when stored in the freezer, limoncello will not freeze to a solid.
As such, you don’t need to thaw it out before you drink it. Instead, whenever you fancy enjoying a glass of limoncello, you can take it right out of the freezer and pour it immediately. Because limoncello does not need to be thawed, it means that it is convenient to keep in both the freezer and the refrigerator.
Best Lemons for Making Limoncello
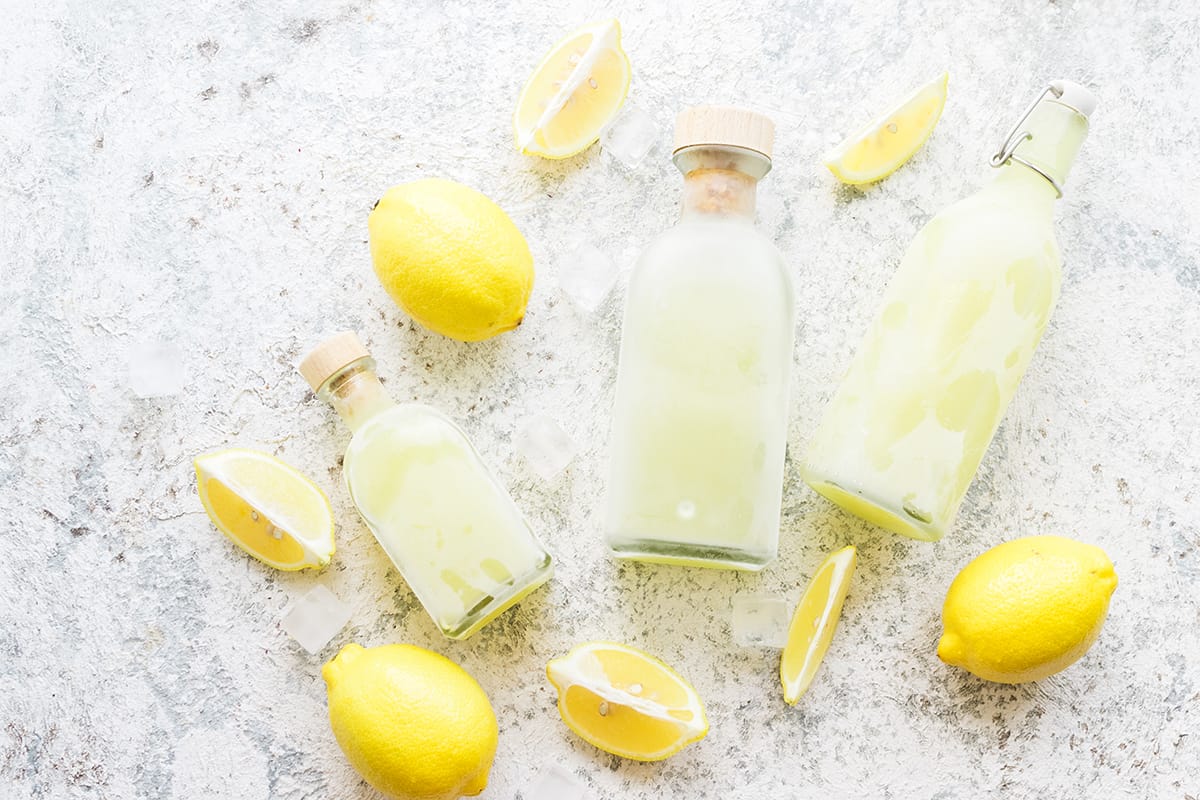
If you want to have a go at making homemade limoncello, the best lemons to use are organic. This is because when making limoncello you utilize the rind or peel of the lemons rather than the lemon juice inside. Organic lemons will not have a rind which has been waxed or coated in a different preservative, while regular lemons bought from the grocery store do tend to be waxed, which means you won’t get that strong citrusy hit from the rind.
The exception to this is lemons which you buy at a farmers market, which also should not have been wax coated. In terms of the type of lemons to use, any lemons can work well. The most common lemons you are likely to find in the grocery store are Meyer lemons and Eureka lemons, and these are both good options for homemade limoncello.
Meyer lemons can be easily recognized by their smaller size and bright yellow coloring, while Eureka lemons are not as vibrant. Meyer lemons tend to be sweeter in flavor, while Eureka lemons have a sour, tangier taste. You could use either of these lemons to make limoncello or use a combination of both for a more complex taste profile.
How to Make Homemade Limoncello
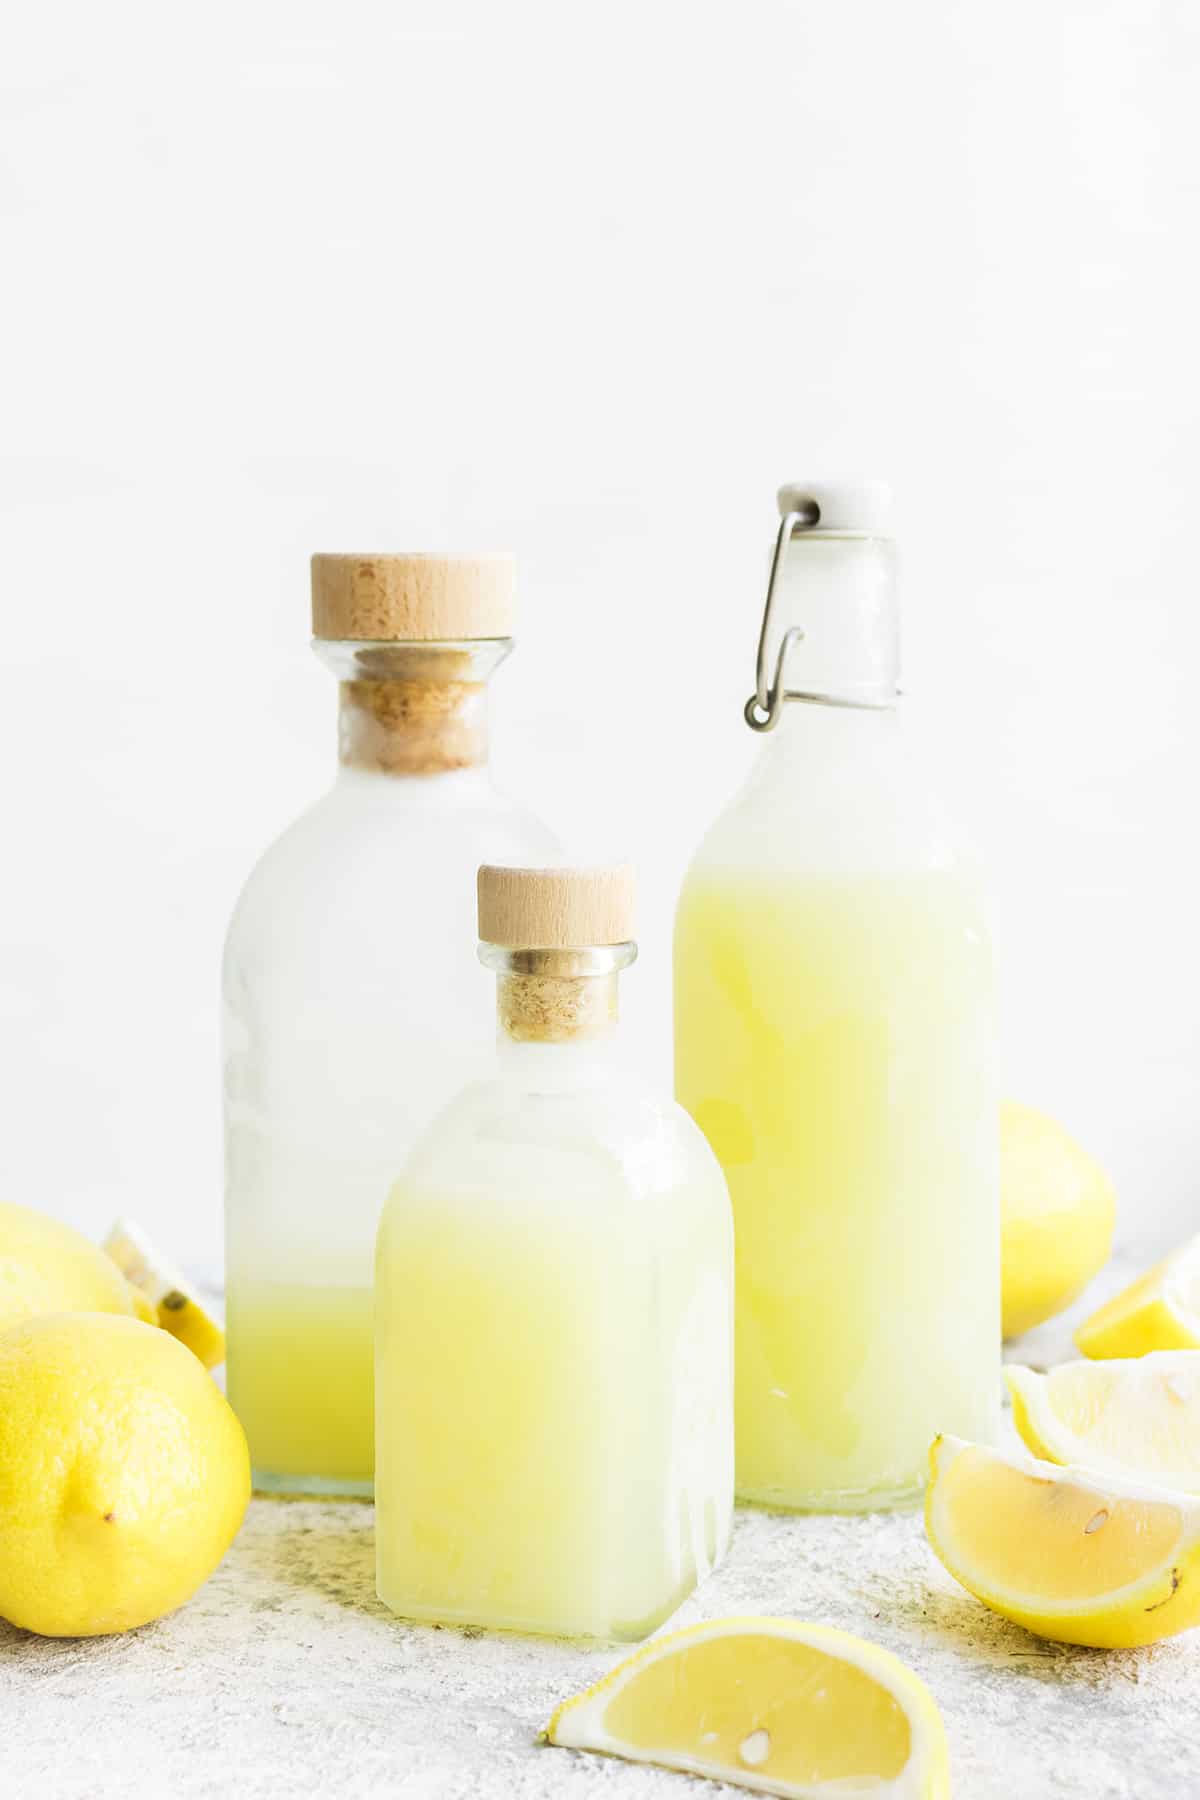
Limoncello is super easy to make, and it only requires four ingredients. It is also a great way to use up the rind of a lemon because this is the part that often gets discarded when you use the juice of the lemon in other recipes. A homemade bottle of limoncello makes a great gift to take for the host of a party, and it looks really impressive if you present it in an attractive glass bottle.
The recipient will appreciate the homemade factor, as well as being able to enjoy the irresistible taste of this aperitif. Since limoncello can last for up to 12 months in the freezer or refrigerator, you could make a large batch to last you for a whole year.
To make limoncello, you will need:
- 14 lemons
- 750ml vodka
- 3 cups sugar
- 5 cups water
Step 1
The first part of making limoncello is to peel your lemons. The best tool to use is a vegetable peeler, taking care to peel only the rind and leave the white pith on the whole lemons. If any of your rind peel has pith on it, scrape it away with a blade. The pith has a bitter taste that you don’t want in your limoncello.
Add all of the peel from 14 lemons to a glass jar and cover them with 750ml of vodka. Secure the glass jar with a lid and set it aside for the lemon flavor to infuse into the vodka. With a high alcohol content vodka, this could be as little as 2 weeks, but it is generally recommended that the peel infuses for four weeks.
Step 2
When the vodka has been infused, bring 3.5 cups of filtered water to the boil in a pan, and add 3 cups of granulated sugar. Wait for around 2 minutes until all of the sugar has dissolved, then allow it to cool. This is your simple syrup.
Step 3
Add your simple syrup to the vodka and lemon rinds, and shake the jar. Pour the mixture through a sieve to remove all of the peel, then decant it into bottles.
Step 4
Freeze, serve, and enjoy!