Have you ever thought about the cool magic that happens inside your freezer and fridge? They may seem like close cousins, but they do play different games when it comes to chilling. With food habits evolving and kitchens adapting, sometimes a fridge fits the bill more than a freezer.
To convert a freezer into a fridge, adjust or replace the thermostat. This regulates the temperature, making it perfect for everyday items rather than deep freeze.
This guide will walk you through the why’s, the how’s, and the tips to make the transformation smooth.
Freezers vs. Fridges
While freezers and fridges are completely different in terms of how they perform, there’s more to it than meets the eye.
Temperature Ranges and Their Uses
Your freezer is the polar bear’s den, operating at 0°F and below. It’s where ice creams live and meat hibernates. It’s all about long-term storage, baby. Foods stay frozen, nutrients locked in, and bacteria – well, it’s pretty much the Game of Thrones for them.
On the flip side, your fridge likes it cool, not cold. Think 32°F to 40°F. It’s a space where milk lounges, leftovers chill, and veggies crisp up. It’s your go-to for short-term food storage, keeping things cool enough to stay fresh, but not frozen.
Energy Consumption Comparison
Your freezer works overtime and uses more energy to keep things frozen solid. It’s like a rock concert, all amps to 11. Fridges is more of a jazz brunch, relaxed and energy-efficient. So, switching things up might just see a dip in those bills.
The Mechanics
The secret of these cold havens is in the compressor, refrigerant, and condenser. Freezers run a tight ship, with the compressor working hard to keep temps low, making them the ice fortresses that they are. Fridges have a lighter touch, with compressors that kick in and chill when needed, ensuring your eggs, cheese, and late-night snacks stay at their peak.
Customizing the Cool
While freezers and fridges have their distinct roles, magic happens when you know how to tweak them. With a little know-how, turning a freezer into a fridge can open a world of storage possibilities. It’s about knowing the thermostat’s role, dialing in the right temps, and understanding how to balance humidity levels.
Safety First: Precautions Before Starting
Before going on this chilly adventure, let’s chat about safety. After all, nobody likes a fried circuit or a mini fridge flood.
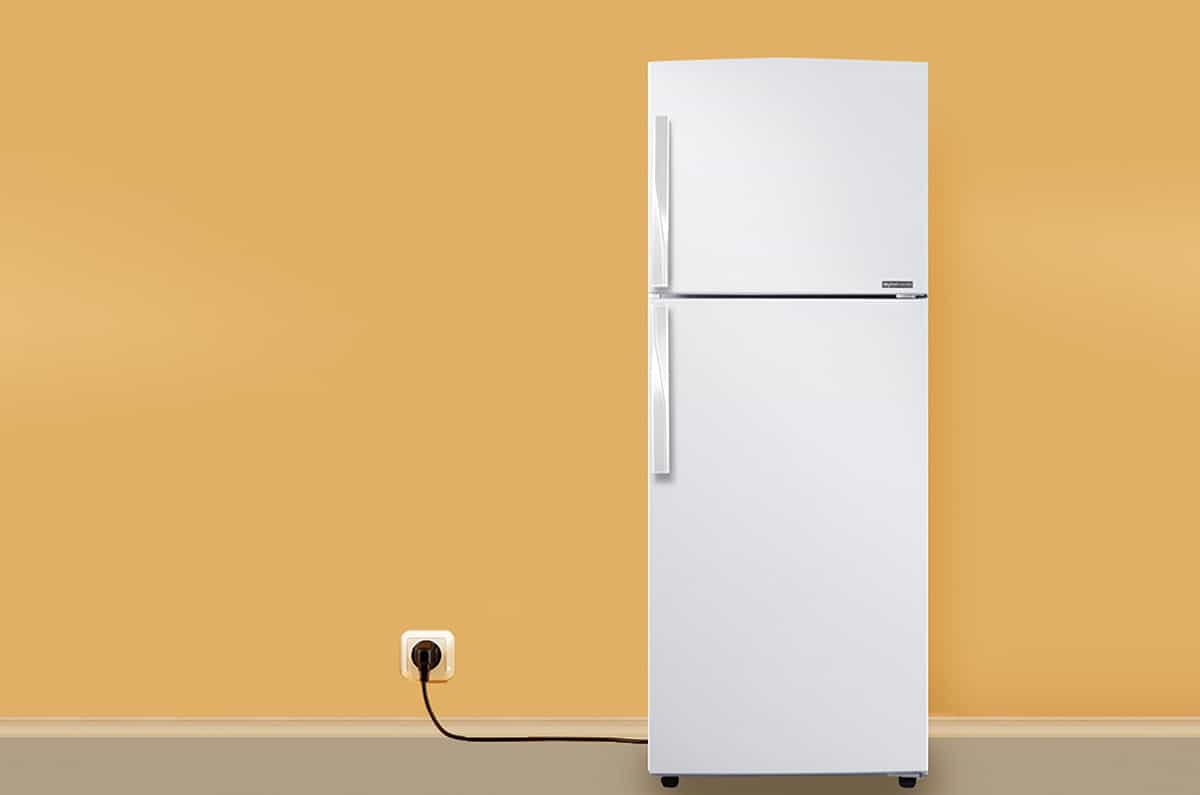
- Unplug that freezer! No shocking surprises, please. While it’s off, give it a good clean.
- Is your freezer older than your grandma’s dance moves? If it’s been around for a decade or more, converting might be tricky. Newer models are generally more adaptable.
- Position your soon-to-be fridge away from the walls. It needs space to breathe, just like you after a jog. Allow 1-2 inches of space on each side for ventilation.
Tools and Materials Required
Ready to play kitchen scientist? Here’s your gear.
1. Thermostats
It’s the brain of the operation! Thermostats control temperature. For this task, you want one that’s adjustable and leans more towards the fridge range.
2. Wiring Essentials
Grab some wire strippers, connectors, and maybe even a multimeter. You know, to check the electric vibes. But if ‘multimeter’ sounds like a foreign language, maybe call in a buddy who’s savvy.
3. Additional Tools
A screwdriver, some pliers, and perhaps a flashlight. Also, keep a manual or video guide handy on your phone. No harm in double-checking steps.
Step-by-Step Conversion Process
Alright, home chefs and chill-masters, ready to flip the switch (or more accurately, the thermostat) on your freezer? Follow this trusty guide, and soon you’ll have a somewhat brand new fridge.
Step 1. Locating and Accessing the Thermostat
Your freezer’s thermostat is like its brain that instructs how cold it should be. First thing’s first, we need to find it.
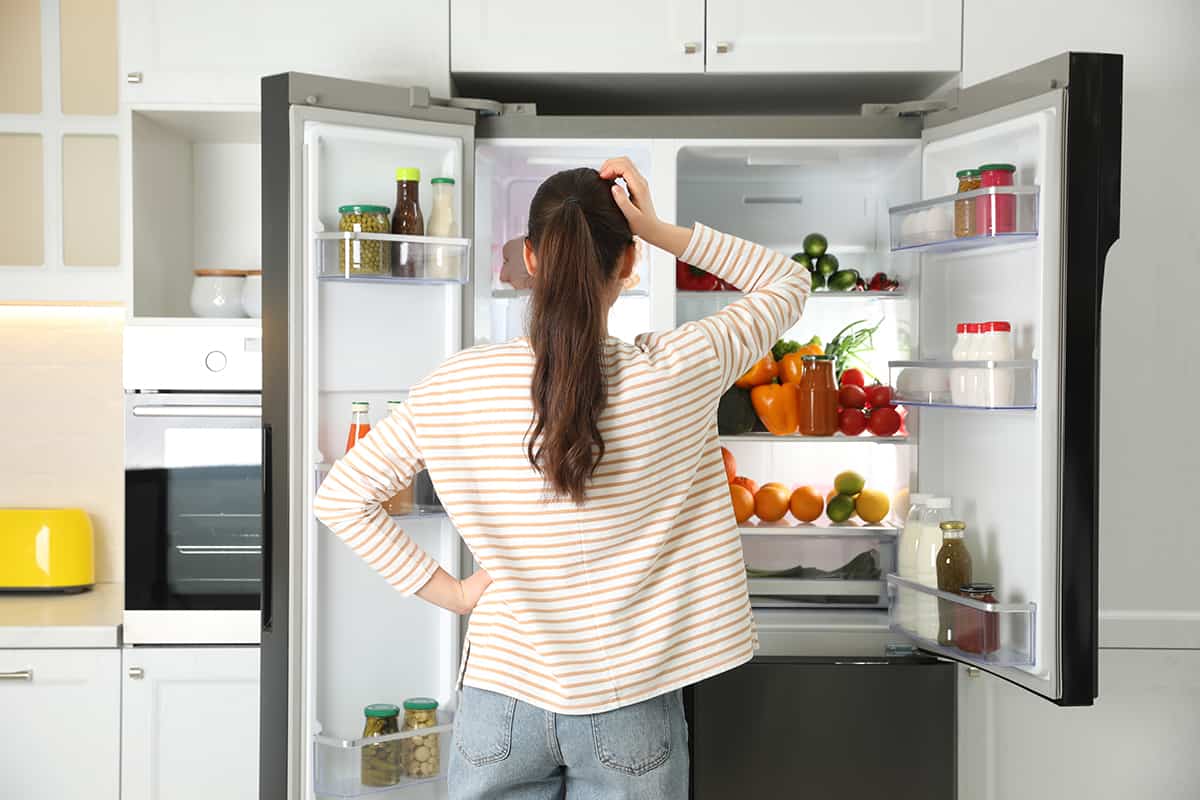
- Open the freezer door and search for a dial or a digital panel. This is often where you adjust the coldness.
- If it’s not in plain view, it might be hiding behind the inner lining or at the back. A quick peek at your model’s manual (or a fast online search) can help pinpoint its location.
Step 2. Adjusting or Replacing the Thermostat
Now that we’ve found the brain, it’s time to teach it some new tricks.
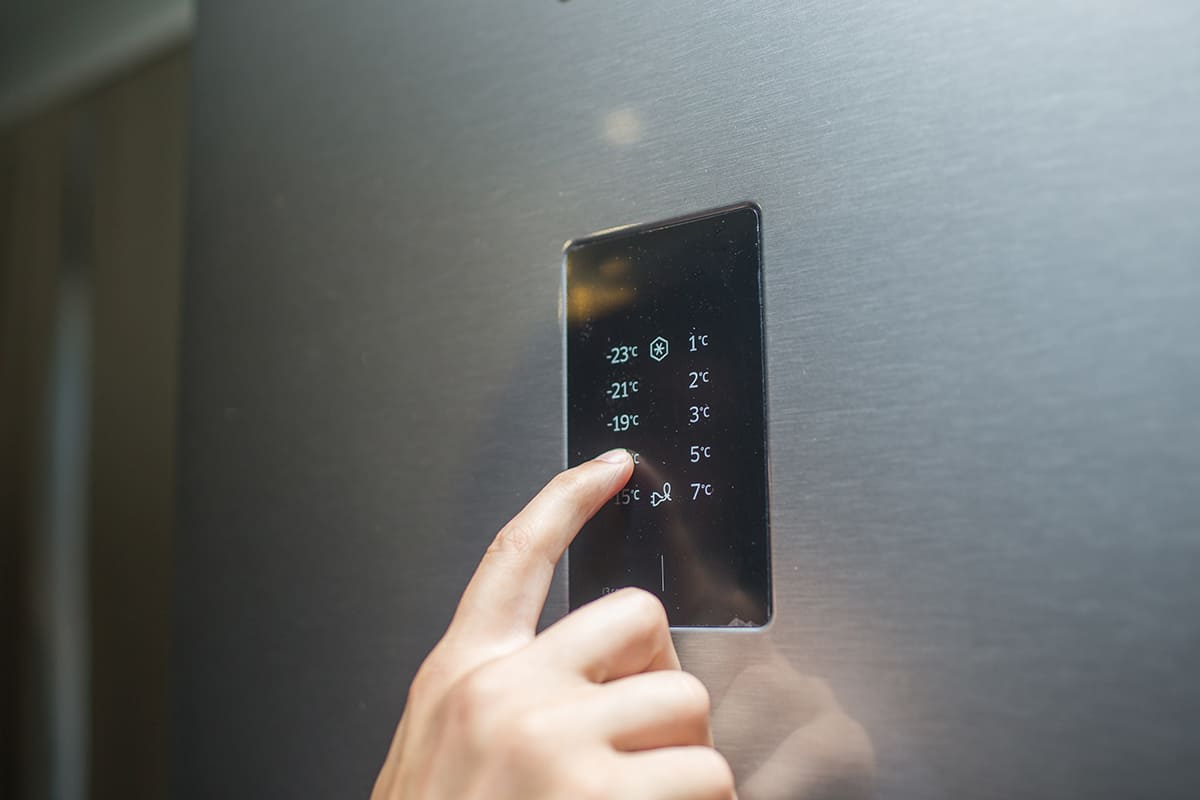
- If your thermostat has a fridge setting, simply turn or set it to that. You’re pretty much done. Talk about easy-peasy!
- No fridge setting? No problem. You might need a new thermostat designed for fridges. Again, a quick look at your model online can point you to compatible ones.
- Once you have the new thermostat, disconnect the old one. Usually, it’s a matter of unplugging a couple of wires.
- Plug in the new one where the old one was.
Step 3. Testing and Calibrating the New Temperature
Here’s where we get a bit science-y. But don’t sweat, it’s cooler than it sounds.
- Plug your freezer (now aspiring fridge) back in. Set the thermostat to a typical fridge temp, say around 37°F.
- After a few hours, pop in a thermometer. Is it showing around 37°F? If yes, take a victory sip of your drink. If not, adjust the thermostat slightly and check again in a few hours.
- Remember, patience is a virtue, especially when playing with temperatures. It might take a few tweaks to get it right.
Step 4. Securing and Finalizing the Setup
Nearly there! Just a few finishing touches to wrap things up.
- Once you’re happy with the temperature, make sure all wires and the new thermostat are securely in place. We don’t want any surprise wire pop-outs during midnight snack raids.
- Depending on your model, you might want to seal any spots where you had to access the thermostat. A little adhesive or tape can do the trick.
- Replace any shelves or drawers you removed during the process.
Step 5. Adjusting for Humidity
Fridges and freezers handle moisture differently. Here’s a quick humidity hack for your new fridge.
Step 5.1: Place a small, open container of baking soda inside. It’ll soak up any excess moisture and keep things dry. Plus, it combats odors. Win-win!
Step 5.2: If you notice too much condensation, you might want to slightly adjust the temperature. A tiny tweak can make a world of difference.
Alternative Methods

If the freezer-to-fridge transformation feels a bit like a cooking recipe with too many ingredients, no sweat! There are other ways to serve up this.
1. External Thermostat Controllers
- Buy an external thermostat controller from your local hardware store or online.
- Plug your freezer into it, set your desired fridge temperature, and let this little gadget do the heavy lifting.
2. Using Freezer as Partial Fridge
- Set your freezer to its warmest setting.
- The top part will act cooler (like a fridge) while the bottom stays frosty. Best of both worlds!
3. Cool Boxes and Ice Packs
- Switch off the freezer and let it get to room temperature.
- Add commercial ice packs or cool boxes to control the chill level. Replace as they warm up.
FAQs
1. Can all freezers be converted into fridges?
Most modern freezers can moonlight as fridges with a bit of tinkering. In fact, some smart fridges come with a freezer-to-fridge feature. However, older models might throw a tantrum. Always check your model’s specifications or manual before attempting this life-altering procedure.
2. Can I reverse the process if I want my freezer back?
Absolutely! If you miss the icicles and frosty feel, you can usually switch things back. Just reverse the steps or reset the thermostat, and you’ll have your old cold buddy back in action.