If you’re going to leave your dishwasher unused a for long period of time during the winter, you should winterize it. Winterizing is the process of removing unwanted liquids, waxes, and oils from the drain lines, which can prevent frost-related issues from wreaking havoc on your dishwasher. So, how exactly do you winterize a dishwasher?
There are two methods of winterizing a dishwasher: by clearing the inlet and drain lines and by using antifreeze. Either of these methods will stop your dishwasher’s hoses from bursting when the temperatures drown to below freezing, ensuring that they will remain in working order when the snow thaws.
In this guide, I’ll explain in greater detail how to winterize your dishwasher in preparation for long periods of unuse.
How to Winterize a Dishwasher?
As previously stated, there are two ways you can winterize your dishwasher: by drainage or by using antifreeze. I’ll describe how to perform both methods in the following sections.
Winterizing by Drainage
This method focuses primarily on eliminating residual moisture inside the dishwasher and all of its connected lines. It’s the more time-consuming method of the two, but it’s worth the trouble, especially if you don’t want to introduce chemicals into the machine.
Step 1. Preliminary wipe-down
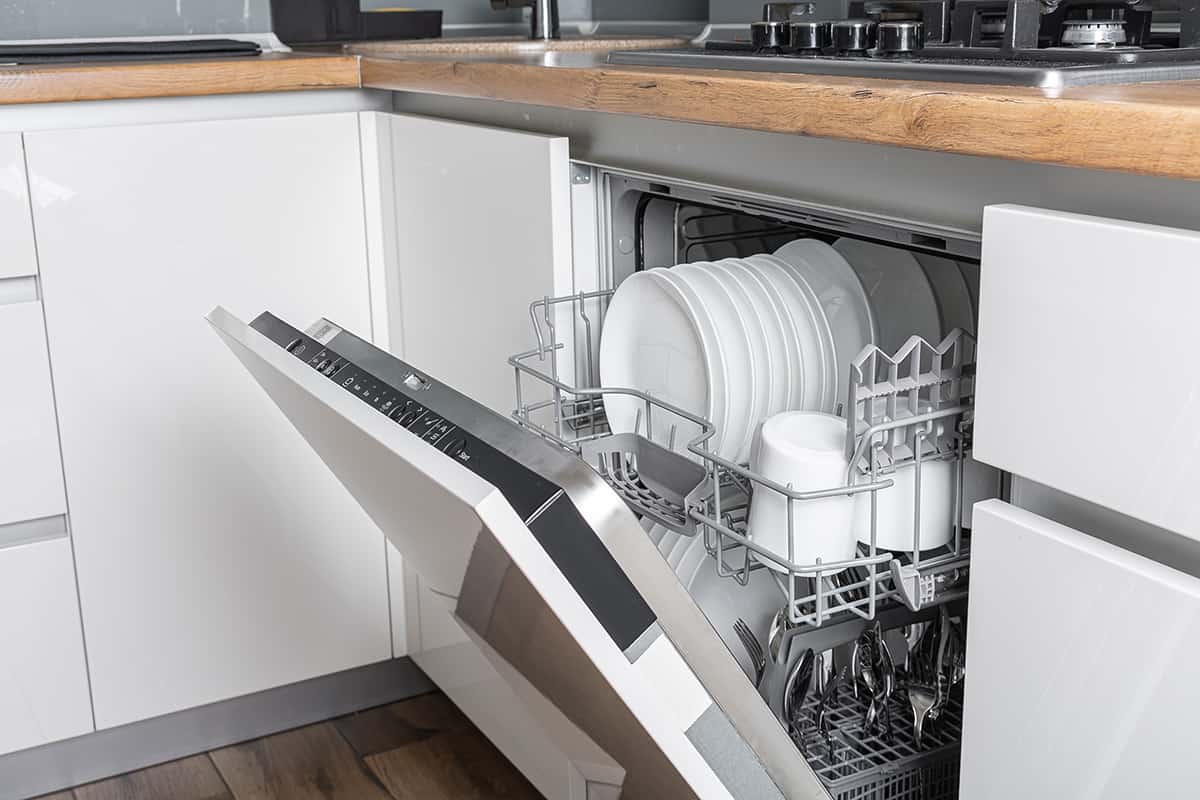
The first step before doing anything else is to remove the dishracks and all of the dishes from the dishwasher. Take a look at the soap dispenser and rinse off any residual liquid or powder detergent.
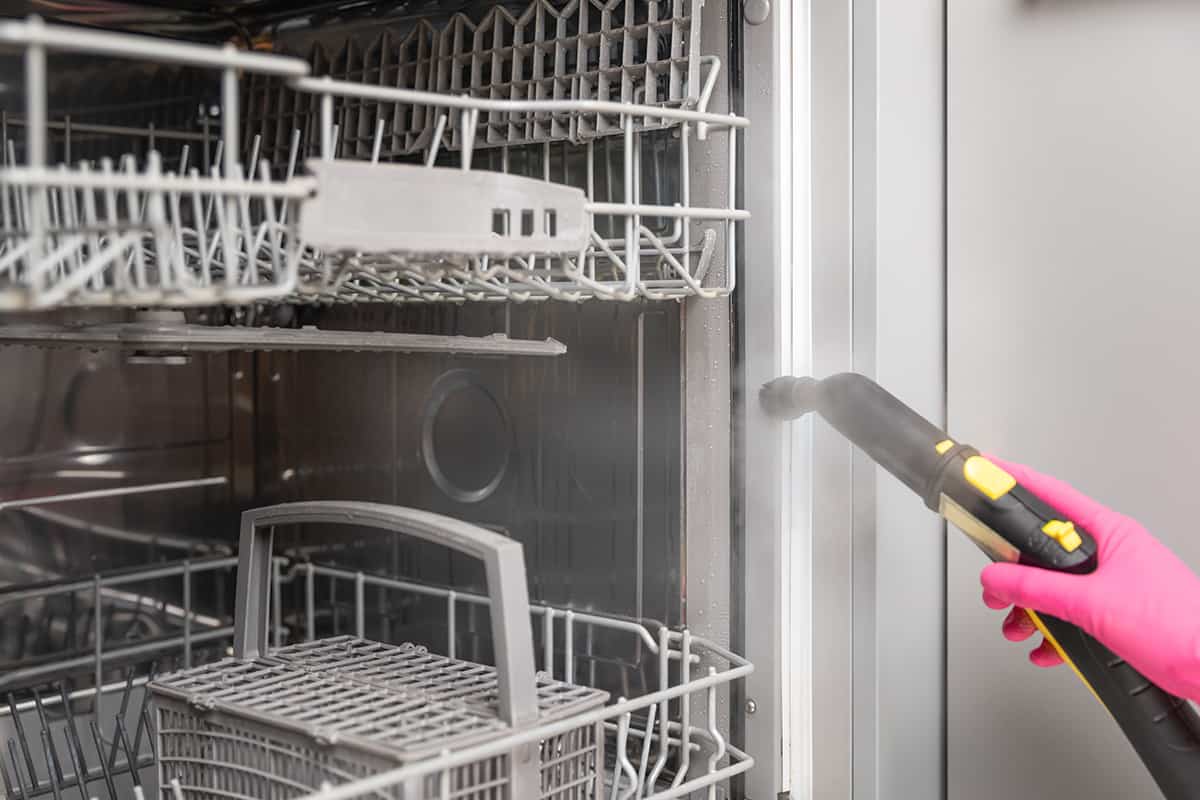
Now, using a clean microfiber cloth with some cleaning solution, wipe down the entire interior of the tub. Alternatively, you can rush the Sanitizing Cycle if your dishwasher offers it. Inspect the inside of the dishwasher to ensure that there aren’t any clinging particles on the ceiling, walls, or bottom of the tub.
Step 2. Disconnect the water supply line
Although dishwashers come with a lid or cover that blocks water from the water inlet valve when turned off, it’s a good idea to disconnect the line when you’re not using your dishwasher for extended periods. Doing this will ensure that the frozen water in your plumbing system will not push against the dishwasher’s water line and cause it to break.
To disconnect the water supply line, first shut off the water valve to your home or to the kitchen. Next, run a rinse cycle, which will up any remaining water from the supply line, and allow the water to flow through the dishwasher’s drain line.
Step 3. Deep-clean the filter assembly
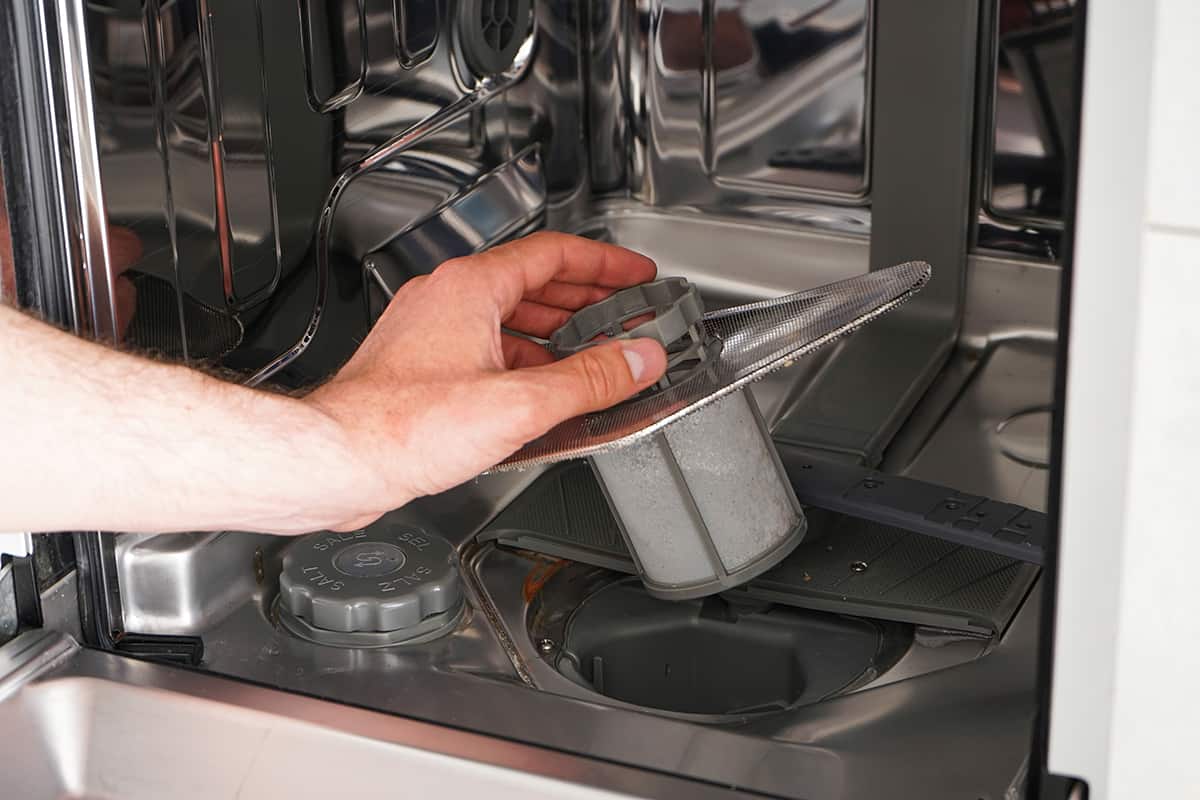
The filter assembly is located at the bottom of the dishwasher’s tub. It is comprised of at least three components—the main filter, the cup, and the fine-filter cylinder. What we want to do is get rid of all the leftover food particles and bacteria residing in the filter assembly.
So, remove the filter assembly by gently twisting it counterclockwise, then take the components apart before placing them in a tub of soapy water. Let the assembly sit for 30-60 minutes and gently scrub with a soft-bristle brush, taking extra care not to apply too much pressure that can tear the fine-filter mesh.
After the filter assembly has been thoroughly cleaned, reassemble the filter and reinstall it in the dishwasher.
Step 4. Clean the sump hole
The sump hole is the port where the filter assembly attaches to the base of the tub. While dishwasher filters do an excellent job at trapping most particles, there’s a chance that some of the finer debris will make it past the multi-tiered filter and reside somewhere in the drain line (I’ll cover this in a bit) or even possibly partially clog the sump hole.
Fill a bucket with water from another part of your home (remember: we already shut off the water supply line to the dishwasher and possibly the sink, too) and pour it down the sump hole. With a long-bristle brush, scrub away any remaining solid particles in and around the sump hole before flushing it with an additional bucket of water.
Step 5. Clean and disconnect the drain line
The drain line is the hose where dirty water from the dishwasher is pushed out toward the garbage disposal or directly to the sewer line. There’s a possibility that food particles might have latched onto the interior walls of the drain line. To flush the particles away, fill another bucket of water and pour it into the sump hole of your dishwasher.
This is also a good time to inspect the drain line for kinks or tears. Underneath your cabinet, check to make sure that the drain line is perfectly straight or doesn’t have significant bends or turns. If you notice water pouring out from the drain line, you might need to replace it.
After the drain line is clean, disconnect it from the garbage disposal or sewer line, making sure to close the gaping hole with the integrated lid (if available).
Winterizing by Using Antifreeze
If you don’t want to go through the five-step process of clearing and disconnecting your dishwasher’s water supply and drain lines, you can use dishwasher-safe antifreeze instead.
Read the product’s label carefully to figure out how much of the solution you should use. Otherwise, you can follow these general steps to apply antifreeze to your dishwasher.
Step 1. Drain the dishwasher
Similar to the previous winterizing method, you will need to get rid of all remaining water in your dishwasher. So, remove all the dishracks and dishes and run an empty rinse cycle.
Step 2. Add the antifreeze
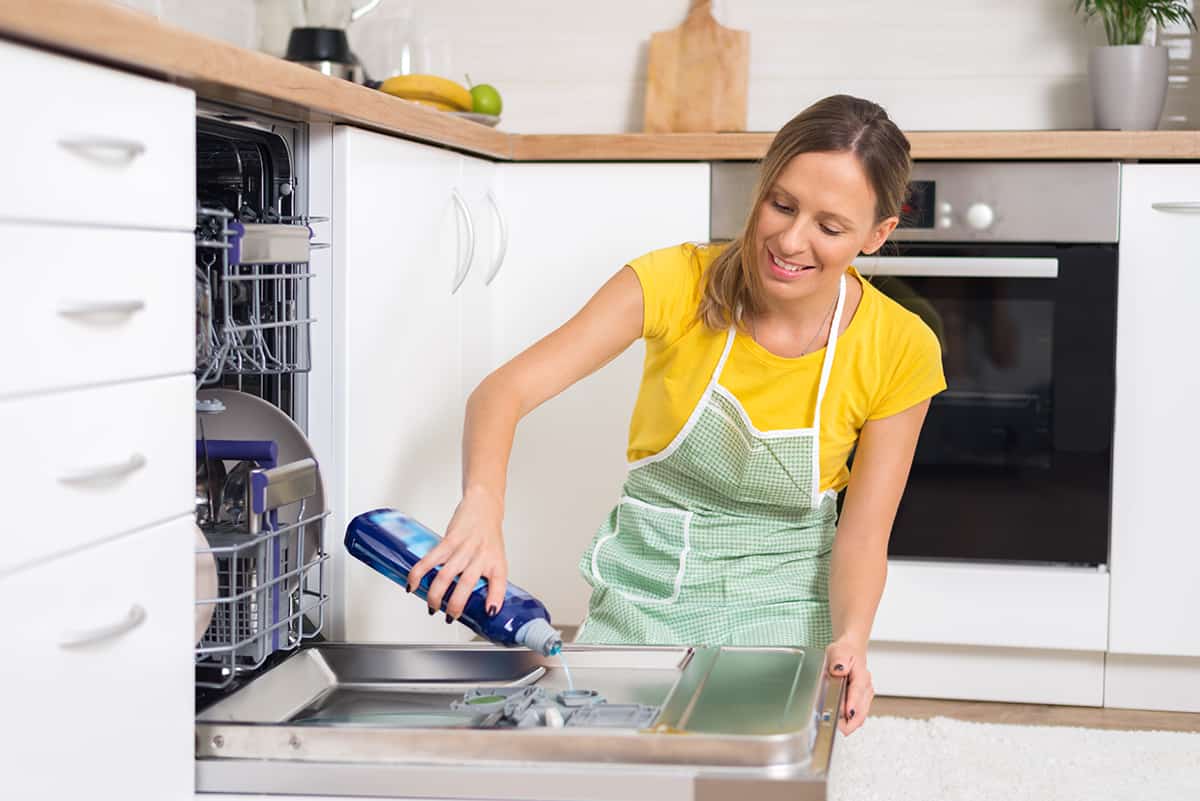
If you already have a bottle of dishwasher-safe antifreeze on hand, the next step is to pour 1/3 to ½ of a gallon of the solution into the bottom of your dishwasher’s tub.
Step 3. Run the quickest wash cycle but stop before the rinse cycle
Now, run the quickest wash and rinse cycle available on your dishwasher, allowing the spraying arm to splash the antifreeze around the empty dishwasher and pass through the filter assembly into the drain line. Stick around the kitchen area because we don’t want the dishwasher to rinse the antifreeze away.
Right before the rinse phase, stop the dishwasher. This lets the antifreeze solution seep into the drain line, which will stop residual moisture from turning into ice crystals, which can damage the drain line if left alone for months at a time.
Step 4. Run a rinse cycle before using the dishwasher
And that’s all there is to it. However, you should make sure to run a rinse-only cycle after winter has passed and when you’re ready to use the dishwasher. The rinse cycle will flush away the old antifreeze solution, making it perfectly safe for subsequent wash cycles. However, I recommend running at least two rinse-only cycles, just to be safe.
Where Should I Store My Dishwasher During the Winter?
Here’s where things can get a bit tricky. Dishwasher manufacturers will recommend not leaving the appliance in areas of your home that can reach below-freezing temperatures, which include the basement and garage. So, if you’re going to relocate to another place during the winter, the machine should be safe to leave in your kitchen.
The only problem is if you also shut off heating to your home during the winter, which could mean that your dishwasher, regardless of where you store it, will be exposed to extremely cold temperatures.
So, if you have no option but to leave the dishwasher in your kitchen over the winter, you might want to consider insulating the kitchen by putting up insulation boards on the wall and shutting and sealing the windows. That way, a draft will not come in and wreak havoc on your dishwasher and other kitchen appliances while you’re away.
When Should I Winterize My Dishwasher?
The ideal time to winterize your dishwasher is at least one week before winter takes over and freezes your plumbing system. That way, you’ll have at least a seven-day window to see how the dishwasher stands up to the frigid cold temperatures, even with the water supply line still connected.
Should I Leave the Dishwasher Door Open During Winter?
No, you shouldn’t. While it’s generally a good idea to leave the dishwasher’s door opened slightly after running a full wash cycle, leaving the door ajar during the winter can be bad for your dishwasher’s health.
Firstly, the cold air in your kitchen will get into the dishwasher and possibly dry out the filter assembly, dishwasher door gasket, or soap dispenser seal. Although these components are fairly cheap to replace, you can prevent them from drying out and cracking by keeping the door shut and latched securely.
How to Winterize the Door Gasket?
The gasket is the rubber lining along the outer edge of the door. It prevents moisture from seeping out of the tub during wash cycles, as well as prevents debris from the outside from entering the dishwasher when not in use. The gasket and soap dispenser seal are prone to cracking in extremely cold temperatures.
Contrary to popular belief, Vaseline is not the ideal winterizing agent for the rubber lining. Instead, you can use a gasket lubricant, which is designed specifically to keep the gasket from deteriorating over time due to excessive or lack of use.