Dishwashers, once a luxury, have become commonplace in modern kitchens. Among the various brands, Whirlpool stands out as a household name. But it sometimes requires a bit of troubleshooting to keep it running smoothly.
The diagnostic mode in a Whirlpool dishwasher helps identify operational issues. To enter this mode, you typically press a sequence of buttons on the control panel, such as pressing the Program button twice and the Start Button immediately after.
In today’s guide, we’ll take a closer look at diagnostic mode, explain how to enter it, and how to interpret the results.
What Is Diagnostic Mode?
So, your Whirlpool dishwasher’s been acting a bit funky, huh? before you call in the cavalry (a.k.a. the repair guy), there’s a nifty thing called the ‘Diagnostic Mode.’ It’s sort of like a built-in doctor that diagnoses what’s wrong with your dishwasher.
Purpose of Diagnostic Mode
This mode is your dishwasher’s way of communicating what’s going on under the hood. It runs a series of checks and tests to pinpoint any hiccups or problems in the system. Once it figures out the issue, it flashes a code or lights on the control panel, kind of like Morse code but for dishwashers.
But why bother with it? Diagnostic mode can save you time, money, and a headache. Instead of playing a guessing game or waiting days for a technician, you can often identify the problem, and sometimes even fix it, all by yourself.
Differences Between Regular Mode and Diagnostic Mode
In regular mode, your dishwasher just goes about its day, cleaning your dishes, making those familiar sounds, and flashing lights when it’s done. It’s all very routine.
Diagnostic mode, on the other hand, is like the behind-the-scenes tour. It delves deeper, running specific tests that regular mode doesn’t. While in this mode, the dishwasher doesn’t clean your dishes but focuses on checking each component’s health.
How It Works
When you activate diagnostic mode, your dishwasher starts a performance check. It evaluates pumps, sensors, water levels, heater elements, and other parts. After it’s done assessing, it’ll give you a report in the form of a code. Now, this isn’t some secret language you need a decoder ring for. Whirlpool provides a manual (usually online) where you can match the code with its meaning.
For instance, if your heater element isn’t working right, there’s a code for that. If the water isn’t draining correctly, there’s a code for that too.
Step-by-Step Guide for Entering Diagnostic Mode
Ever wished your dishwasher could just tell you what’s bothering it? Well, with the diagnostic mode, it kind of can. Here’s how you can get your dishwasher to spill the beans.
Prepping Your Dishwasher
Turn it off: Start by powering off your Whirlpool dishwasher. You can do this by pressing the ‘Off’ button or simply unplugging it. Give it a minute. Think of it as letting your dishwasher take a deep breath before its confession.
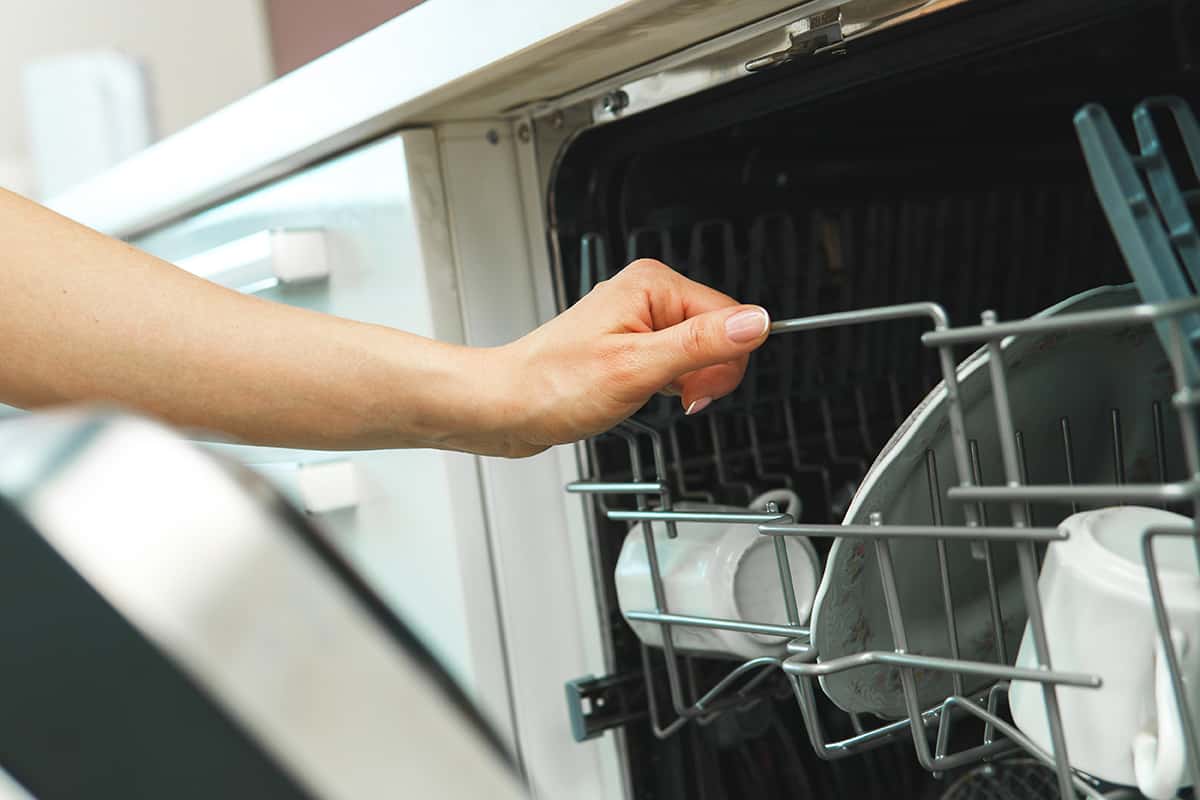
Empty it out: Remove any dishes or rogue spoons chilling at the bottom. We want no distractions during our detective work.
The Button Sequence
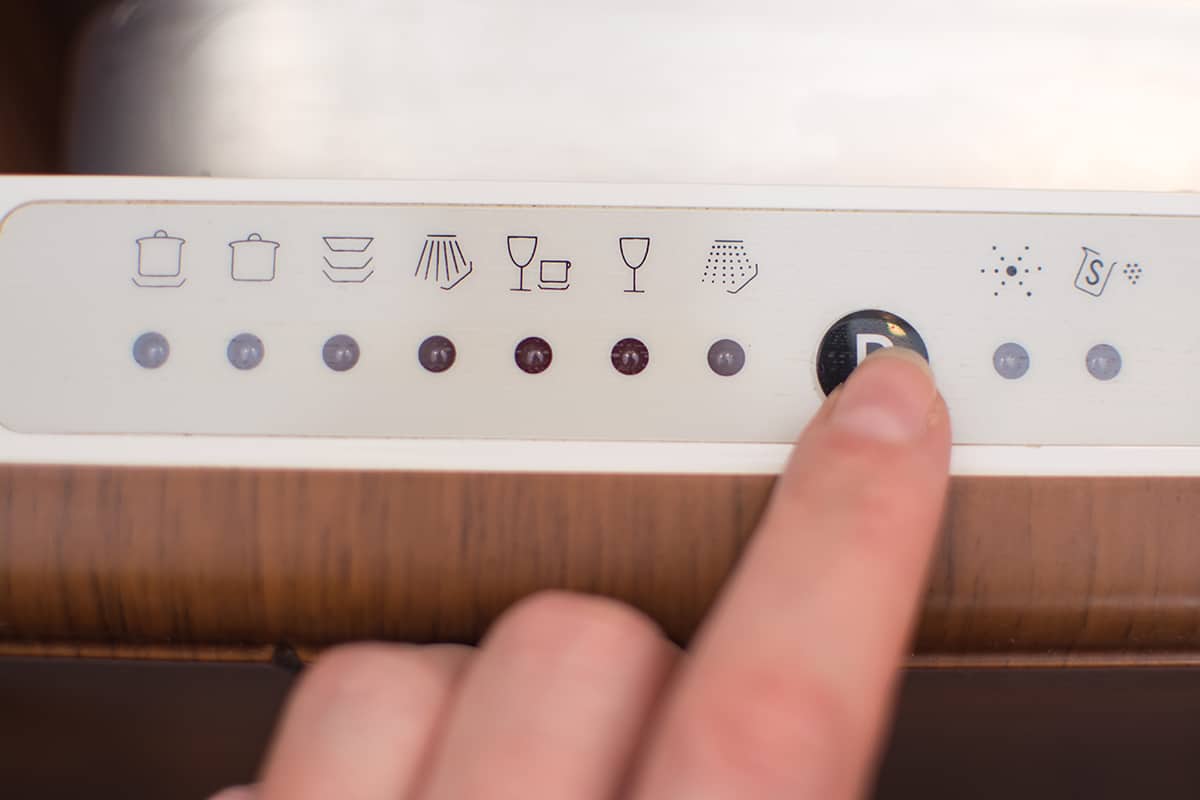
Entering diagnostic mode usually involves pressing a specific sequence of buttons.
- Common Sequences: A popular button sequence is: ‘Heated Dry – Normal – Heated Dry – Normal.’ However, this might vary depending on your dishwasher’s model. Some might require you to push ‘Hi Temp – Air Dry – Hi Temp – Air Dry’ or another combo. It feels a bit like entering a cheat code in a video game.
- Keep a Watch: When you press the right sequence, a light will typically flash, or the display will change. That’s your dishwasher saying, “Alright, let’s talk.”
- Not working?: If you’re pressing buttons like a concert pianist and nothing’s happening, it might be a good idea to pull out the user manual or search for your specific model online.
Exiting Diagnostic Mode
Now, how do you get your dishwasher back to its day job?
- Simple Exit: In most cases, pressing the ‘Off’ button or ‘Cancel’ will do the trick. Your dishwasher will sigh in relief and return to its regular state.
- The Hard Reset: If it’s a bit stubborn, you can always unplug it and plug it back in. It’s the age-old trick that works on everything from dishwashers to teenagers.
Interpreting Diagnostic Results
So, your dishwasher has just spilled its guts in the form of blinking lights and beep codes. Let’s play detective and decode these cries for help. You can get a more comprehensive look at common Whirlpool dishwasher error codes here, but in a nutshell:
- F1: The temperature sensor detects water that’s either too cold (below 26.6°F) or too hot (above 185°F).
- F2: The dishwasher detects a leak. There isn’t enough water in the tub even after the set filling time.
- F3: There’s an issue with the heating element not warming the water fast enough.
- F4: The dishwasher doesn’t drain dirty water efficiently, which could cause water to stagnate inside.
- F5: Debris has blocked the rotor, which is part of the dishwasher’s fan.
- F6: No water is entering the dishwasher, preventing the start of a wash cycle.
- F7: While there’s some water flow, it isn’t enough to fill the tub.
- F8: The tub has filled with an excessive amount of water.
- F9: The dishwasher can’t stop water intake, leading to potential overflow.
- F10/F0: One or more sensors, responsible for monitoring various aspects of the dishwasher’s operation, are malfunctioning.
Troubleshooting Common Problems

Even dishwashers can have an off-day, with its cause usually being indicated by the error code. Here’s a list of common solutions for common Whirlpool dishwasher problems.
1. Dishwasher Won’t Start
- Power Issues: Check if it’s plugged in. Sometimes the solution is as simple as a game of connect-the-dots.
- Door Latch: Ensure the door is firmly closed. If the latch is wonky, the dishwasher might think you’re still loading up last night’s plates.
2. Dishes Come Out Spotty
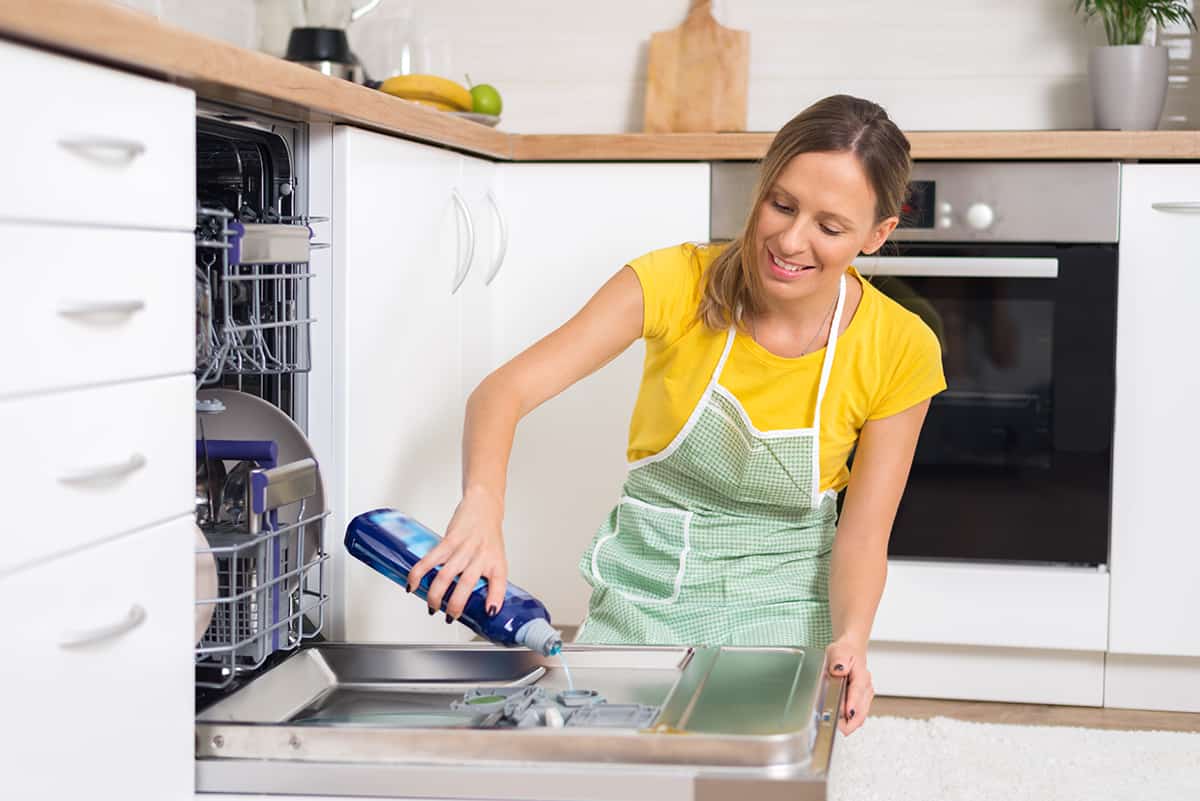
- Rinse Aid: It’s like a hair conditioner but for dishes. If you’ve run out or never used it, give it a try.
- Water Temperature: If your water’s too cold, dishes won’t clean well.
3. Weird Noises
- Spray Arm Drama: Sometimes, a stray spoon or dish can block the spray arm. A quick rearrange should do the trick.
- Drain Pump Grumbles: Foreign objects in the drain can make your dishwasher sound like a grumpy old man. Check and clear out any culprits in the bottom of your dishwasher.
4. Water Doesn’t Drain
- Drain Blockage: Food bits or debris might be thrown a block party. Clean the drain, and voila, the water should flow.
- Kinky Hose: Not that kind! Ensure the drain hose isn’t bent or kinked.
5. Dishwasher Smells Funky
- Old Food: Bits of food can cling on and start to smell. A quick clean can freshen things up.
- Rinse Cycle: Running a rinse cycle with a cup of white vinegar can act like mouthwash for your dishwasher.
6. Soap Tablets Don’t Dissolve
- Old Tablets: If they’ve been sitting around for a while, they might not dissolve well. Try a fresh pack.
- Spray Arm Issues: Make sure the spray arms are spinning freely and not blocked by tall dishes.
7. Dishes Aren’t Dry
- Door Issue: Crack open the door just after the cycle ends. The steam will escape, helping things dry out.
- Rinse Aid: Yes, it’s back! Rinse aid doesn’t just prevent spots; it helps dishes dry faster too.
8. Dishwasher Won’t Fill
- Float Assembly: This gadget tells your dishwasher when it’s full. If stuck, it might think it’s always full. Give it a gentle tap.
- Water Supply: Ensure the water supply valve is turned on. It’s like making sure your coffee machine has water before expecting a cuppa Joe.