Ice makers are delicate machines. It needs to be at the correct temperature to pour water into the ice tray without the splashback freezing over. So, what temperature should you set your ice maker to?
Your ice maker relies on the temperature setting of your freezer to work. The optimal freezer temperature for your ice maker is between 0 and 5°F. If it goes beyond 5°F, the ice maker will work inefficiently. 10°F and higher will cause your ice maker not to work at all.
In this guide, I’ll explain how an ice maker works and how to set your freezer to the correct temperature.
How Does an Ice Maker Work?
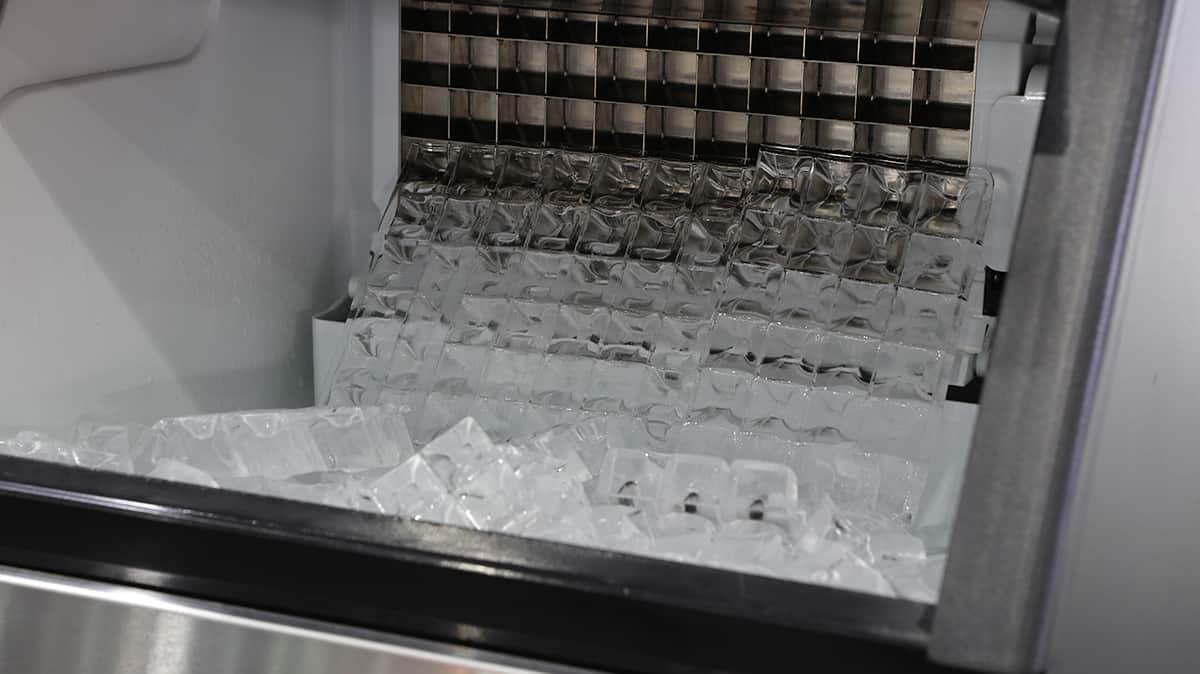
The way an ice maker works vary between models, but they operate on very simple and similar principles. Ice makers rely on 3 crucial variables: incoming voltage, water supply, and temperature.
Ice makers use 120 volts of AC to power a pump, which suctions water from a collection sump, pours it into the ice tray, and removes the frozen ice cubes from the tray. The water supply line connected to your ice maker’s inlet valve must provide between 20 and 120 PSI of water pressure. Finally, the temperature of the freezer is what will ultimately chill the water and turn them into ice.
Before explaining how ice makers work, there are a few parts you need to be familiar with.
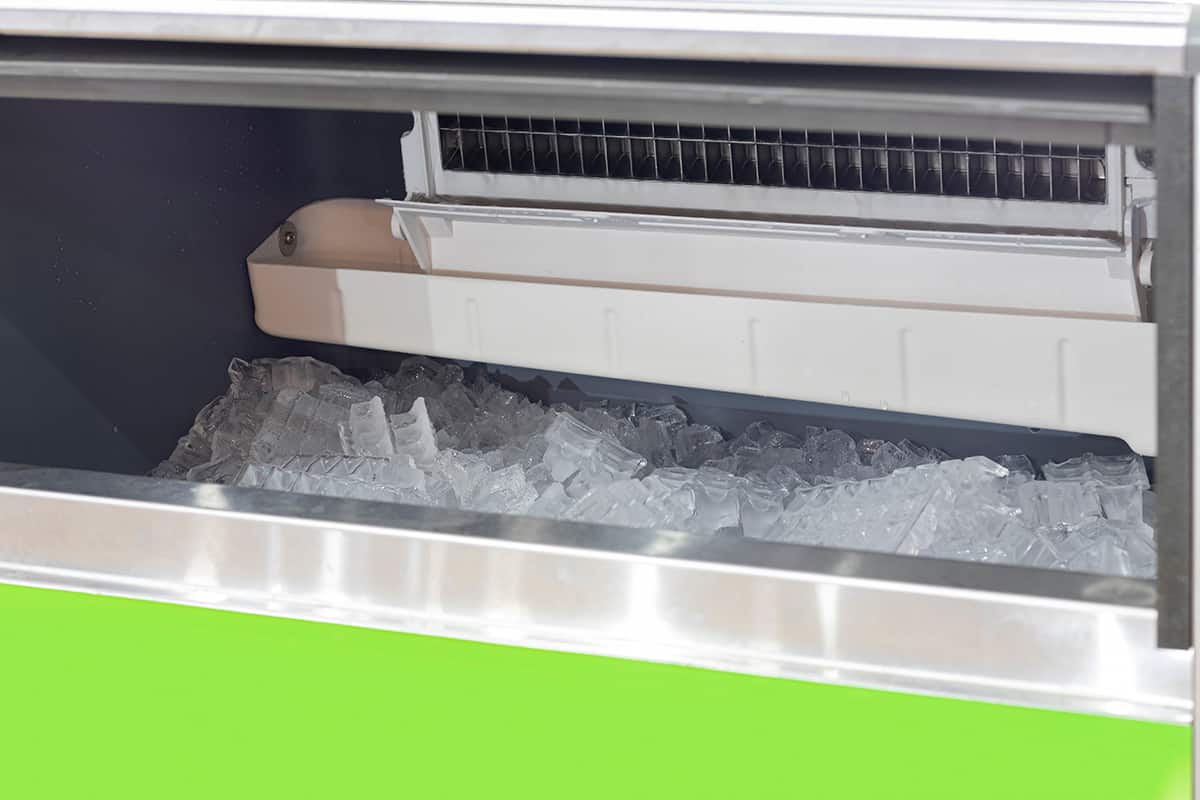
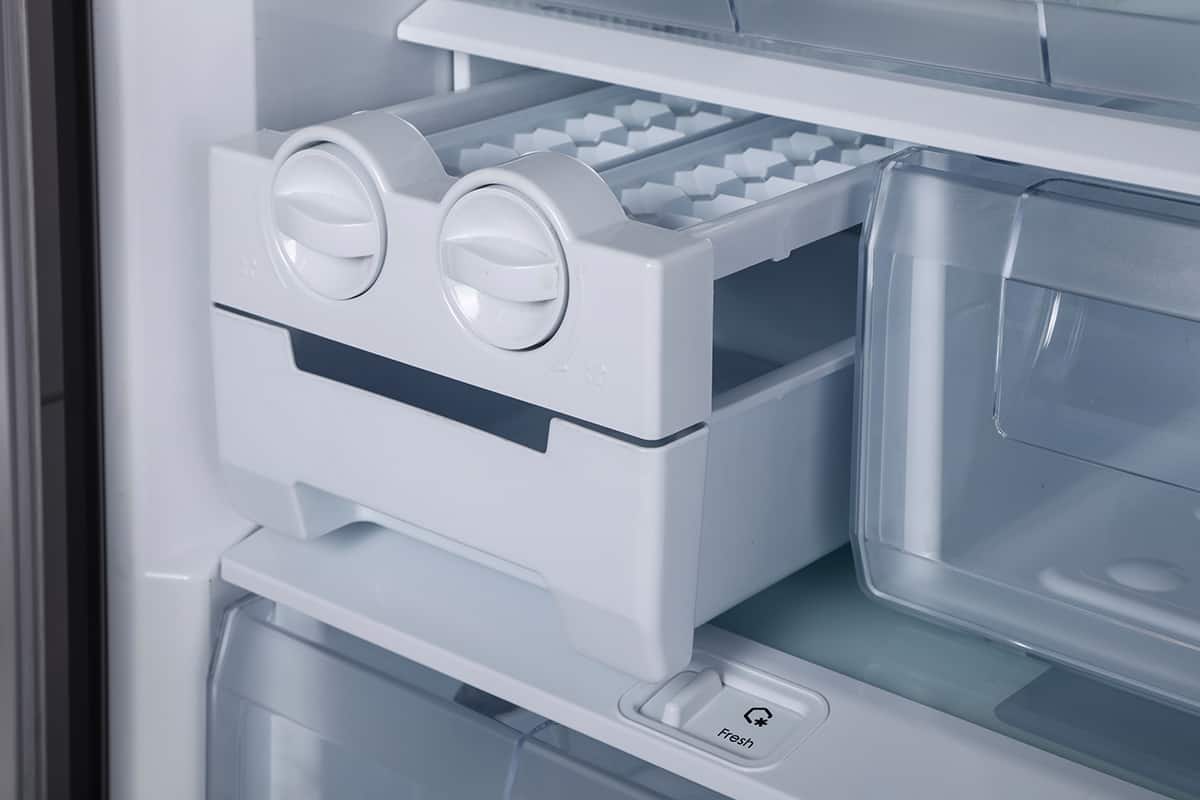
- Ice Bucket—The tub into which ice is ejected after it has frozen.
- Feeler arm—The lever on the side of the ice bucket that measures how much ice is inside the bucket.
- Collection sump—The reservoir of water inside the refrigerator that is constantly filled with fresh water from your home’s water supply line.
Now, let’s see how an ice maker works.
- The feeler arm measures the level of ice inside the ice bucket. If the arm is raised, then there is still plenty of ice inside the ice bucket, and the ice maker will not make ice. If the arm is lowered, then the ice maker will begin a new ice cycle.
- When the arm is lowered, the AC motor will open the inlet valve and allow water to flow through a series of pipes and into the ice tray. The inlet valve will shut after a predetermined amount of water has filled the ice tray.
- The water will freeze after spending between 90 and 120 minutes inside the prechilled environment of the freezer.
- After 90 to 120 minutes has passed, the AC motor will flip the ice tray over and eject the cubes into the ice bucket.
- The process repeats itself until the ice bucket is filled with ice.
How Much Ice Does an Ice Maker Produce Every Day?

On average, built-in ice makers inside refrigerators should make roughly 3 pounds of ice every day. This translates to roughly 120 ice cubes or about 10 90- to 120-minute ice cycles per day.
Knowing how much ice your ice maker makes per 24 hours is a good way to figure out whether or not the machine is working as intended. If you go through 3 pounds of ice daily, then your ice maker may push the number of ice cycles up to 12 or 14 per day. However, if you get less than 3 pounds of ice daily while regularly using up the ice cubes inside the bucket, then there might be something wrong with the machine.
If this is the case, one of the first things you should do is inspect the freezer’s temperature to ensure that it’s in the correct setting.
What Temperature Should the Freezer Be for The Ice Maker?
Built-in ice makers inside refrigerators do not have an independent cooling mechanism to freeze the water into ice. Instead, it relies on the chilled environment in the freezer, which relies on the temperature dial to be at the correct temperature.
The optimal temperature of your freezer should be between 0 and 5°F. At this temperature range, your ice maker should be able to complete a cycle within the 90 to 120-minute timeframe.
Usually, ice makers will show shows of inefficiency when the freezer’s temperature exceeds 5°F. A clear-cut sign is that the ice will take much longer to freeze. This may result in the ice tray flipping over prematurely (before the ice has set). Unfrozen water from the ice trays will eventually solidify in the ice bucket, so you will have to manually break the ice into chunks in order to retrieve them from the bucket.
If your freezer is set to 10°F or higher, there’s a good chance that the ice maker will shut down completely. It’s only after you lower the temperature of the freezer (or remove obstructions that prevent optimal airflow inside the freezer) that the ice maker will begin a new ice cycle.
But what happens when the freezer’s temperature is below 0°F? The ice maker can be just as problematic as it would be at 5°F and higher.
If the temperature is set too low, the stagnant water inside the collection pump could become semi-frozen. When this happens, only a tiny amount of water will flow through the series of pipes and make it into the ice tray. What you will end up with are tiny, unsatisfying ice cubes.
Another symptom of a colder-than-optimal freezer temperature is icy blockages forming around or inside the pipes. The flowing water will splash back against the pipe, which can freeze over immediately when the freezer is too cold. Over time, the blockage could completely prevent water from flowing into the ice tray.
How to Set Your Freezer to the Optimal Temperature

The majority of freezers will have a built-in temperature dial on the back wall. If you don’t see it, you may have to remove some of the objects inside your freezer. You should probably do so anyway to allow for optimal airflow inside the freezer, which can help your ice cubes freeze within 90 to 120 minutes.
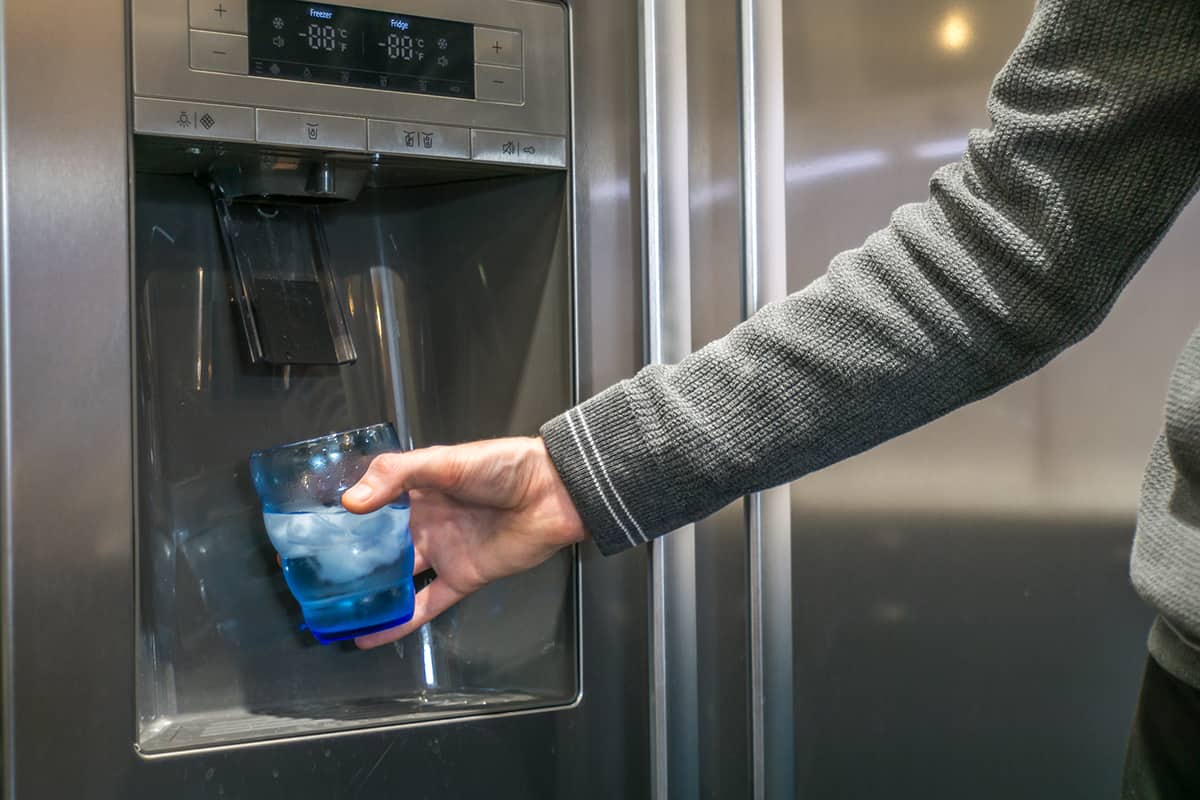
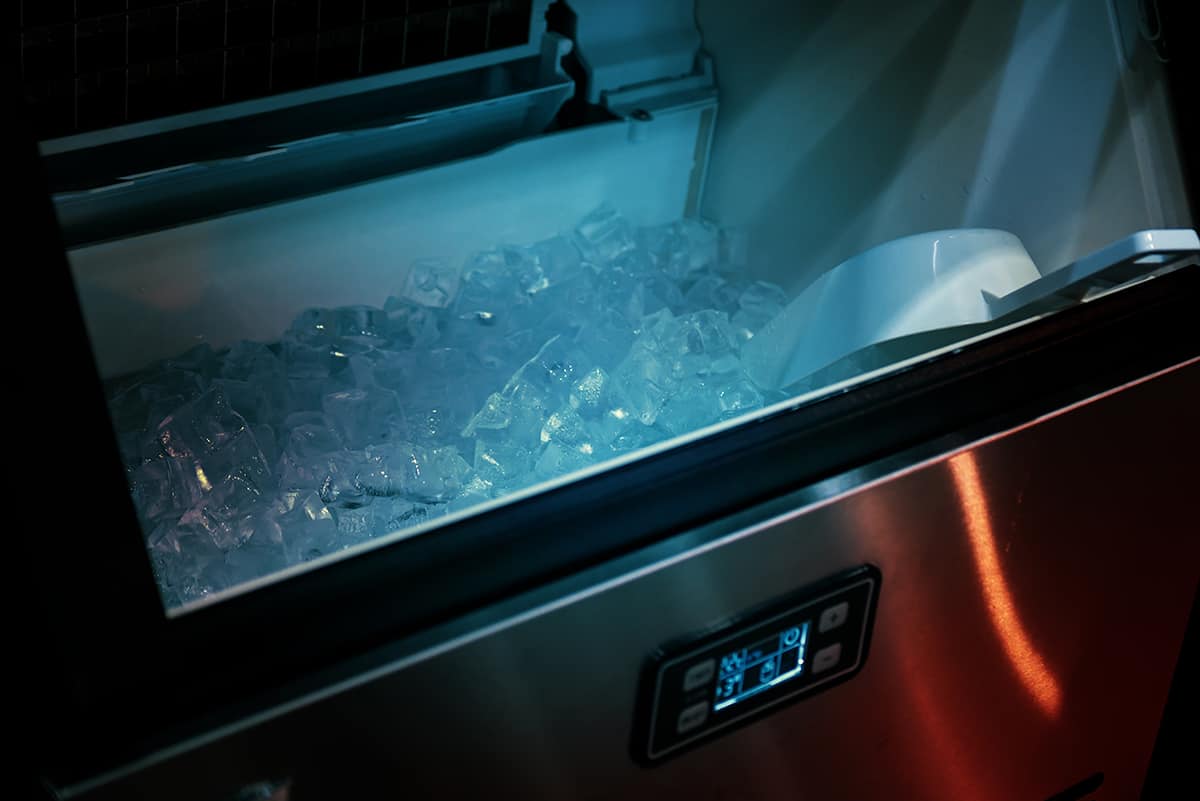
There are also freezers with built-in ice makers that have temperature buttons located on the ice maker unit. You can push the up or down buttons to set the freezing level of your freezer.
Regardless of what system your freezer has, they will not help you in setting the freezer to the optimal 0 to 5°F temperature range.
For that, you will have to pick up a freezer thermometer, such as the Rubbermaid GFR80DC. It will take some trial and error before getting your freezer’s temperature within the optimal freezing range.
How to Tell Whether the Freezer Temperature Is Set Correctly?
If you don’t have a freezer thermometer, you can tell whether or not the temperature is set correctly by looking for the following signs.
The freezer’s walls are icy but not completely covered in ice
It’s natural for ice to form along the interior walls of your freezer. However, if the temperature is too cold, it may cause moisture droplets to freeze immediately and join together to create large icy formations everywhere. If your freezer is coated in a layer of 1-inch (or thicker) ice walls, lower the freezer’s temperature.
Your frozen food doesn’t have freezer burn
Freezer burn occurs when your leave uncovered food inside a freezer for too long. Ice will form on the food’s surface, ultimately affecting its taste and texture, even though it’s safe to eat. If you find yourself throwing out food due to a freezer burn, try bringing down the temperature of your freezer.
Ice cream is scoopable but not too loose
One simple test for checking your freezer’s temperature is by freezing a tub of ice. If you can scoop the ice cream out of its container after 2 hours of being in the freezer, your freezer should be fine. Conversely, your freezer is too cold if the ice cream binds together to create one delicious mass of sweet ice.
