GE ice makers aren’t usually known for breaking down, but there will eventually come a time when you will have to reset it. Luckily, resetting the ice maker isn’t all that difficult.
These are the steps you need to follow in order to reset your GE ice maker
- Place a paper towel underneath the ice bucket.
- Remove the ice bucket.
- Turn off the ice maker.
- Lower and raise the feeler arm 3 times.
- Wait 30 to 60 seconds.
- Reinstall the bucket and power on the ice maker.
Resetting an ice maker is a simple way to bring it back to working order. However, it’s not a blanket solution to all problems. In this guide, I’ll explain how to reset a GE ice maker in greater detail, what resetting your ice maker won’t fix, and what you can do to resolve those problems.
How to Reset a GE Ice Maker
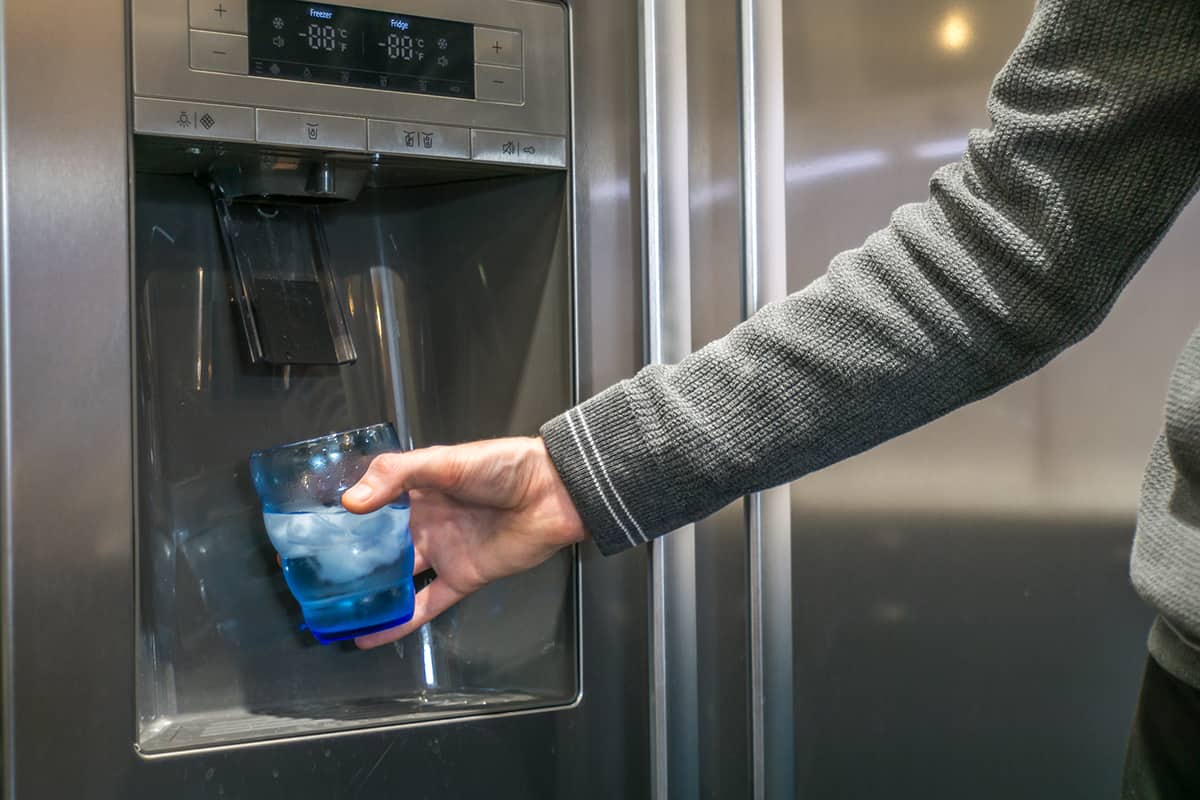
If you feel that your GE ice maker isn’t working as efficiently as it used to, or if you just finished moving your fridge to another location, then you should try resetting the machine.
Resetting an ice maker involves cutting off power to the unit, allowing it to flush water into its water line and discharge. Doing this will hopefully restore the ice maker to working order.
So, how exactly do you reset a GE ice maker? The following steps will show you how.
1. Place a paper towel underneath the ice bucket
First, open the freezer door and place a paper towel or rag underneath the ice bucket. This will absorb any moisture that comes out of the ice maker.
2. Remove the ice bucket
In some GE ice makers, you will have to remove the ice bucket to access the power button. Even if this isn’t the case, you should still remove the ice bucket so that the leftover water in the ice maker’s water line doesn’t contaminate your ice cubes.
3. Turn off the ice maker
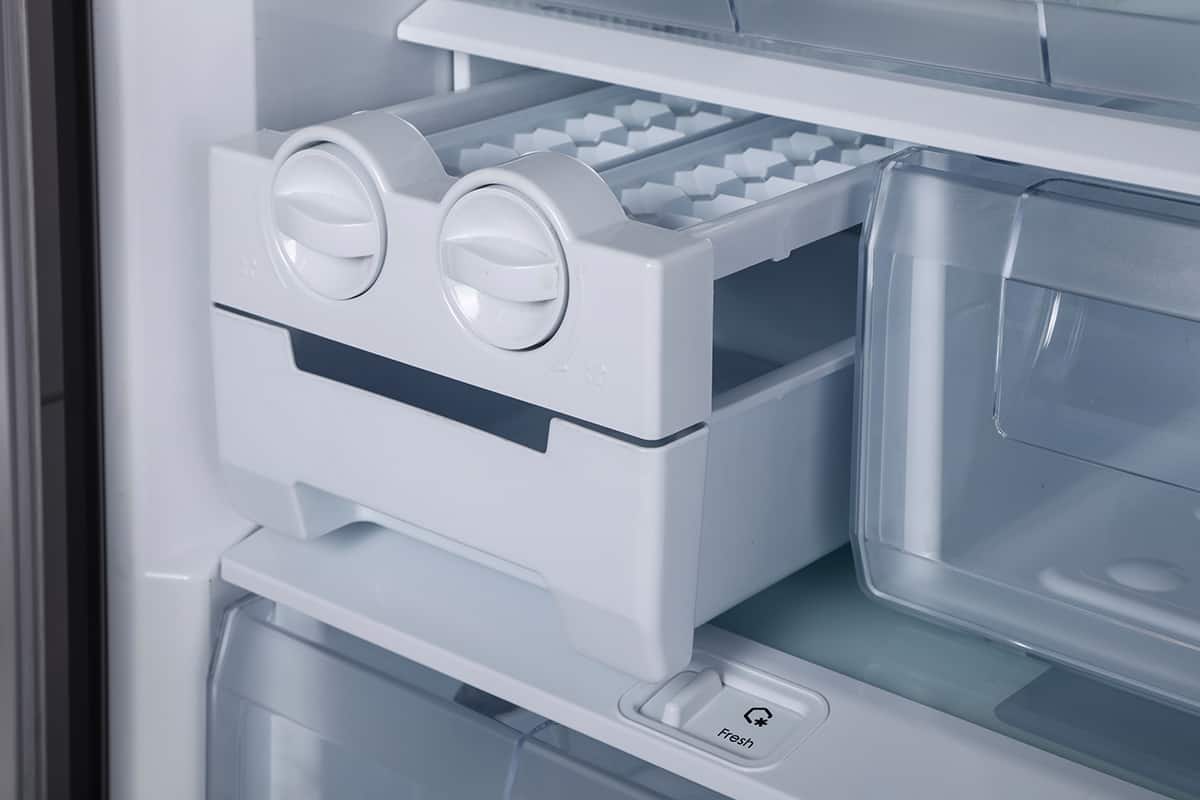
You will have to locate the power switch. In most models, it will be on the underside of the main ice maker unit. To get a better view, remove the ice bucket and search underneath and on the side of the ice maker. After locating the power switch, turn it off.
4. Lower and raise the feeler arm 3 times
The feeler arm measures the level of ice inside the ice bucket. When the arm is lowered, the ice maker knows to produce another batch of ice.
Conversely, if the arm is raised, the ice maker will stop making new ice cubes. By lowering and raising the arm 3 times without the ice bucket, you can dislodge any remaining ice cubes or ice fragments stuck inside the ice maker.
5. Wait for 30 to 60 seconds
You have to give the ice maker some time to discharge and release leftover moisture in the water line. Make sure you laid a sheet of paper towel underneath the ice maker to absorb the moisture.
6. Reinstall the bucket and power on the ice maker
After waiting 30 to 60 seconds, it’s safe to return the ice bucket to its previous spot and power on the ice maker. This will trigger the feeler arm to rise and fall before instructing the ice maker to prepare a fresh batch of new ice. Wait until the ice is done and see whether or not the problem is resolved.
Resetting the GE Ice Maker Didn’t Work
Unfortunately, resetting the ice maker won’t fix 100% of the problems. There are hardware and maintenance problems that cannot be fixed by simply turning the unit off and on again.
Let’s take a look at what these problems are and what you can do about them.
Ice maker not making ice
The biggest problem you could experience is that your ice maker isn’t making ice at all. However, this is a symptom that can be associated with a wide range of problems, ranging from a defective ice maker to a clogged water line.
Solution #1: Inspect the water line
Before taking your ice maker apart and checking the motor for continuity, you should see whether or not the water line is still hooked up to your ice maker. If it isn’t, try reconnecting the water line before starting a new ice cycle. If the connection is loose, try tightening the valve before starting a new cycle.
Solution #2: Replace the filter
Every built-in ice maker has a filter located somewhere along the water line or inlet valve. The filter’s purpose is to prevent solid particles from contaminating your ice cubes. Over time, the filter may become clogged, and you will have to flush it or replace it entirely.
Most filters have a lifespan of up to 9 months. However, depending on how frequently you make ice, you might want to replace it sooner.
Solution #3: Defrost the ice maker
Defrosting the ice maker means cutting power to the unit and allowing it to come all the way down to room temperature. Any ice shards that are blocking the water line will turn into water, freeing the line and allowing the ice maker to resume work. Defrosting a GE ice maker may take 6 to 12 hours.
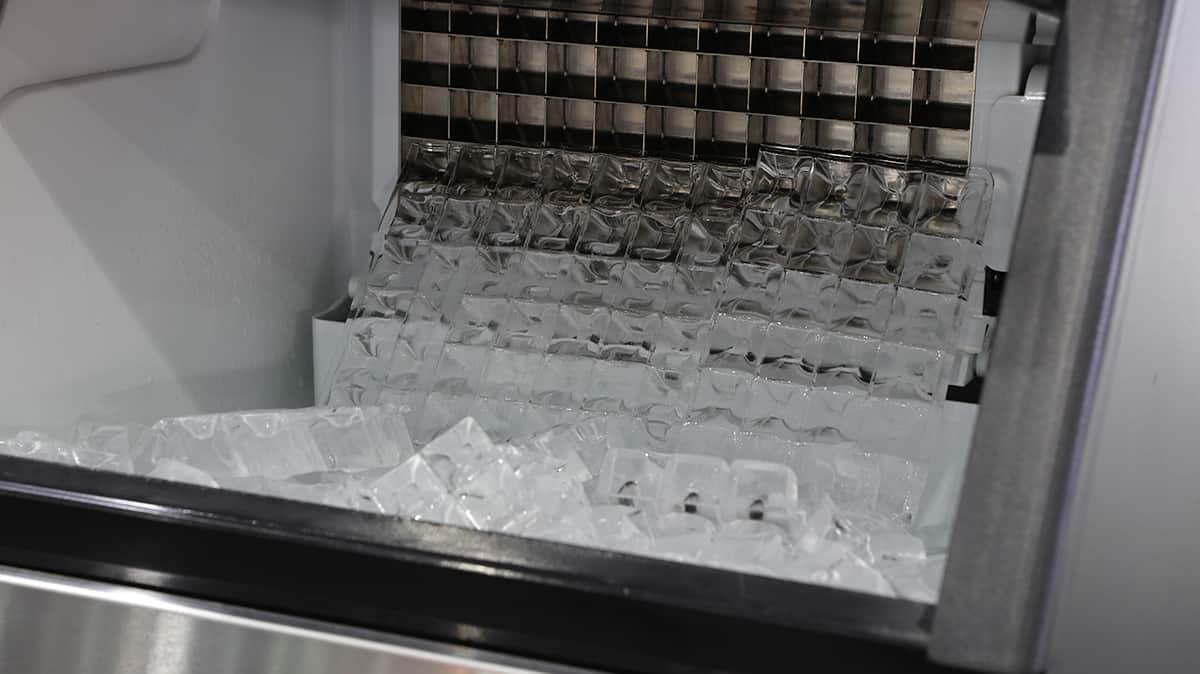
Ice tray not flipping over
Ice makers work by filling ice cube trays with water, which will freeze in the chilled environment of your freezer. After 90 to 120 minutes, the ice cubes should be completely frozen before the ice maker automatically flips the tray upside down and dispenses the ice into the bucket. However, the ice cube tray may never flip all the way over.
Solution #1: Heat up the ice cube tray
One possible reason that the ice cube tray isn’t flipping over is that there are ice shards preventing the turning mechanism. You can thaw the ice shards by moistening a towel with hot water and covering the ice tray with it. Do this 3 to 4 times before running another ice cycle.
Solution #2: Lower the temperature of your freezer
Sure, freezers are supposed to be cold, but there’s such a thing as too cold. In such an environment, the splashback from filling the ice tray may have caused water to solidify upon contact with the ice tray’s turning mechanism. If you lower the temperature in your freezer, you reduce the risk of this happening in the future.
Faulty door switch
Your GE ice maker relies on two things to begin making ice—the position of the feeler arm and the freezer door’s switch. The switch is located near the door’s hinge; when the door shuts, the switch is pushed inward. When the feeler arm is lowered, but the door switch doesn’t activate, then the ice maker will not begin making new ice.
Solution #1: Remove excess food from your freezer
The likeliest reason the door switch isn’t activating is that there’s too much food in your freezer. Even if the door’s gasket locks into place, that doesn’t mean the switch is active. So, try removing some of the contents of your fridge that are preventing the door from shutting completely.
Solution #2: Replace the door switch
If that doesn’t work, then you’re probably dealing with a faulty door switch. Try warming up the switch with a hot towel and pushing the switch repeatedly to free it up. If that doesn’t work, then the switch might be defective, and you will have to purchase and install a new one.
Ice maker takes too long to make ice
It should take an ice maker roughly 90 to 120 minutes to complete a full bath of ice. However, if the ice doesn’t freeze before then, the tray will still flip over and dislodge the semi-frozen ice cubes, leaving the bottom of your ice bucket filled with water that will eventually freeze. When this happens, all of your fully prepared ice cubes will become frozen in place.
Solution: Lower the temperature of your freezer
Earlier, I mentioned that you should increase the temperature of your freezer if there are ice chunks developing in the back. But if you keep the temperature too high, the ice won’t have enough time to freeze within the 90 to 120-minute timeframe.
So, try experimenting with the temperature setting of your freezer. For the most part, the medium temperature should suit you just fine for both keeping foods frozen and freezing ice cubes.
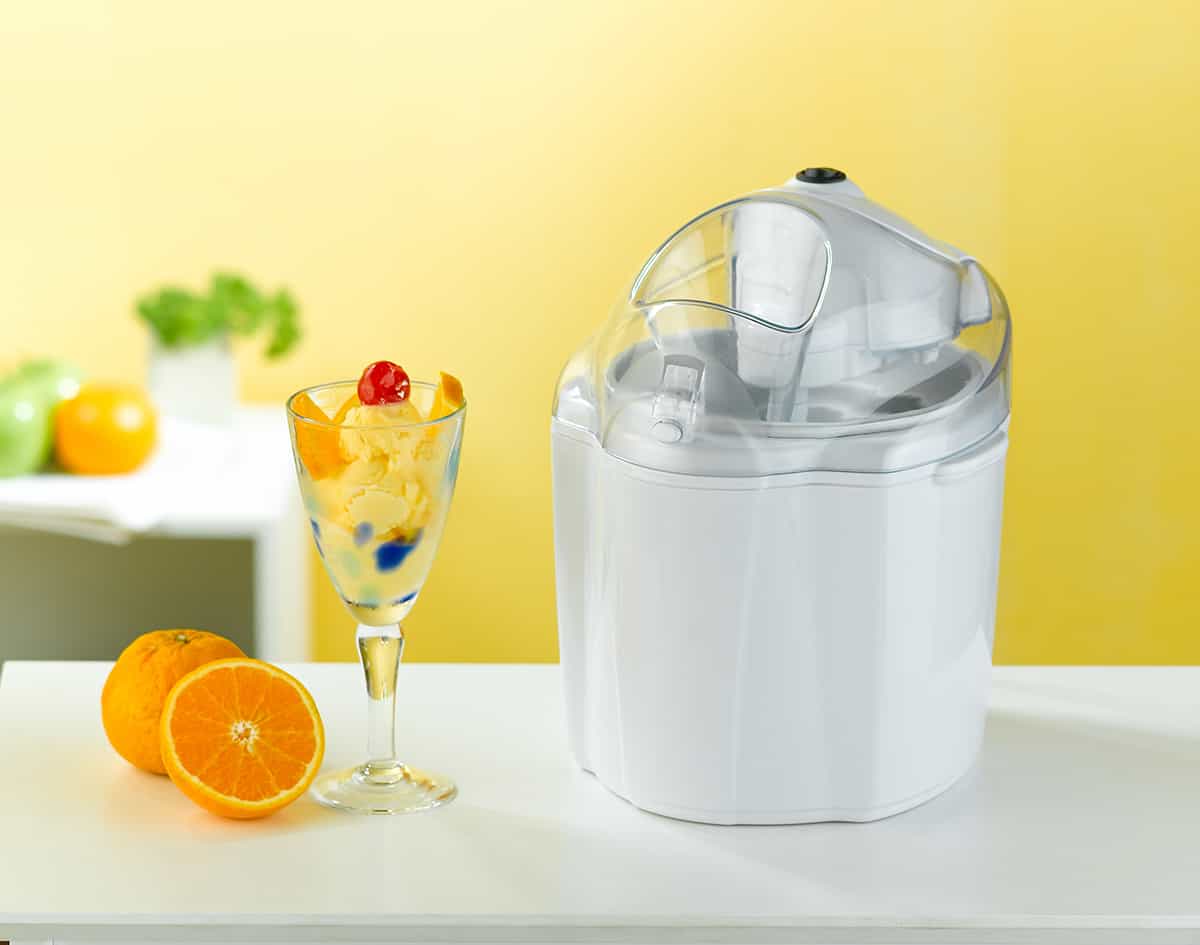
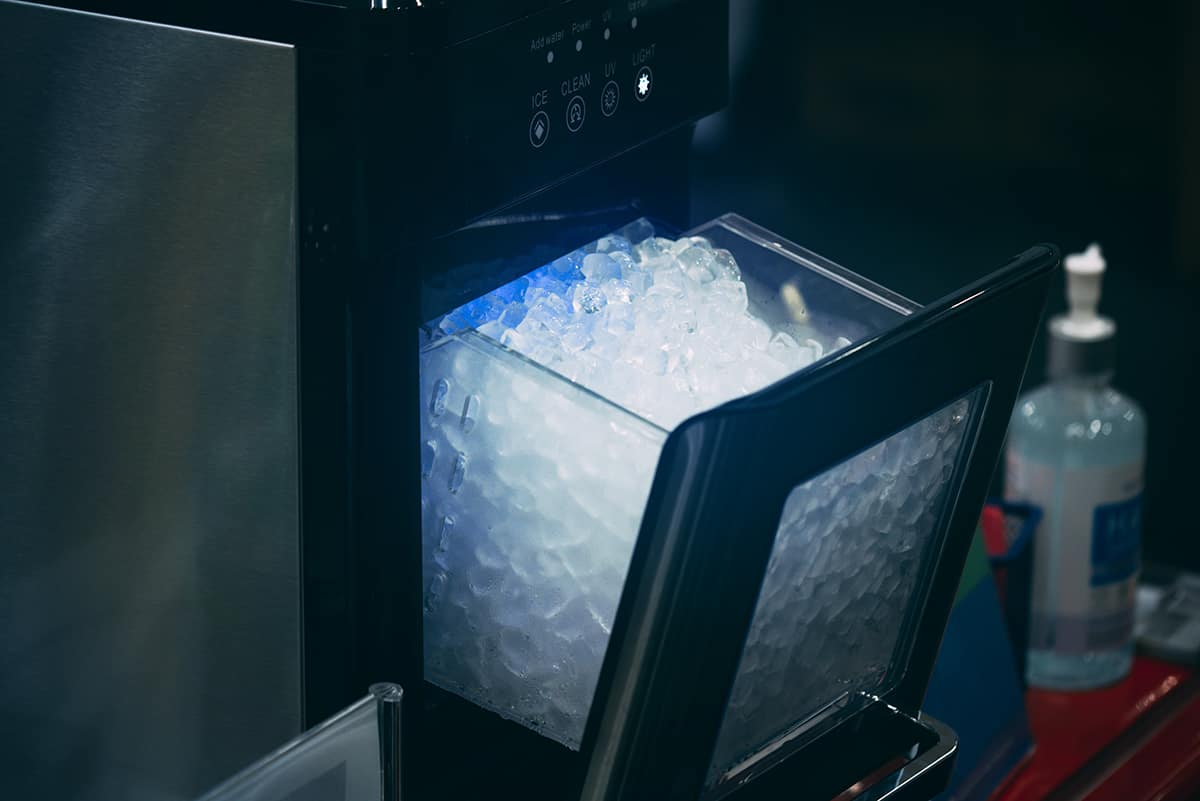
How to Reset a GE Countertop Ice Maker
Resetting a countertop ice maker is just as simple as resetting a built-in ice maker in a GE fridge. The difference is that the resetting process may take several hours.
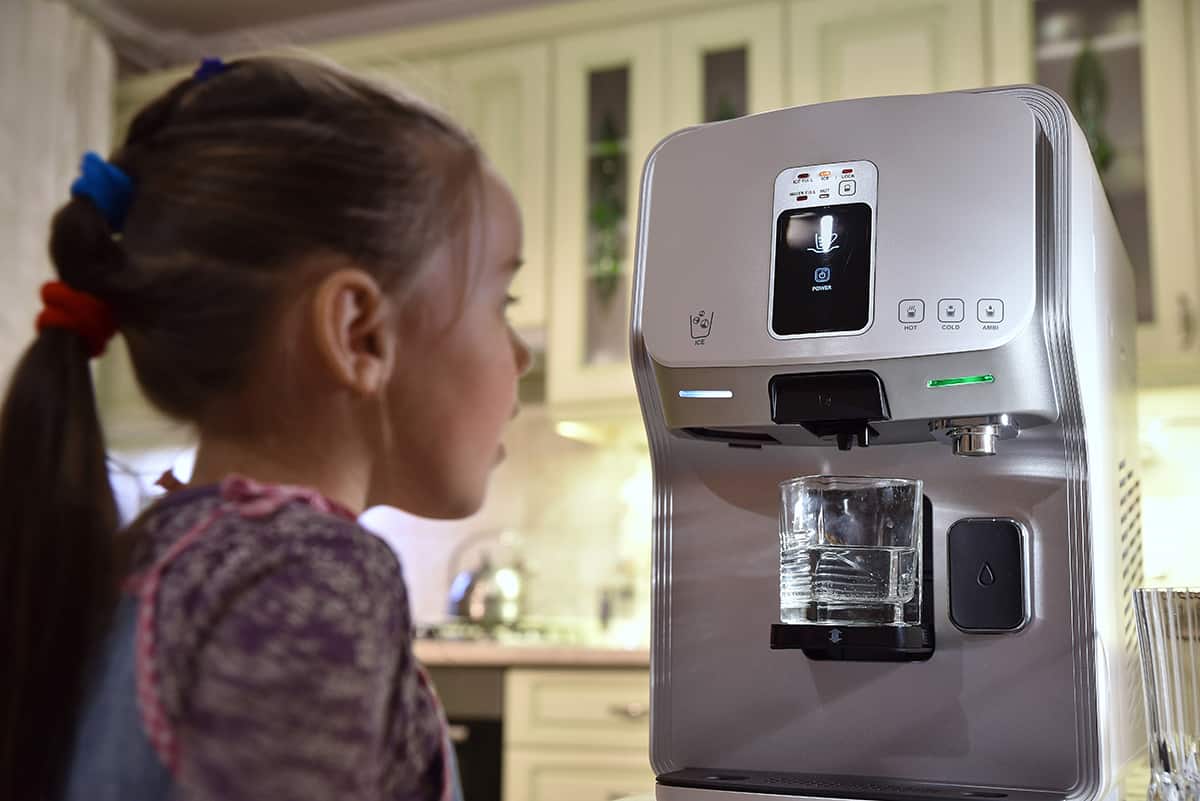
- Turn off the unit by pressing the power button (you can also do this via the Opal app).
- Drain the unit by removing the plug.
- Tilt the unit to remove as much water from the reservoir as possible.
- Unplug the device and leave it off for 3 to 4 hours.
- Drain the unit again.
- Restore power to the ice maker.