Samsung is one of the world’s most well-known home appliances (and smartphone) brands. Usually, something sporting a Samsung label is deemed high-quality, and their lineup of refrigerators with built-in ice makers is no exception. That said, there may come a time when you have to remove the ice maker for deep cleaning or even to replace it completely.
You can remove the ice maker from your Samsung refrigerator by following these steps:
- Defrost the ice maker.
- Detach the ice bucket by lifting it up and pulling it out (some models have a release button).
- Use a screwdriver to remove the wire housing cover screw and detach the cover.
- Unplug the wiring harness for the ice maker by depressing the locking pad.
- Use a screwdriver to remove the ice tray screw and release the ice tray.
- Move the cooling coil down.
- Depress the locking pad on the ice maker unit and detach the unit by sliding it forward.
This might seem like a complicated set of steps to release the ice maker in a Samsung refrigerator, but believe it, it’s actually more complex than it sounds. In this guide, I’ll explain in greater detail how to remove a Samsung ice maker, as well as go over when and why you would need to remove it in the first place.
How to Remove a Samsung Ice Maker
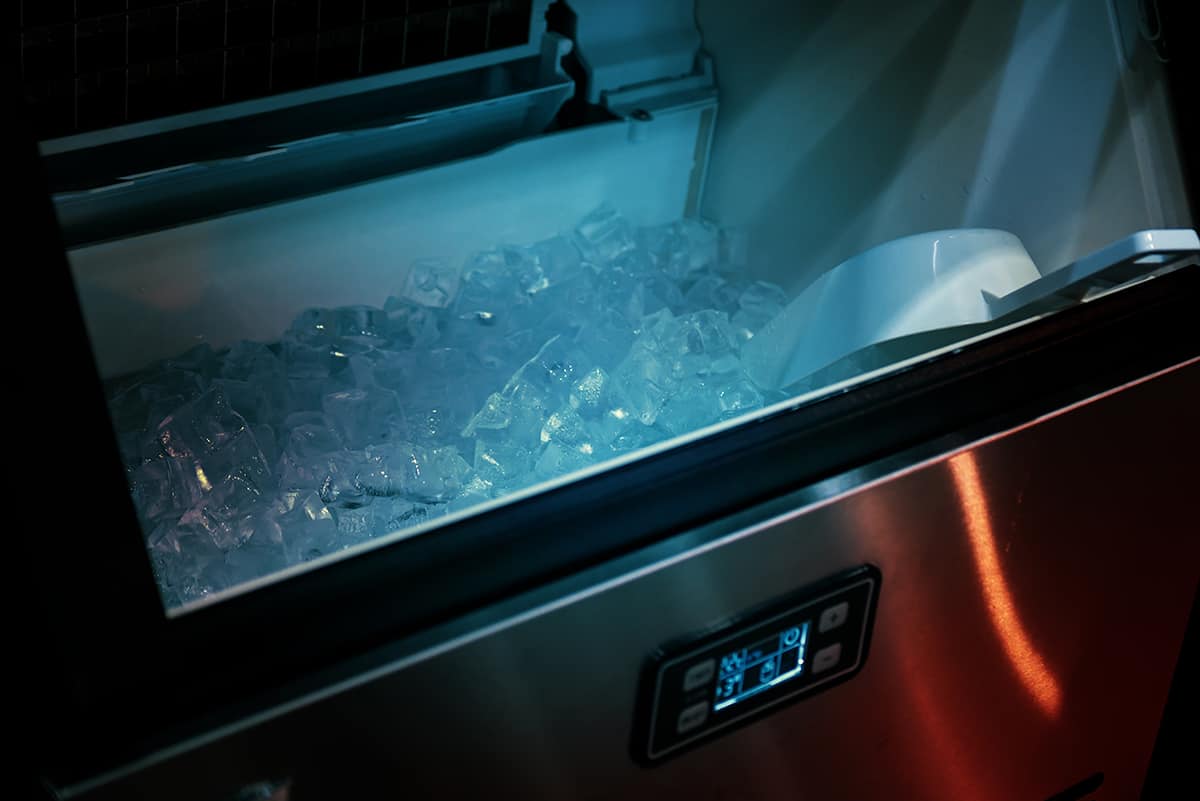
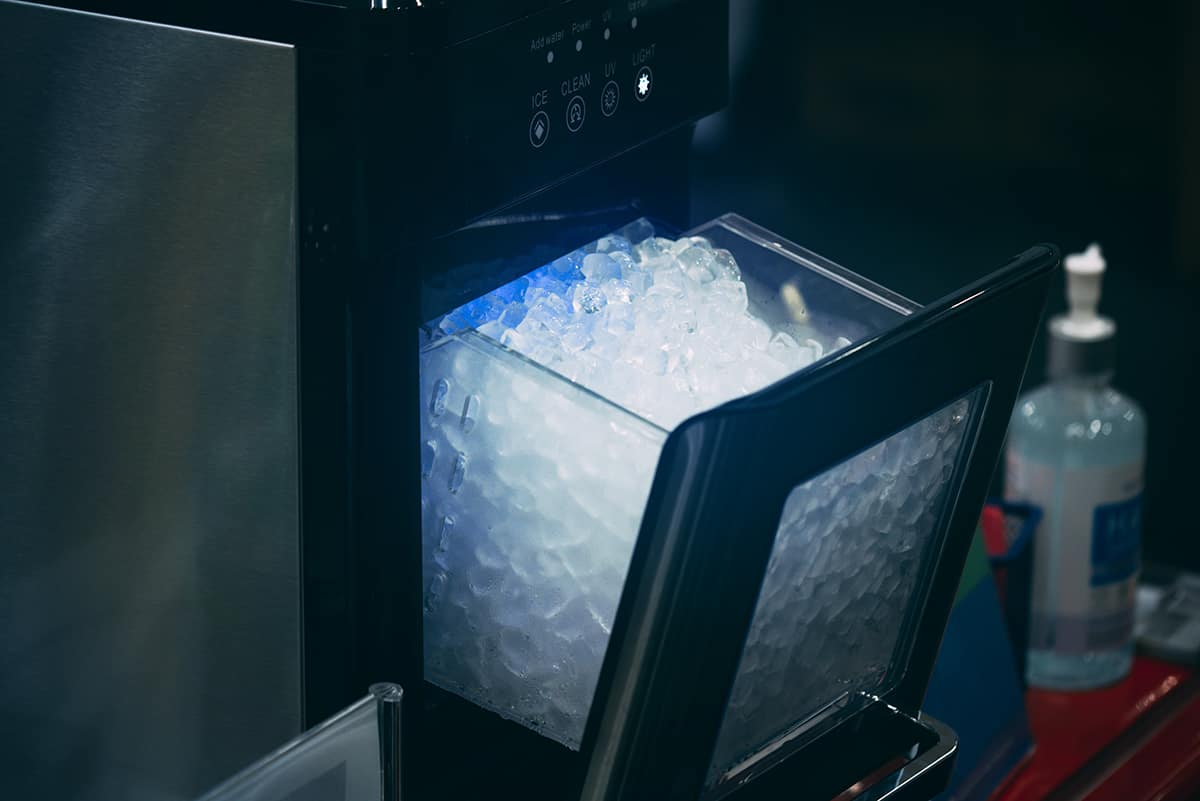
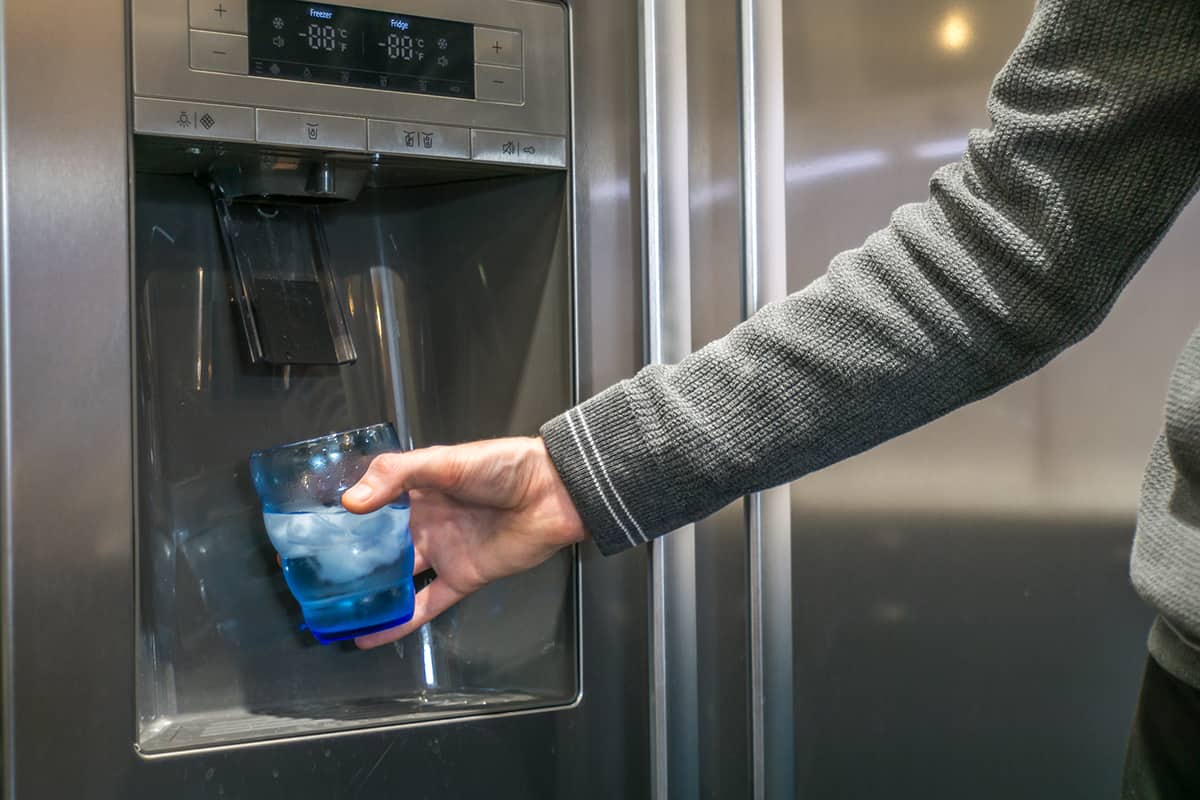
The ice maker is a built-in unit is a refrigerator that, as its name suggests, makes ice. It either makes ice that falls into an awaiting ice bin or bucket, or it drops ice down a chute and directly into your cup. Sometimes, an ice maker can do both!
As fantastic as Samsung ice makers are, they’re not invulnerable. There may come a time when you need to detach it for heavy-duty maintenance or replace it altogether. Usually, this is done after the 5 to 6-year mark, but that time may arrive sooner or later depending on how frequently you run the ice maker.
So, if you’re dead set on removing the ice maker from your Samsung refrigerator, here’s how you do it. Please note that the following steps may not be applicable to all Samsung ice maker models, so you should consult with the owner’s manual or a trained technician before attempting to pry out the ice maker.
1. Defrost the ice maker
Before you begin disassembling the ice maker, it’s important that you defrost it beforehand. This will release ice chunks clinging to the supply line and cooling coil, ensuring that you do not have to chip off chunks of ice when you finally take the ice maker apart.
To defrost a Samsung ice maker, go to the control board and press and hold the Energy Saver and the Fridge buttons for 8 to 10 seconds or until the lights turn off. Then, press the Fridge button until the code “Fd” appears on the screen. Leave the refrigerator alone for 5 to 10 minutes before pressing and holding the Energy Saver and Fridge buttons for 8 to 10 seconds. Finally, press the Fridge button one more time to take the ice maker out of defrost mode.
Alternatively, you can unplug the refrigerator and leave it overnight. Only do this if the fridge is empty.
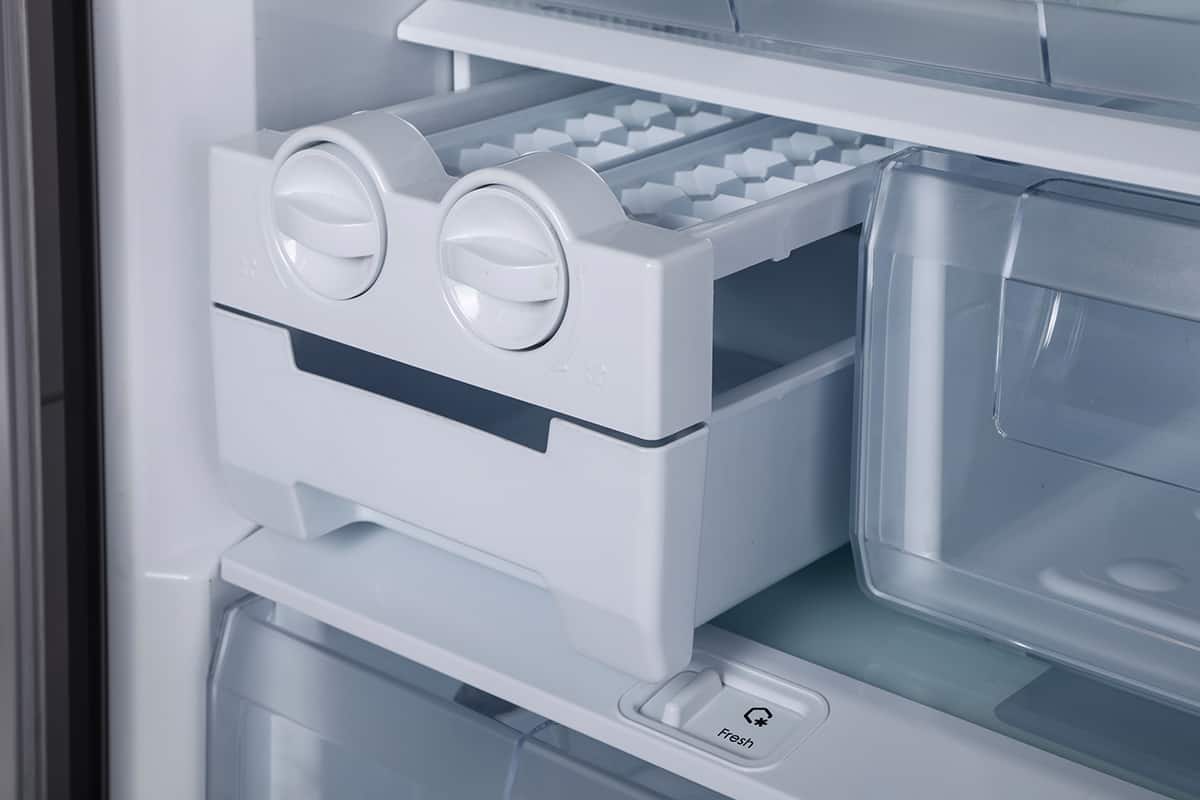
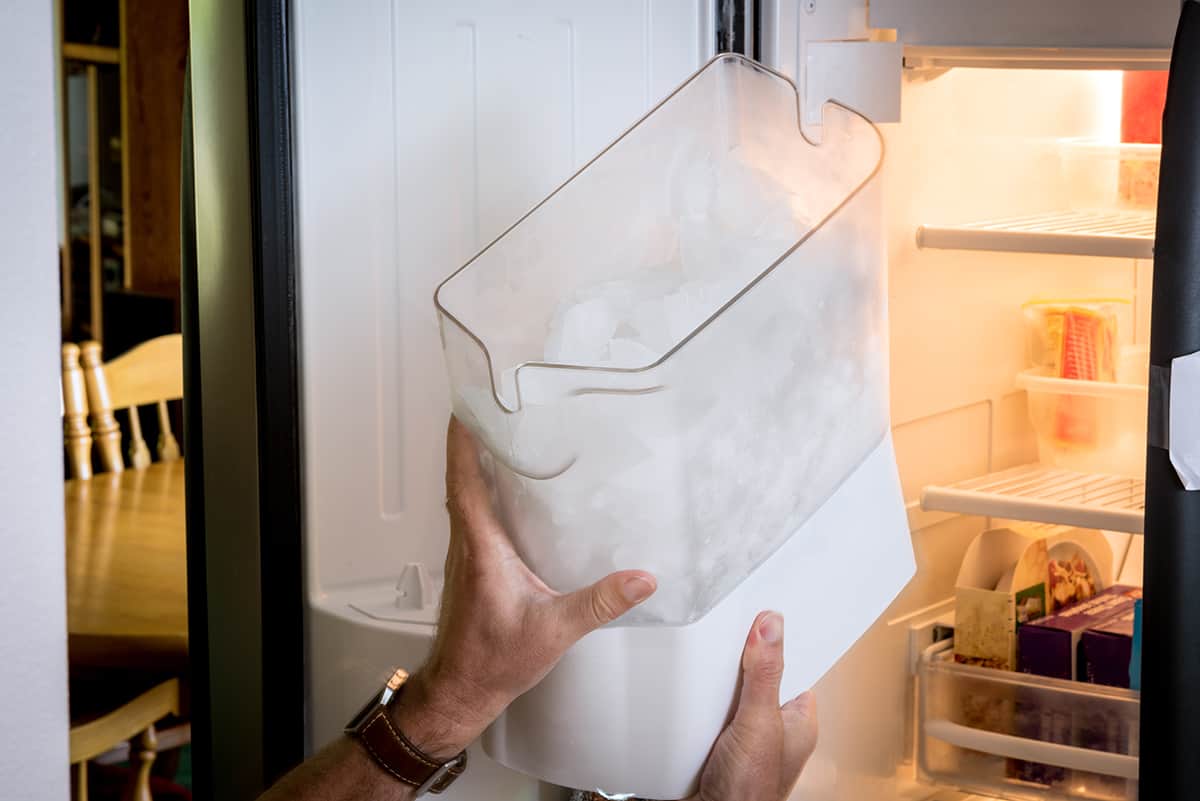
2. Detach the ice bucket by lifting it up and pulling it out.
The ice bucket holds onto the ice cubes that remain in your freezer. You will usually need to remove the bucket before gaining access to the inner parts of the ice maker.
To detach the ice bucket, simply grab the bucket with two hands and gently lift it up. Some Samsung fridge models have a release button on the side of the bucket. When the ice bucket releases from the rest of the ice maker, pull it forward and out of the way.
3. Use a screwdriver to remove the wire housing cover screw and detach the cover
The next step is to disconnect the ice maker from the rest of the refrigerator. To do this, you will need to access the wires, which are safely behind the housing.
Take a Philips screwdriver and carefully remove the screw keeping the wire housing cover in place. The wire housing cover is located inside the ice maker on the left-hand side. With the screw removed, simply pull forward on the cover until it releases from the housing, exposing the colorful wires inside.
4. Unplug the wiring harness for the ice maker by depressing the locking pad
There are at least two wiring harnesses inside the wire housing. Consult the manual to see which belongs to the ice maker. It’s usually the wider one or the one with more wires connected to it.
Now, depress the ice maker wiring harness and carefully pull it down until it’s disconnected. The wires will not detach completely, so leave them hanging to the side in the meantime. Make sure not to touch the other wiring harness.
5. Use a screwdriver to remove the ice tray screw and release the ice tray
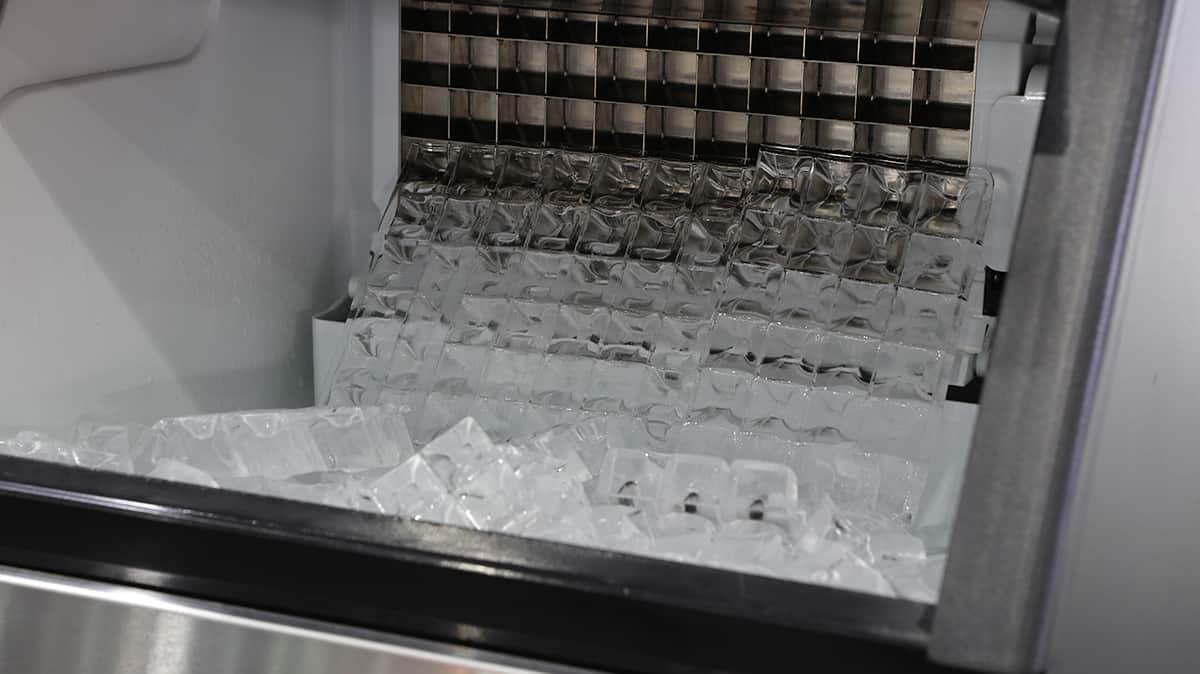
Before taking out the ice maker, you’ll need to remove the ice tray. The pump inside your fridge supplies water to the ice tray, where the water will sit until it’s completely frozen.
You’ll need to use your Philips screwdriver to undo the screw keeping the ice tray in place. The screw is the most prominent one facing you when you have detached the ice bucket.
With the screw undone, take a flathead screwdriver and stick it into the tiny crevice on the lefthand side of the ice tray. Carefully pry the ice tray until it moves slightly to the right. After that, you can move the ice tray downward, exposing the cooling coil inside.
6. Move the cooling coil down
The cooling coil is filled with a refrigerant that chills the water in the ice tray. It’s responsible for making ice cubes in an ice maker. In its original position, the cooling coil will prevent us from sliding the ice maker out, so we need to move it out of the way.
Using your flathead screwdriver, carefully place the end between the cooling coil and the top of the ice maker. Gently pry it until the cooling coil moves downward at roughly a 45° angle.
DO NOT DAMAGE THE SURFACE OF THE COOLING COIL IN ANY WAY! If the refrigerant leaks from the cooling coil, it’s game over. You will have to replace the entire refrigerator since cooling coils are not sold separately, nor are they an integrated part of the ice maker. This is your first and final warning!
7. Depress the locking pad on the ice maker unit and detach the unit by sliding it forward
With everything disconnected and moved out of the way, we can safely remove the ice maker unit from the fridge. On the very top of the ice maker, where the unit meets the top of your fridge, depress the locking pad and carefully pull the unit out.
Do You Need to Remove the Ice Maker?
It depends.
If you want to replace the ice maker, then yes, it’s mandatory that you remove the existing ice maker to make room for the replacement. If the ice maker isn’t working as it’s supposed to, there are several things you can do to troubleshoot the problem.
- Let the ice maker defrost—If your ice maker isn’t running like it was when you first brought it home, there’s probably a blockage inside the unit. Unplug the refrigerator or deactivate the ice maker and leave it alone overnight (48 hours is ideal). All of the ice inside the ice maker, the supply line, the sump, etc., will defrost, returning the ice maker to its factory settings (sort of).
- Replace the water filter—Over time, the filter will become clogged with minerals and all sorts of solid debris. This can prevent water from flowing through the supply line, resulting in smaller cubes than you’re used to seeing. You will need to replace the filter at least once every six months or sooner.
- Tighten the water supply valve—The valve is responsible for providing a constant flow of water from into your fridge and ice maker. Sometimes, the valve can become undone when you’ve moved the fridge or if it wasn’t installed properly. Check the valve and make sure it’s tight and that the supply line doesn’t have any kinks.
When and Why Should You Remove a Samsung Ice Maker
There are only 2 reasons why you should remove the ice maker from a Samsung fridge—you want to deep clean the unit or you want to replace it completely.
Usually, deep cleaning an ice maker is required once every 2 to 3 years, though it depends on the quality and quantity of ice it makes. If the ice maker is running as it’s supposed to, there’s no reason to disassemble the unit.
However, if you want to replace a faulty ice maker (a professional technician advised you to do it), then you have no choice but to detach the existing ice maker. Follow the steps provided above to remove the ice maker or ask a trained professional to do the deed for you.