Chest freezers are an essential appliance for anyone looking to store large amounts of frozen food. They are reliable and cost-effective, but they come with a drawback – they can leak water from underneath. While it may seem like a small issue, the leaked water can cause significant damage to your floors and can even result in an electrical shock if the water comes in contact with electrical components.
There are 3 main causes of why your chest freezer leaks water from underneath:
- Clogged defrost drain
- Damaged gasket
- Failing defrost system
But don’t worry! With a little bit of maintenance and the right troubleshooting techniques, you can easily prevent and fix this problem, ensuring that your chest freezer continues to provide you with years of efficient and safe food storage.
Why Is My Chest Freezer Leaking Water Underneath—Causes and Solutions
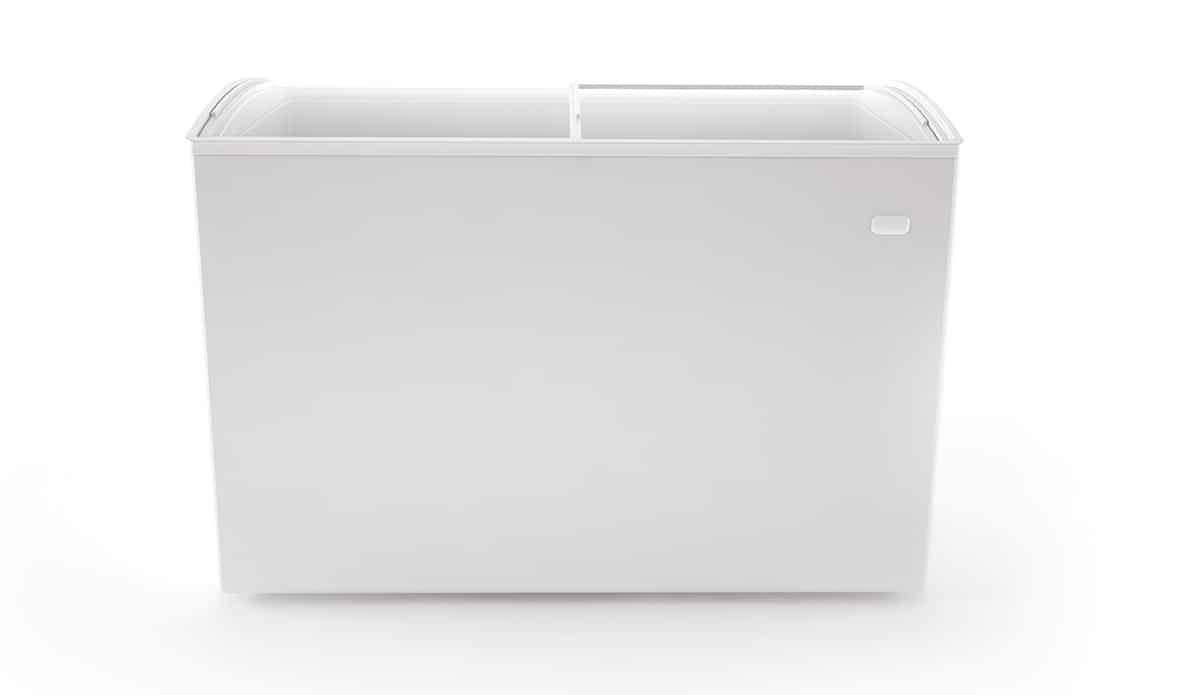
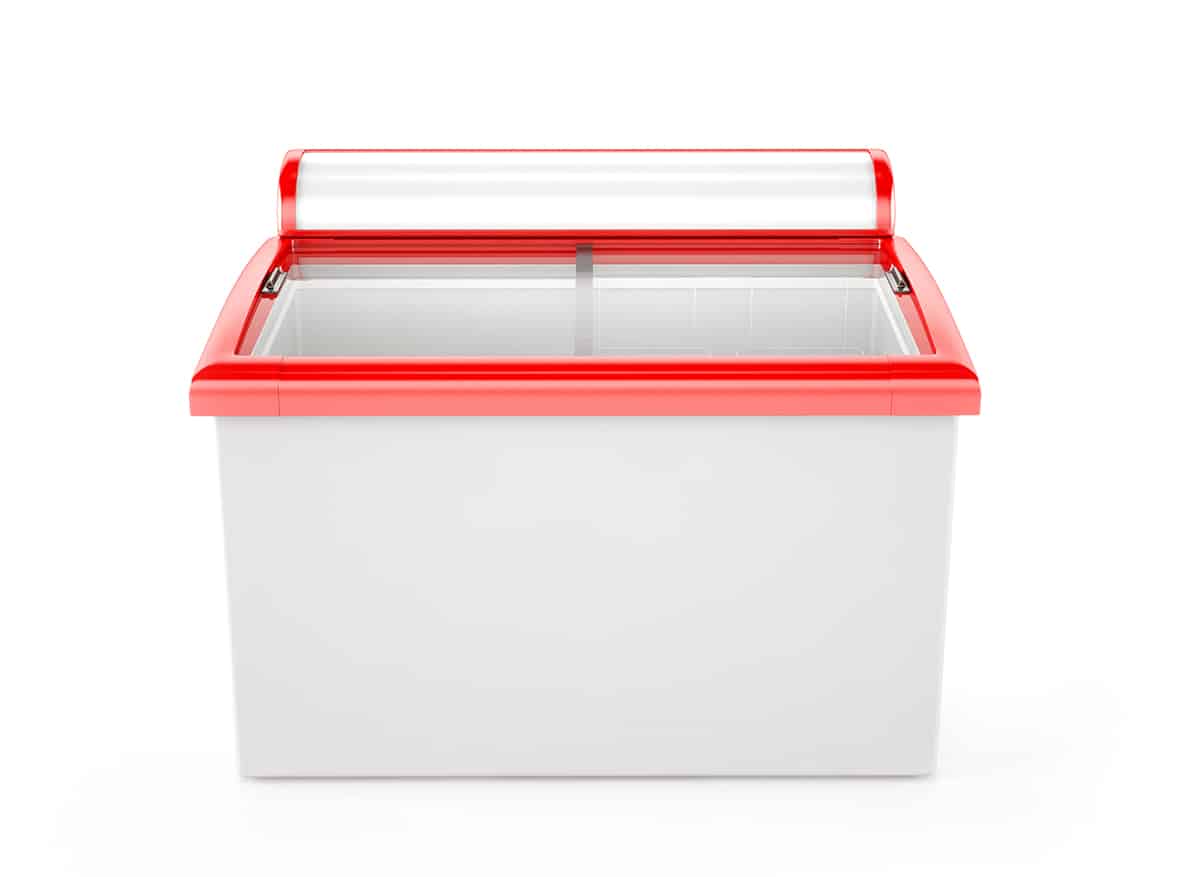
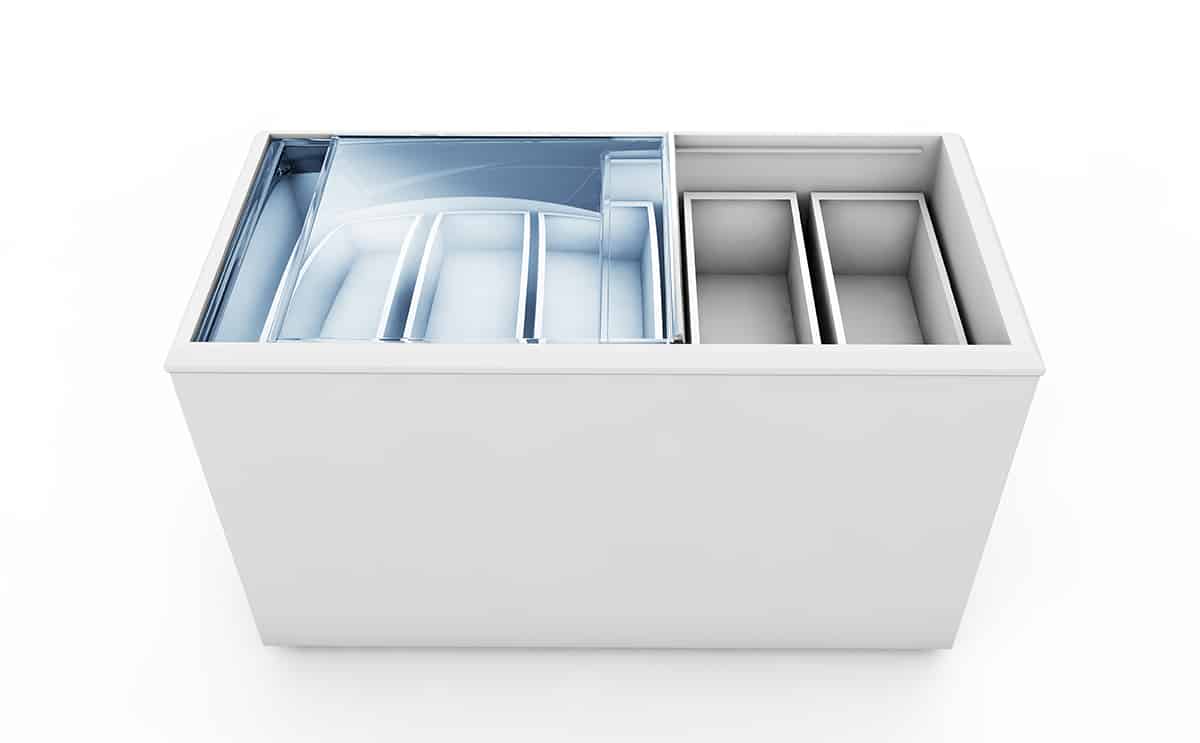
A chest freezer is a type of freezer that is designed with a hinged lid that opens from the top and has a large interior for storing frozen foods. Over time, chest freezers may experience leakage problems, which can result in water leaks from underneath the freezer, potentially causing damage to flooring and even electrical hazards.
Let’s explore the most common causes of why your chest freezer leaks and what you can do about it.
1. Clogged defrost drain
A chest freezer defrost drain is a small channel or tube that is designed to remove any excess water that accumulates in the freezer during the defrost cycle. The defrost cycle is a process that takes place periodically to melt any built-up ice inside the freezer. The melted water is then collected and channeled out through the defrost drain.
This clogged defrost drain problem can be a common issue for chest freezers, especially for those that are not cleaned regularly. A clogged defrost drain can cause the freezer to become inefficient, as the excess water can start to refreeze and build up inside the freezer. This not only affects the efficiency of the freezer but can also result in water damage to the floor or surrounding area.
Solution—Remove the ice buildup from the defrost drain
If the defrost drain in your chest freezer gets clogged, you can fix it with a few common household items in a short amount of time. Follow these steps to clear it out:
- Unplug the freezer—Before you start, make sure to unplug the freezer to avoid any electrical hazards.
- Locate the defrost drain—The defrost drain is usually located near the back of the freezer. Refer to the user manual for the exact location.
- Clear the clog—Use a long, narrow object, such as a coat hanger or a pipe cleaner, to clear any debris or ice that may be clogging the drain.
- Pour hot water—Pour hot water into the defrost drain to help clear any remaining clogs and to help flush out any debris.
- Let it thaw—Allow the freezer to thaw for a few hours before plugging it back in. This will allow any remaining water to drain properly.
- Test—After plugging the freezer back in, test it to ensure that the defrost drain is clear and functioning properly.
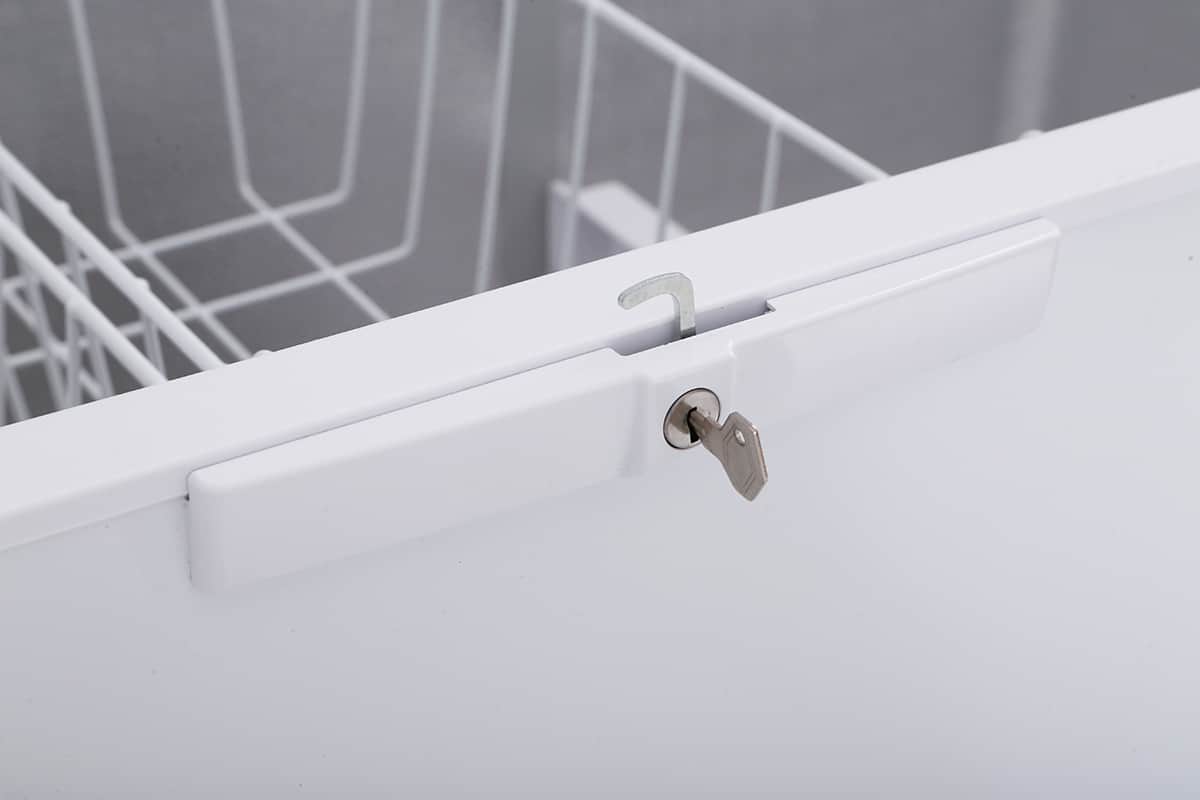
2. Damaged gasket
The gasket on a chest freezer is a rubber seal that is located around the lid of the freezer. Its purpose is to create an airtight seal between the lid and the body of the freezer, keeping cold air inside and preventing warm air from entering.
A damaged gasket can cause a chest freezer to leak water from the bottom as it may allow warm air to enter the freezer, causing the built-up ice to melt. The melted water can then leak out of the freezer and cause damage to the flooring and surrounding area.
Damage to the gasket can occur due to various reasons such as age, exposure to extreme temperatures, or improper handling. It can also affect the efficiency of the freezer as it will allow warm air to enter, causing the freezer to work harder to maintain the desired temperature.
Solution—Replace the gasket
The good news is that you can swap out the old, damaged gasket with a new one. The bad news is that it takes a bit of time and a keen eye to get it done. Here’s how you do it (remember to unplug the freezer beforehand!):
- Remove the old gasket—Use a flat-head screwdriver to gently lift the old gasket away from the lid of the freezer. If the gasket is stuck, you may need to use a hair dryer to soften the glue before removing it.
- Clean the surface—Clean the surface where the gasket will be installed, removing any dirt or debris that may affect the seal. Use a damp rag to wipe the surface, and go over the area again with a bit of rubbing alcohol (optional but highly recommended).
- Install the new gasket—Install the new gasket by placing it along the edge of the lid and pressing it firmly into place. Make sure the gasket is properly positioned and tightened.
- Test the seal—Test the seal by closing the lid and running your hand along the edge of the gasket to make sure it is airtight. You should wait a few hours after turning the freezer on to see whether ice builds up inside the freezer (which means the new gasket is working) or whether there’s a pool of water at the bottom of the freezer (which means the new gasket needs to be realigned).
3. Failing defrost system
The chest freezer defrost system is responsible for removing any built-up ice inside the freezer. This is an important component of the chest freezer as it prevents the ice from becoming too thick, which can affect the efficiency of the freezer and lead to increased energy consumption.
A failing defrost system can cause a chest freezer to leak water from the bottom. When the defrost system is not functioning properly, ice can build up inside the freezer, eventually leading to melting and water leaks. Additionally, if the defrost system is not removing the ice, the freezer may need to work harder to maintain the desired temperature, leading to increased energy consumption and decreased efficiency.
Solution—Defrost the chest freezer manually
It’s recommended that you defrost your chest freezer at least once a year, but if you can’t due to a failing defrost system, you can always do it the old-fashioned way—i.e., manual defrost. After unplugging the chest freezer, here’s how you defrost it manually:
- Remove all food—Remove all the food from the freezer and place it in a cooler or insulated container.
- Place a bucket or tray underneath the freezer—This will catch any water that may leak during the defrost process.
- Allow the freezer to defrost naturally—Leave the freezer open and allow the built-up ice to defrost naturally. This may take several hours, depending on the amount of ice present.
- Scrape away the ice—Use a plastic scraper to gently remove any ice that has accumulated on the interior walls of the freezer.
- Wipe down the interior—Use a clean cloth to wipe down the interior of the freezer, removing any remaining moisture or debris.
- Plug the freezer back in—Once the freezer has completely defrosted and has been wiped down, plug it back in and restore the food to the freezer.
The entire process may take around 6 hours to complete, but if you have the time, I suggest letting your chest freezer sit unplugged overnight.