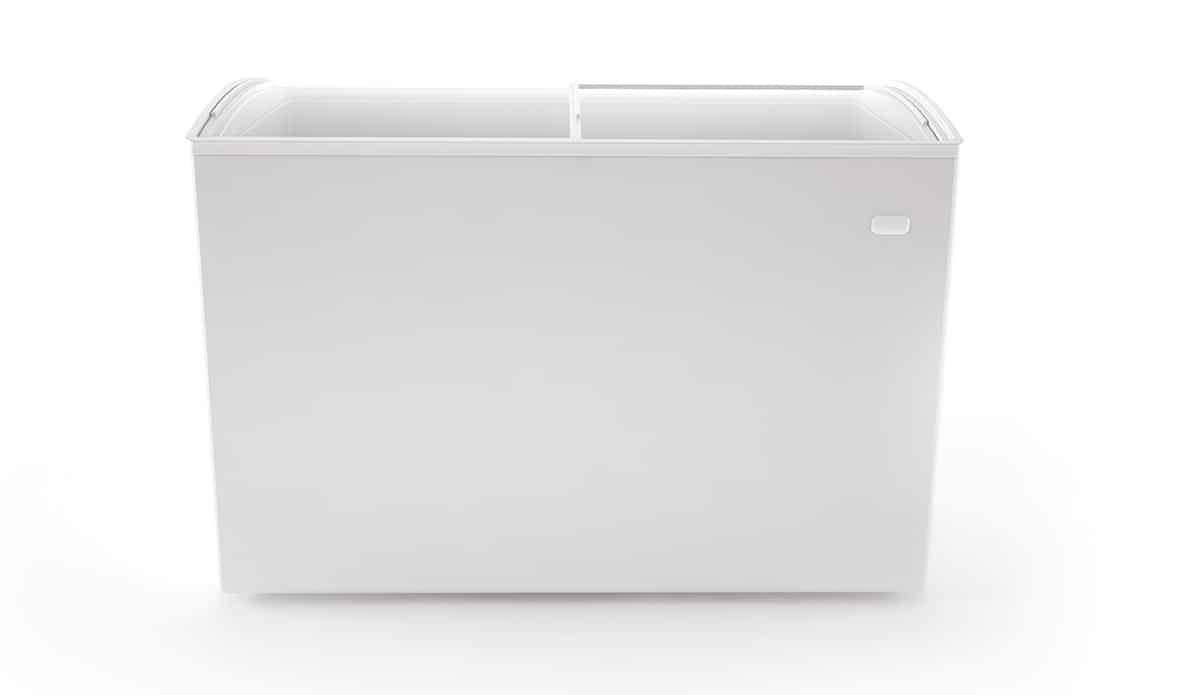
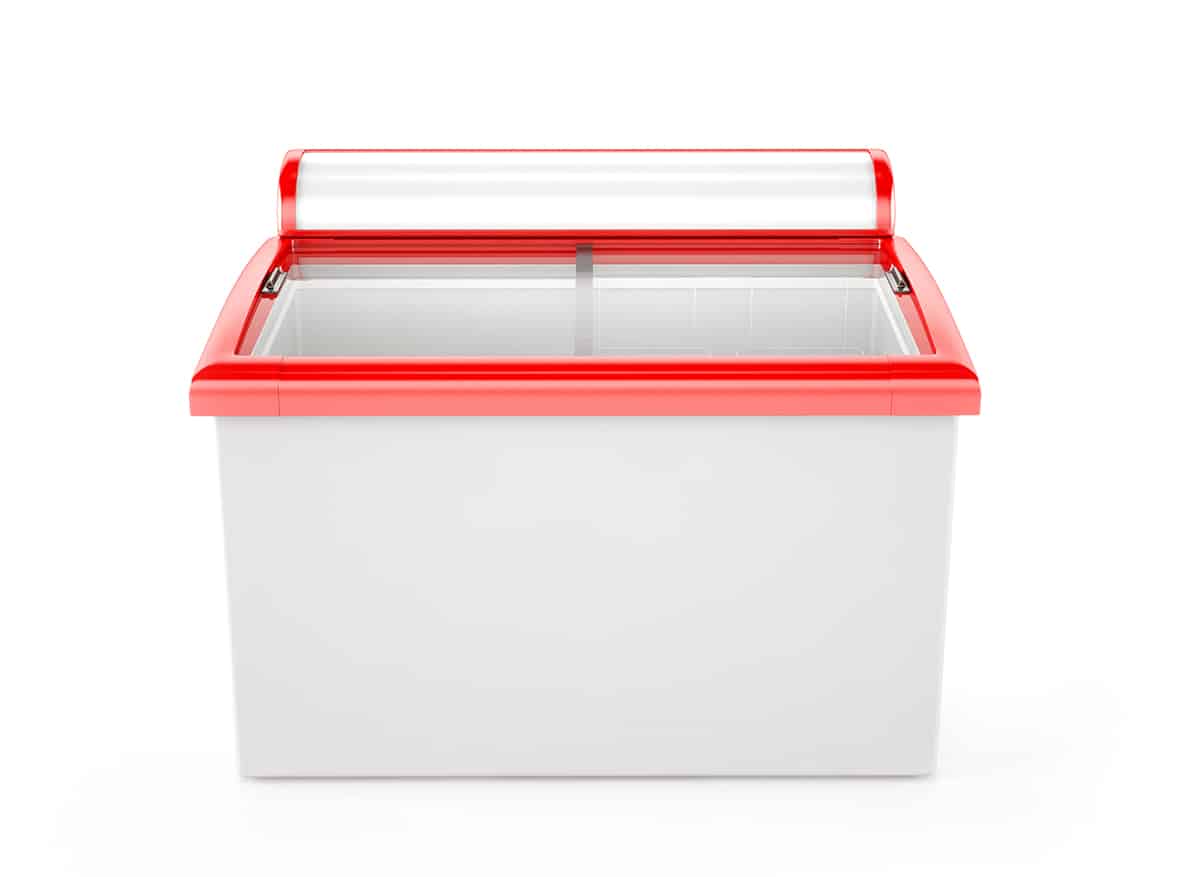
For the lucky ones who have invested in a chest freezer, you know the convenience it brings to your life. However, there comes a time when you may need to leave your home for an extended period, and the thought of leaving your freezer unused can be daunting. So, how do you prepare a chest freezer if you’re not going to use it for a long time?
Follow these steps before putting your chest freezer in long-term storage:
- Remove all food from the chest freezer
- Defrost the chest freezer
- Clean up the moisture and debris from the freezer
- Vacuum the chest freezer’s exhaust
- Place the chest freezer in a cool, dry place
Some of the steps listed above may lead to a bit of confusion, so allow me to elaborate down below. I’ll also explain what you should do when you’re ready to turn the chest freezer back on after a long time of not being used.
How to Store a chest Freezer When Not in Use
If you’re going on a month-long vacation across the country or you’ve changed your shopping patterns so you don’t buy meat in bulk anymore, you should know how to store your chest freezer when it’s not in use.
Kitchen appliances, like chest freezers, should be used constantly to ensure it’s in working order. However, if you don’t feel like keeping it plugged in and needlessly spending money on electricity bills, here’s what you can do to store your chest freezer when it’s not in use.
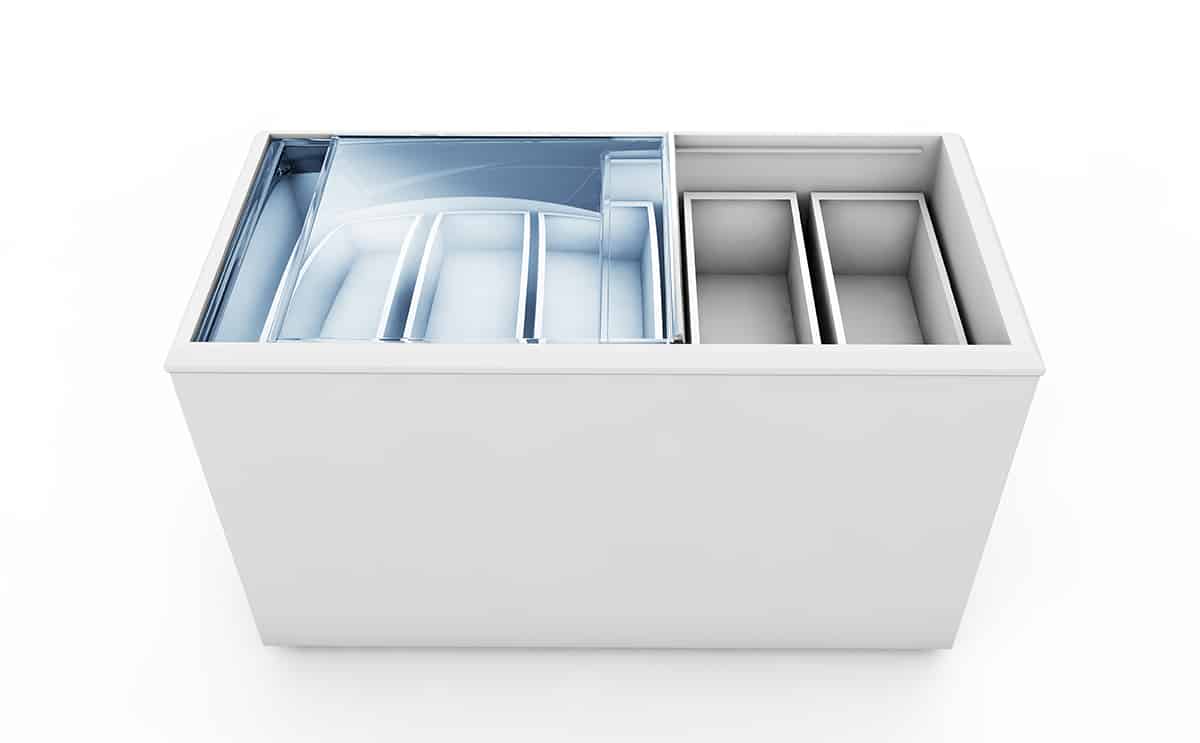
1. Remove all food from the chest freezer
Taking all the food out of the chest freezer ensures that there are no perishables left behind that could spoil and create an unpleasant odor when you return. In addition, removing food from the freezer makes it easier to clean and defrost.
To minimize waste, try to use up as much of the food as possible before you leave. You could also consider donating any unopened, non-perishable items to a local food bank.
2. Defrost the chest freezer
The next step is to remove all the ice chunks from inside your chest freezer. While chipping away at the ice may be quicker, it’s not exactly safe. One slip of the wrist and you could end up with a damaged insulation layer, which may render your chest freezer utterly useless by the time you’re ready to use it again.
How to defrost your chest freezer depends on the model. Some modern chest freezers have a defrost cycle that you can activate with button presses. Consult the manual to learn how to activate the defrost cycle and how long it will take.
If your chest freezer needs to be defrosted manually, remove the drain plug and unplug the appliance. Leave it unplugged for 24 to 48 hours prior to moving it to its storage space.
3. Clean up the moisture and debris from the freezer
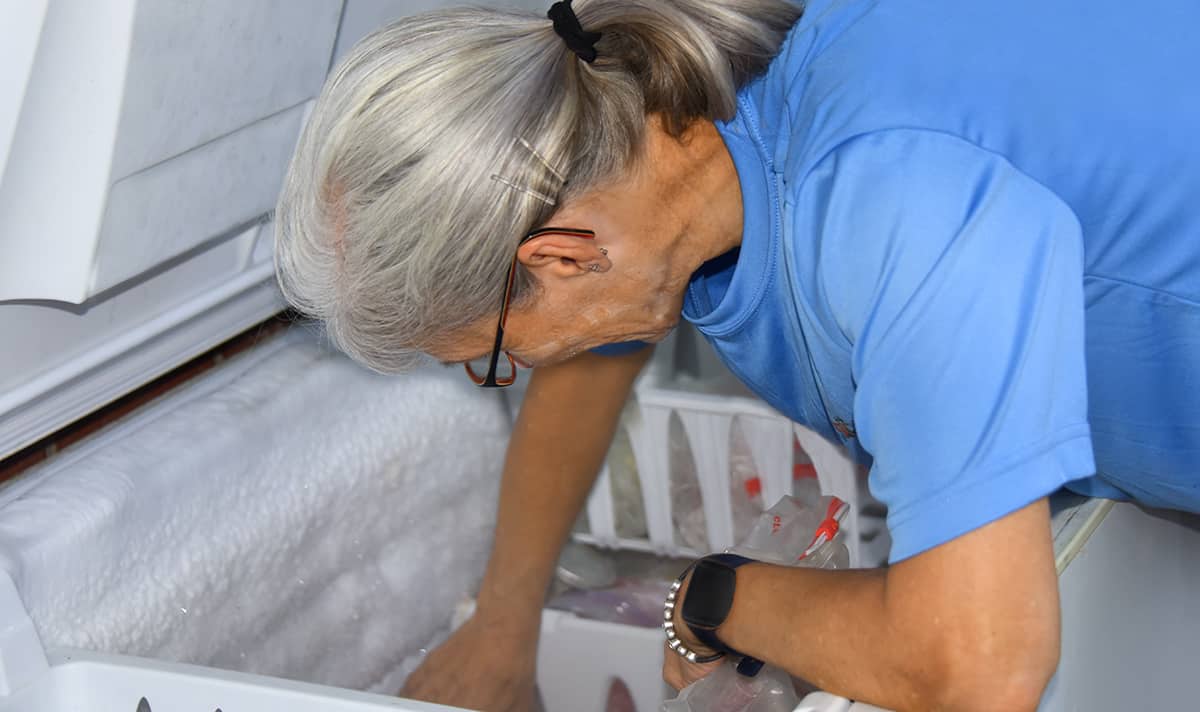
After the defrost cycle is complete, take a clean rag and wipe the entire interior and exterior of the chest freezer. You may find unsightly bits of old food lingering in the corners, so make sure you clean thoroughly and leave nothing behind. The more you leave behind, the greater the risk of mold growth. Make sure you clean the underside of the door, the hinges, the racks, all of the interior compartments, and the drain port.
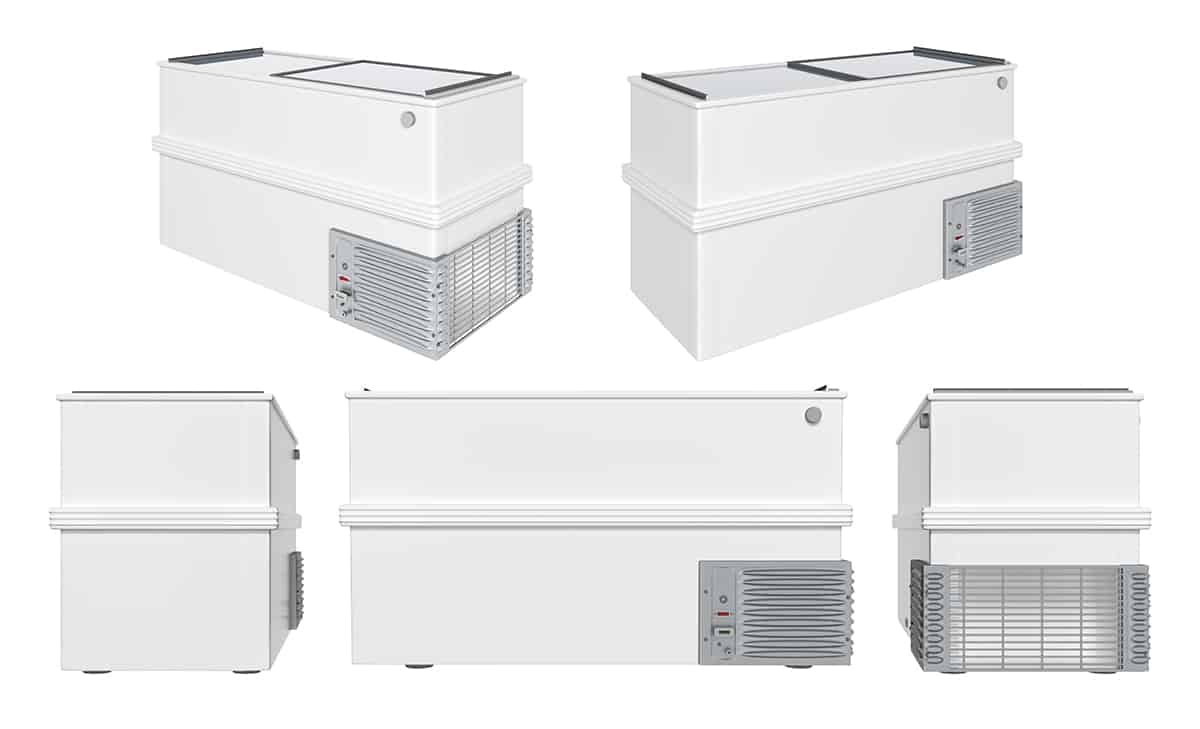
4. Vacuum the chest freezer’s exhaust
Carefully pull your chest freezer forward and take a good look at its backside. There, you’ll most likely find its exhaust port, which may be covered in cobwebs, dirt, and other gross things. Attach the crevice tool to your vacuum cleaner and remove as much of the dirt, dust, and debris from the chest freezer’s exhaust.
You don’t need a vacuum cleaner for this—you can use a simple feather duster and sweep up the fallen debris with a broom and dustpan—but it makes this job go a lot easier.
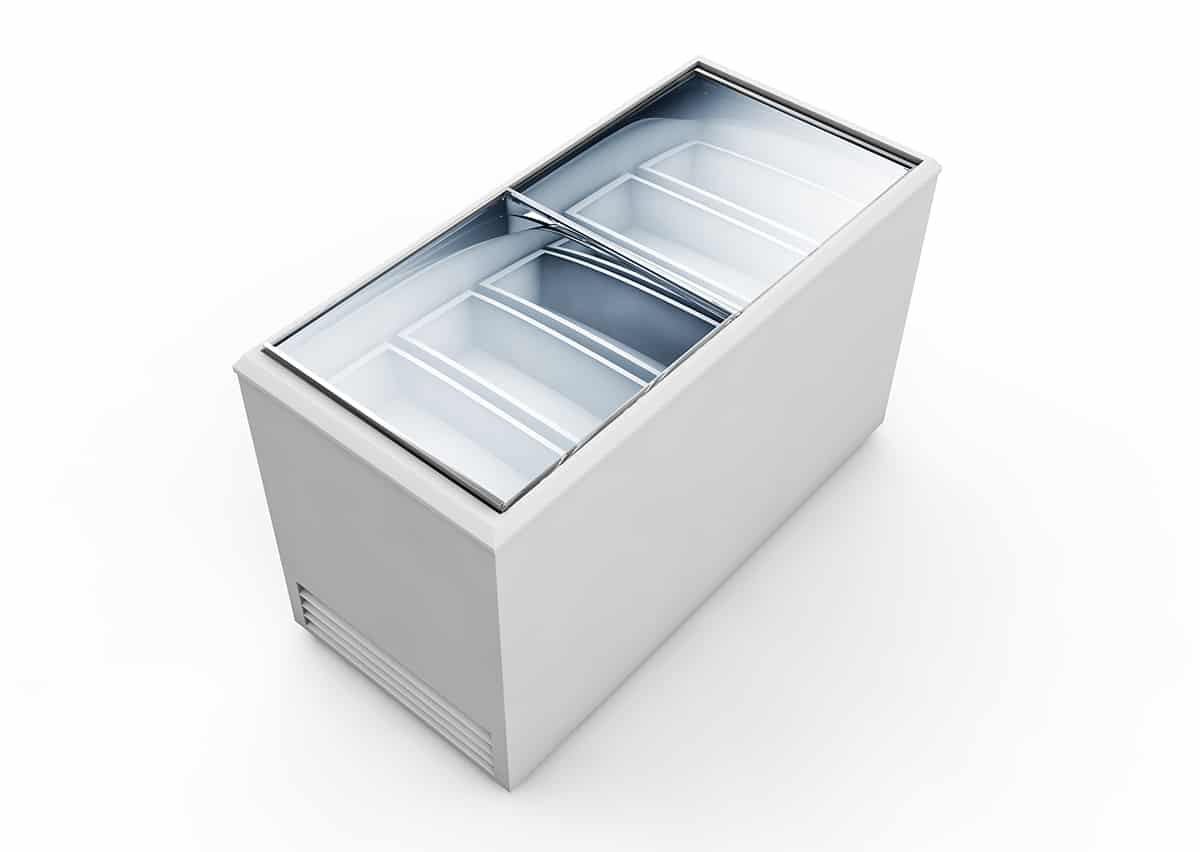
5. Place the chest freezer in a cool, dry place
When the chest freezer is clean to the touch, both inside and out, you’re ready to move it to its ultimate storage spot. If your chest freezer has caster wheels, unlock them and carefully glide the appliance to a cool, dry place, such as a corner of the kitchen that doesn’t get direct sunlight or even your living room. If it doesn’t have casters, you’ll need a second pair of hands to lift the unit with you (lift with your legs!).
Optional Steps
While these steps are optional, they are highly recommended, especially if you’re going to leave your chest freezer for months at a time.
6. Polish the metallic exterior parts of your chest freezer with appliance paste wax
Even if you’re confident that your chest freezer is in a cool, dry place, there’s always the risk of moisture creeping in and wreaking havoc on its metallic components—e.g., door hinge, caster mounts, exhaust port, etc. This is where appliance wax comes into play, as advised by GE (PDF).
Appliance wax or metal polishing wax stops debris from sticking to the appliance’s surface. Follow the package’s instructions to learn how much to apply.
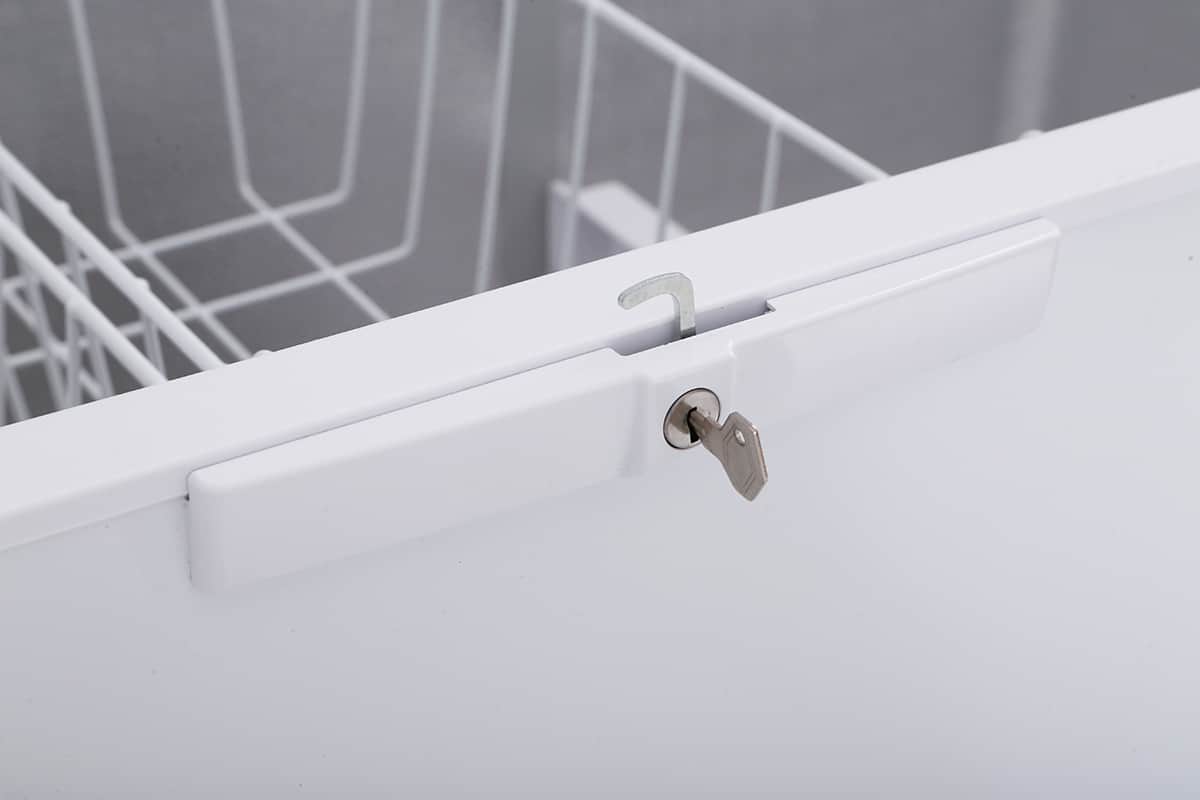
7. Remove the mechanical latch and place it inside your chest freezer
If your chest freezer has a mechanical hinge, remove it by taking of the screws. Apply a bit of the appliance wax on the door hinge before putting it in a plastic bag and storing it inside your freezer for safekeeping. Doing this will ensure that the hinge doesn’t rust over.
8. Cover the chest freezer in a large plastic sheet
Use a large plastic sheet or even the chest freezer’s original plastic covering and drape it over the appliance. This will prevent moisture and dust from creeping in. The plastic sheet doesn’t need to be airtight, but it should cover as much of the chest freezer as possible.
What to Do After Using an Unplugged Chest Freezer
Welcome back! It’s time to get your house back in order, which includes taking your chest freezer out of storage and putting it to good use.
However, it’s not recommended that you plug it in straight away and hope for the best. Follow these guidelines to make use of your recently unused chest freezer.
1. Check for odors
If you catch a whiff of something rank inside your chest freezer, you’ll need to clean it out before using it again. This may involve commercial cleaners, but you can also wipe it down with a 5:1 solution of water and distilled white vinegar. Don’t let the vinegar solution sit for too long (5 minutes should do) before wiping it away.
2. Put everything back into place
This means reattaching the mechanical hinge and moving the chest freezer back to its original position. Chest the casters and make sure they can still turn; otherwise, you’ll end up with unsightly streaks on your beautiful floors.
3. Check the plug
Inspect the plug for visual damage. If a rodent gnawed on the cable when you were away, you’ll need to replace it. If you don’t know how to replace the cable, you can check out LRN2DIY’s 4-minute video guide below.
4. Defrost the chest freezer
Even though there won’t be any ice inside the freezer, you should still “defrost” it. Run the defrost cycle on your chest freezer for as long as the manual instructs, or leave the door open for 24 to 48 hours. This can also help get rid of lingering odors from inside the chest freezer.