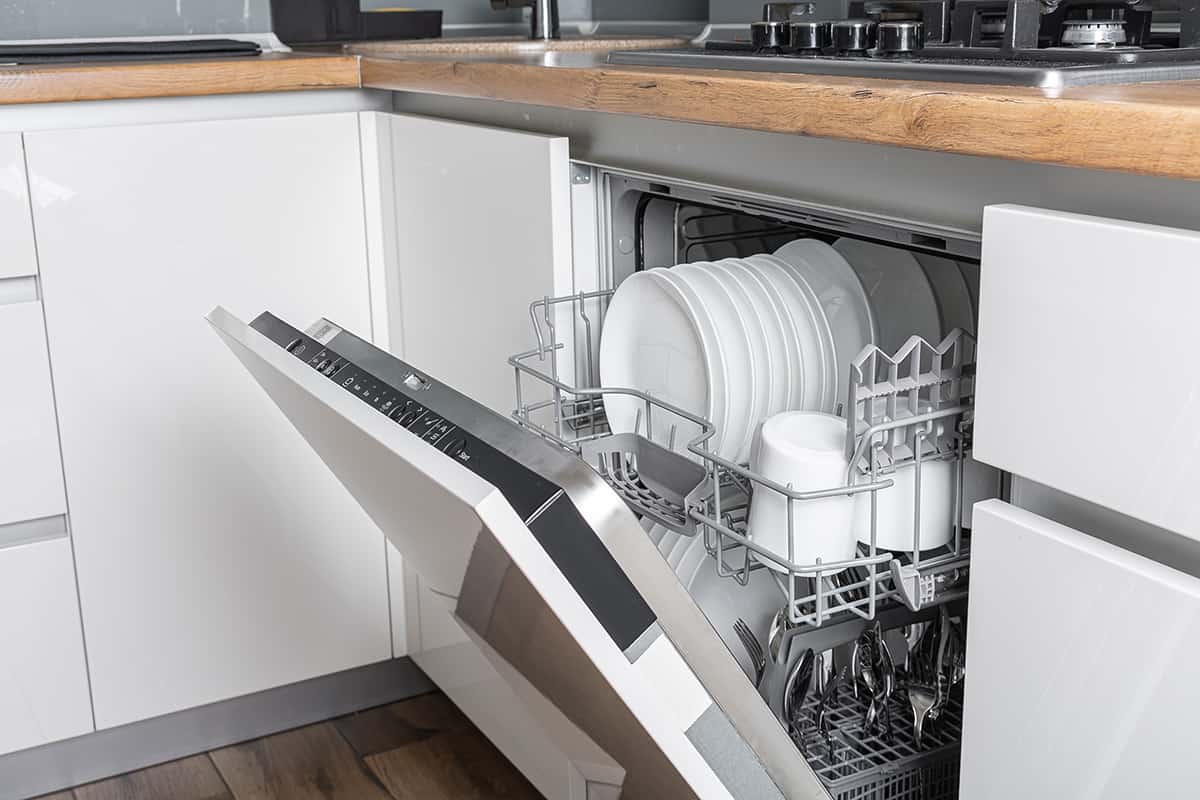
A working dishwasher should generate a bit of noise when turned on. All of the normal sounds a dishwasher makes have a purpose. But what does it mean when your dishwasher’s pump makes a humming noise but doesn’t receive water?
The likeliest causes that your dishwasher hums but don’t receive water are as follows:
- Blocked water supply line
- Faulty inlet valve
- Defective float
- Damaged door microswitch
In this guide, I’ll explain in more detail what these causes are, how they can happen, and what you can do to troubleshoot the problem.
Dishwasher Hums but No Water
While dishwashers are highly reliable kitchen appliances, there will come a time when it shows sign of wear and tear. One of the most concerning signs is when the dishwasher makes a droning sound but doesn’t receive water.
The good news is that this isn’t an immediate indication that your dishwasher is busted and that you need to replace it. However, it does mean that you may have to get your hands dirty to inspect a few components to get restore it to working order.
So, the main causes of why a dishwasher will hum but won’t receive water are as follows:
1. Blocked water supply line
The water supply line is the slightly rigid hose that connects your dishwasher to the inlet valve. If your home receives hard water, there’s a pretty good chance that there may be a buildup of calcium deposits somewhere in the line.
Sadly, the supply line is one of the first dishwasher components to experience failure, especially if you haven’t turned your dishwasher on for weeks at a time. Fortunately, it’s also one of the easiest parts of a dishwasher to inspect, clean, and replace.
Solution: Remove debris from the water supply line
Before inspecting your dishwasher for faulty components, you should disconnect the machine from its power source. That means flipping off the circuit breaker for hardwired dishwashers. When you’re confident that there is no power flowing through your dishwasher, you begin pulling apart your dishwasher to check for a faulty inlet valve.
- Shut off the water supply to your dishwasher.
- Place a towel underneath your dishwasher’s kickplate—the detachable panel found at the bottom of your dishwasher—to soak up water droplets from the supply line and inlet valve.
- Disconnect the water supply line from the inlet valve.
- Disconnect the water supply line from the dishwasher.
- Remove the supply line’s filter and soak it in soapy water.
- Bring the supply line to the kitchen sink and pour water inside the line to get rid of as much of the debris as possible.
- Dunk the supply line in a 1:1 mixture of vinegar and water for 30 minutes.
- Remove the remaining bits of debris.
- Use a snake drill attachment for a power drill to actively remove as much buildup inside the supply line as possible.
- Reinstall the supply line, turn on the dishwasher, and run a test cycle.
If the above solution doesn’t work, and if you have determined that the water supply line is the cause of your dishwasher not receiving water despite being on, you should look for a replacement water supply line for your dishwasher.
2. Faulty inlet valve
The inlet valve is the component that connects your dishwasher to the water supply line. It’s made of metal, usually galvanized stainless steel, so there is virtually zero risk of the valve deteriorating during the lifespan of your dishwasher. However, over time, there could be calcium deposits growing inside of the inlet valve.
Without treatment, the deposits can grow large enough to significantly limit how much water your dishwasher receives. In extreme cases, the deposits may be blocking the valve from releasing any water at all. This is especially true in homes that rely on hard water.
Solution: Remove the calcium deposits from the inlet valve
- Shut off the water supply to your dishwasher.
- Place a towel underneath your dishwasher’s kickplate.
- Disconnect the dishwasher’s inlet valve from your kitchen supply line and dishwasher supply line. You will have to unscrew the wire clamp that keeps both components tied together.
- Check the inside of the inlet valve for calcium deposits. If you knock it gently against your hand, you might notice a chalky substance coming out of the holes.
- Mix a 1:1 ratio of vinegar and water.
- Submerge the inlet valve assembly in the water for 30 minutes.
- Remove the inlet valve from the vinegar bath and use a narrow tool to pry out the remaining calcium debris.
- Reinstall the water inlet valve, plug the dishwasher in, and run a test cycle.
If there is far too much calcium buildup in the water inlet valve to remove, the best option is to replace the inlet valve assembly. Search for a replacement component from the manufacturer, or you can shop around for a compatible replacement. Installing the new inlet valve is as simple as disconnecting the existing one as described above and putting in the replacement in its place.
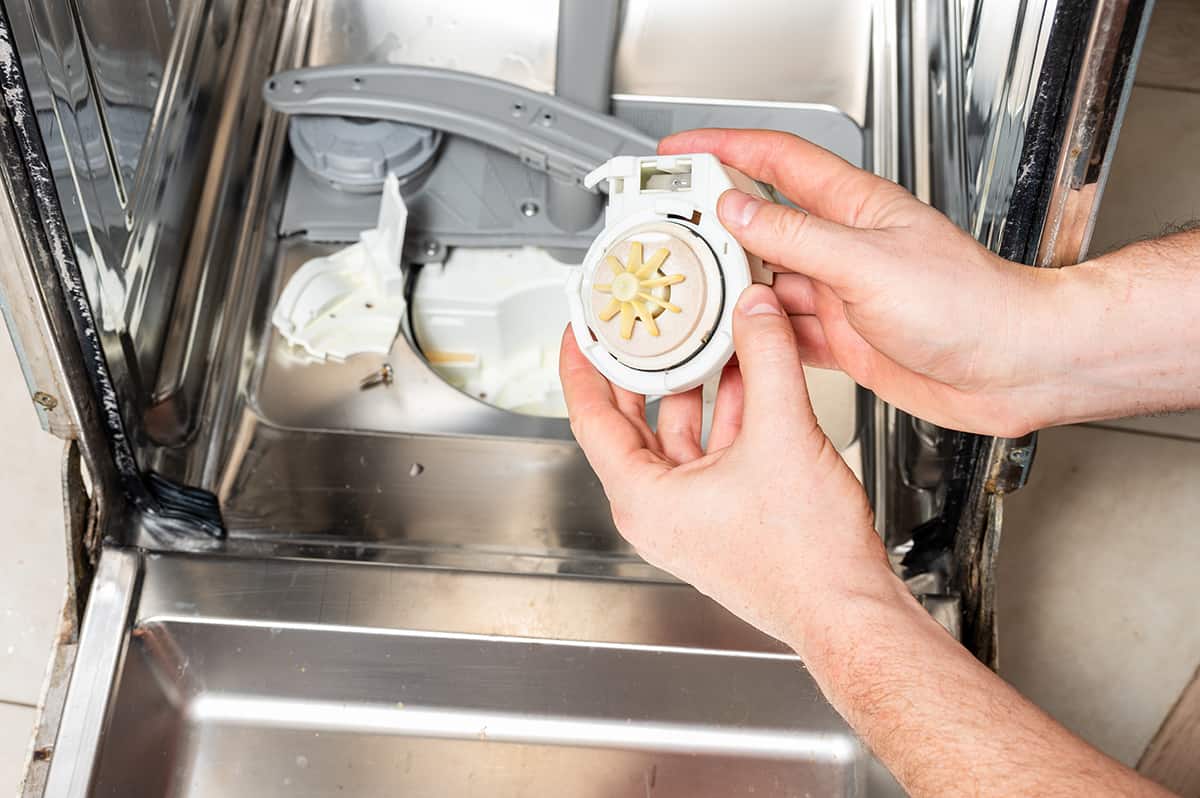
3. Defective float
The float informs the dishwasher when to receive water and when to shut off the supply of water. When the dishwasher has received enough water, the float will rise and shut off the flow of water before moving onto the next phase.
On the base of the dishwasher tub, you’ll find one or several floats with “heads” that rise and fall, depending on the water level in the tub. When you manually pull the float up, there should be a clicking noise that indicates the float is turned off.
Like any part of a dishwasher, the float is prone to damage and failure. In older models (those over 10 years old), the float will remain in its off position, despite not receiving any water at all.
Solution #1: Remove obstructions in the float
Before cracking open the kickplate of your dishwasher, you can manually inspect the floats to see whether there is an obstruction. A fallen fork, spoon, or even glass shards can prevent the float from moving up and down.
Solution #2: Inspect the float switch for damage
If the previous troubleshooting method doesn’t resolve the problem, you will have to inspect the float switch for mechanical problems.
- Remove the kickplate of your dishwasher.
- Locate the float switch, which should be directly underneath the floats inside the dishwasher tub.
- Disconnect all wires connected to the float switch before removing it completely.
- Use a multimeter to check the float switch for continuity. If it doesn’t register a reading, the float switch is bad and needs to be replaced.
4. Damaged door microswitch
The microswitch in a dishwasher’s door informs the control board whether the door is shut or not. In older dishwashers, the microswitch can malfunction or break completely, causing the dishwasher not to register a shut door. Dishwashers will not activate the filling phase of their wash cycle when the door is open.
Usually, a defective door switch is caused by deteriorated gaskets—the rubber or plastic seal that prevents water from making its way out of the dishwasher—or debris inside the switch system.
Solution: Clean the door microswitch
- Open the dishwasher door.
- Use a narrow object, such as a bamboo skewer, to remove grit and debris residing in the latch mechanism.
- Plug in the dishwasher and run a test cycle.
If the microswitch isn’t at fault, there might be a problem with the latch mechanism as a whole. In extreme cases, you might have to replace the entire door latch to restore your dishwasher to working order.
You can find a more in-depth explanation of how to fix the door latch on a dishwasher here.