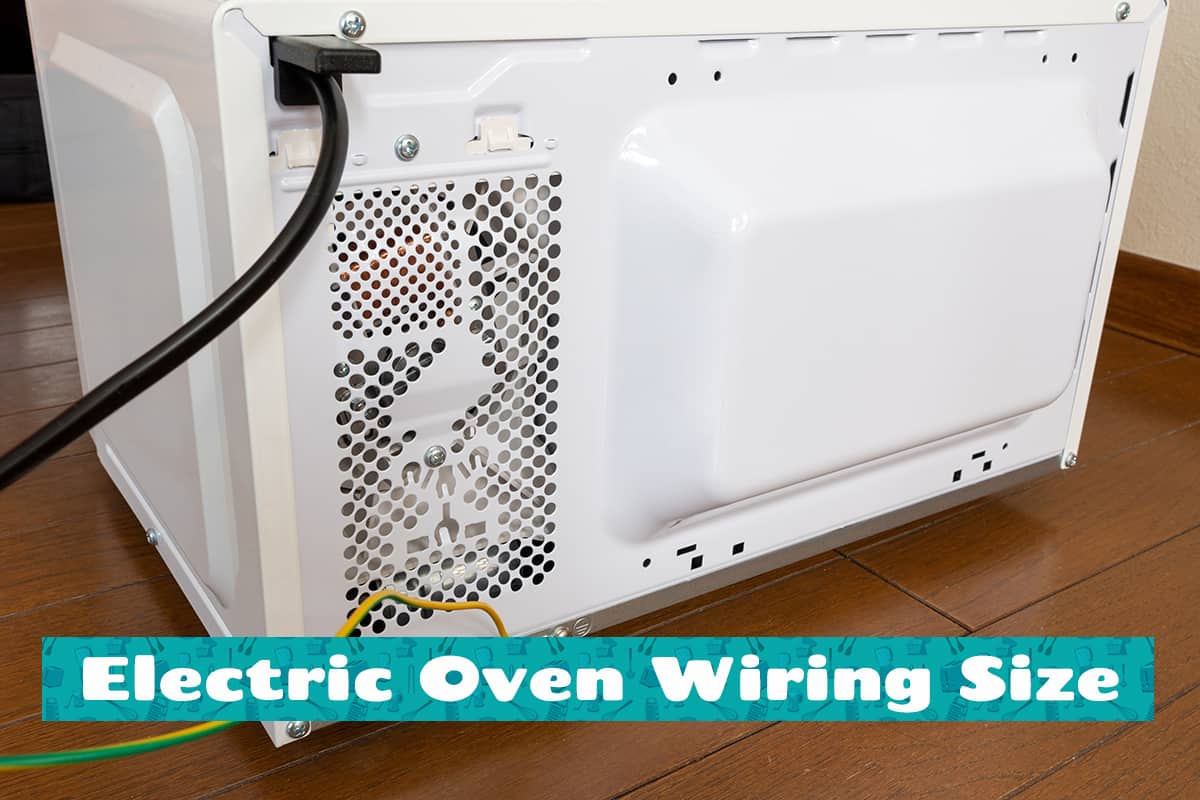
Ovens are the heart of any kitchen, turning raw ingredients into delicious meals. But beneath their shiny exterior, they’re powered by electrical wirings that ensure they run efficiently. While it might sound confusing, these wirings aren’t as hard as you might think.
Most household electric ovens use a wire size of 8-gauge or 6-gauge, depending on the oven’s power consumption and the distance from the circuit breaker.
In this guide, we’ll learn more about oven wiring sizes, from understanding their importance to installation tips.
A Brief Overview of Oven Electrical Demands
Beyond the dials and timer beeps, there’s an electrical world humming in harmony. Here’s a layman’s dive into the energized universe of oven electrical demands.
The Magic of Power Consumption
Electric ovens are like super-powered toasters. They gobble up electricity and turn it into the lovely warmth that bakes your muffins and roasts. On average, a regular electric oven uses between 2000 to 5000 watts. So, if you’re whipping up a storm for 2 hours, the oven could consume anywhere from 2 to 10 kilowatt-hours.
Voltage and Wattage
If oven electricals were superheroes, voltage and wattage would be Batman and Robin. Voltage (measured in volts) is like the pressure from an electrical pipe, and wattage (measured in watts) represents the total electrical power used by the oven.
In the US, most home ovens run on 240 volts. But remember, more volts don’t always mean more power. That’s where wattage steps in. An oven’s wattage tells you how ferociously it’s consuming electricity. Higher wattage usually equals faster preheating and quicker cooking times. However, it also means a slightly heftier electricity bill.
Importance of Proper Electric Oven Wiring
Just as you wouldn’t want a see-saw ride with someone ten times your weight, your oven doesn’t want wiring that’s a mismatch for its needs. Here, we’ll uncover the nitty-gritty behind wiring your oven just right.
1. Efficiency
If your oven’s wiring isn’t up to snuff, you might find uneven cooking or an extended preheat time. Proper wiring ensures your oven gets the exact power it craves, leading to consistent temperatures and perfectly browned goodies.
2. Lifespan
In the world of ovens, improper wiring is like overusing an old toy. It can cause your oven to work harder than it needs to, leading to wear and tear. On the flip side, a well-wired oven will serve you faithfully for years.
3. Safety
The right wiring minimizes risks like electrical fires or unexpected power surges. Imagine trying to bake a simple cake and summoning the fire brigade for an electrical fire. Doesn’t sound like fun, does it?
4. Cost Effectiveness
An oven with ill-fitted wiring can be a power guzzler, leading to a higher electricity bill. Proper wiring ensures optimal power consumption. So, while you’re enjoying that freshly baked cake, you can also relish the thought of saving a few bucks.
Different Wiring Sizes and Their Applications
Here’s where things can get a bit technical, but even the most lay of men shouldn’t have too hard of a time deciphering wiring sizes and their uses.
| Wire Size | Characteristics | Applications | Notes |
| 14-Gauge | Thinner wire, handles up to 15 amps of current. | Used for lighting circuits and small appliances. | Not appropriate for electric ovens. |
| 12-Gauge | Can carry up to 20 amps. | Suited for outlets and switches around the home. | Not ideal for most electric ovens. |
| 10-Gauge | Handles up to 30 amps. | For smaller ovens or countertop models with lower wattages. | Check oven’s specifications before use. |
| 8-Gauge | Can manage a solid 40 amps of current. | Compatible with many standard household ovens. | Common choice for electric ovens. |
| 6-Gauge | Thick wire, able to carry up to 55 amps. | Suitable for larger electric ovens with high power consumption or dual setups. | Go-to choice for larger ovens. |
Note: The lower the gauge rating, the thicker the wire.
The distance between the circuit breaker and the oven can influence the wire size choice. Over lengthy spans, resistance increases, potentially necessitating a thicker wire for efficient power transfer.
Always refer to the oven manufacturer’s specifications. Each oven comes with its set of electrical requirements, and aligning your wire choice with these specifications ensures safety and top-tier performance.
DIY vs Professional Installation
So, you’re itching to get your electric oven wired up and you’ve got that age-old debate brewing: “Should I try to do this myself or call in a pro?”
Pros of DIY
- Cost Savings: Skipping the professional can save you a few bucks. No labor costs mean more money for that fancy spatula you’ve been eyeing!
- Learning Experience: You’ll gain a deeper understanding of your home’s electrical system. Plus, who doesn’t love adding “electrician” to their list of DIY skills?
Cons of DIY
- Safety Concerns: Electricity isn’t something to play around with. A wrong move can lead to electrical shocks or fires. Yikes!
- Potential Mistakes: Even if you’ve watched a bunch of online tutorials, there’s a chance you might make an error that could affect your oven’s performance.
- Time-Consuming: Especially if you’re new to this, it might take longer than you think. You could spend that time trying out new oven-baked recipes instead!
Step-by-step Guideline for Oven Wiring Installation
Let’s roll up those sleeves and dive into a step-by-step guide. But if midway you start feeling you’re biting off more than you can chew, remember there’s no shame in calling in the cavalry.
1. Safety First
Disconnect Power: Ensure the main power source is turned off. You don’t want to dance the electric slide today!
2. Gather Your Tools
You’ll need wire strippers, screwdrivers, a voltage tester, and of course, the appropriate wire size (remember that table from earlier?).
3. Prepare the Outlet
Locate your home’s designated oven outlet. It should be a 240-volt spot. If you’re replacing an old oven, remove the existing wiring.
4. Wire Configuration
Electric ovens typically come with a 3-wire or 4-wire configuration:
- 3-Wire: Black (hot), Red (hot), and White (neutral).
- 4-Wire: Black (hot), Red (hot), White (neutral), and Green or Bare (ground).
5. Connect the Wires
- Black to Black: This is your hot-to-hot connection.
- Red to Red: Another hot connection.
- White to White: Neutral meets neutral.
If there’s a green or bare wire, connect it to the grounding screw or the green wire in your wall outlet.
6. Secure Connections
Using wire nuts, ensure each connected set of wires is securely bundled. A loose wire is a recipe for disaster (and not the burnt-cookie kind).
7. Test the Oven
Once everything’s connected, restore power. Test your oven. If it powers on without any hitches, give yourself a pat on the back!