From baking cookies to roasting vegetables, your oven serves as the linchpin of culinary adventures. Particularly, GE ovens are favored by many due to their reliability and advanced features. However, like all appliances, they may experience issues. One of the most frustrating can be when the control panel stops working, rendering your oven virtually useless.
The potential causes of a non-working GE oven control panel include:
- Power outages or supply problems
- Internal wiring faults
- Prolonged use leading to wear and tear
- Software or firmware glitches
This guide will explore basic and advanced troubleshooting techniques for a non-responsive GE oven control panel.
Understanding the GE Oven Control Panel
Your GE oven control panel is your gateway to a world of culinary possibilities. From preheating the oven for a batch of cookies to setting the perfect temperature for a Sunday roast, the control panel puts a host of options at your fingertips.
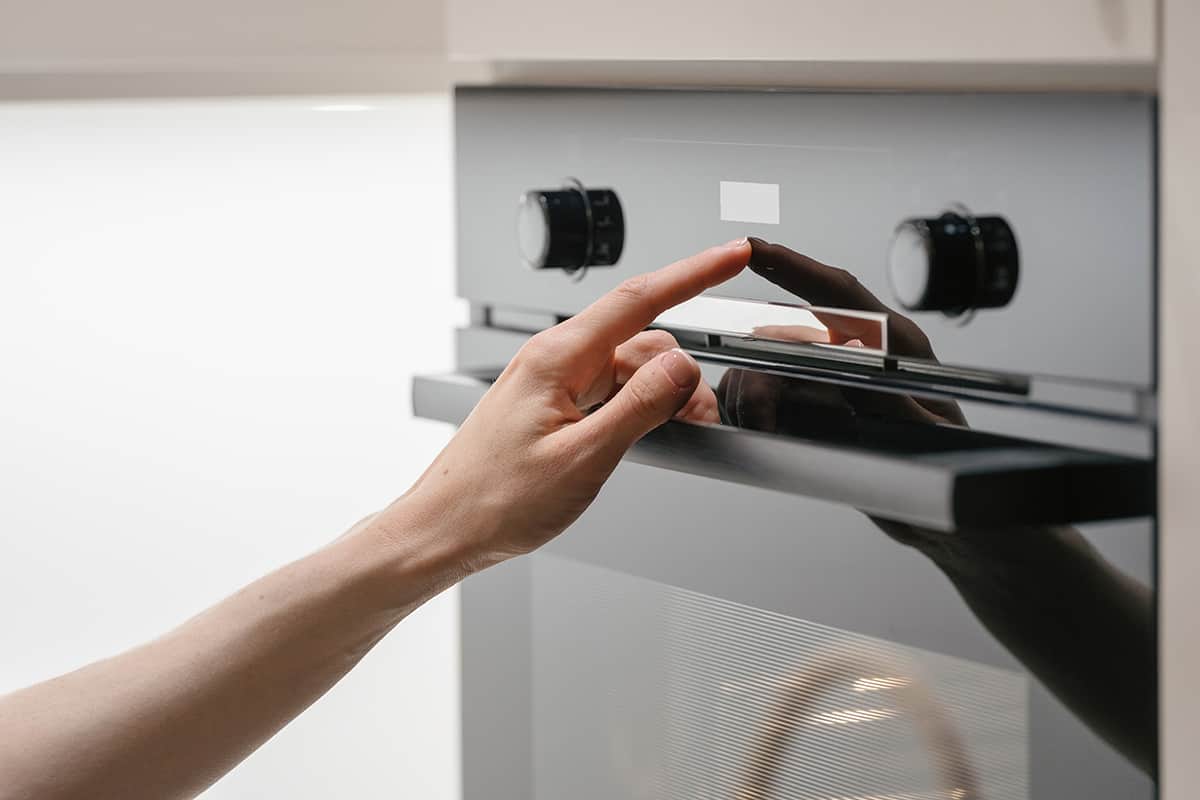
A typical GE oven control panel features several buttons and a digital display. Each button controls a specific function or setting on your oven. Here’s a rundown of the common elements you’ll find on your control panel:
- Power Button: A simple press turns the oven on, ready for you to select the function and temperature.
- Temperature Controls: Allow you to set the oven to the desired temperature. Usually, you’ll see a ‘+’ and ‘-’ to increase or decrease the temperature. Some models may have a number pad for direct input.
- Function Controls: These buttons switch between the oven’s different modes. For example, ‘bake’ is for regular cooking, ‘broil’ is for high-heat cooking from above, and ‘self-clean’ initiates the oven’s self-cleaning cycle.
- Timer Controls: These buttons let you set a cooking duration. Once the time is up, the oven will either beep or shut off automatically.
- Display: The display shows the current oven status. You can see the set temperature, chosen function, and remaining cooking time. If there’s a problem, an error code may show up here.
The arrangement of these controls can vary depending on the oven model, but the essential functions remain the same.
Causes of a Non-Working GE Oven Control Panel
A non-responsive GE oven control panel can turn a planned cooking session into a frustrating experience. If you understand the potential causes behind this issue, it can help you troubleshoot the problem and even prevent it from happening in the future.
1. Power Outage Issues
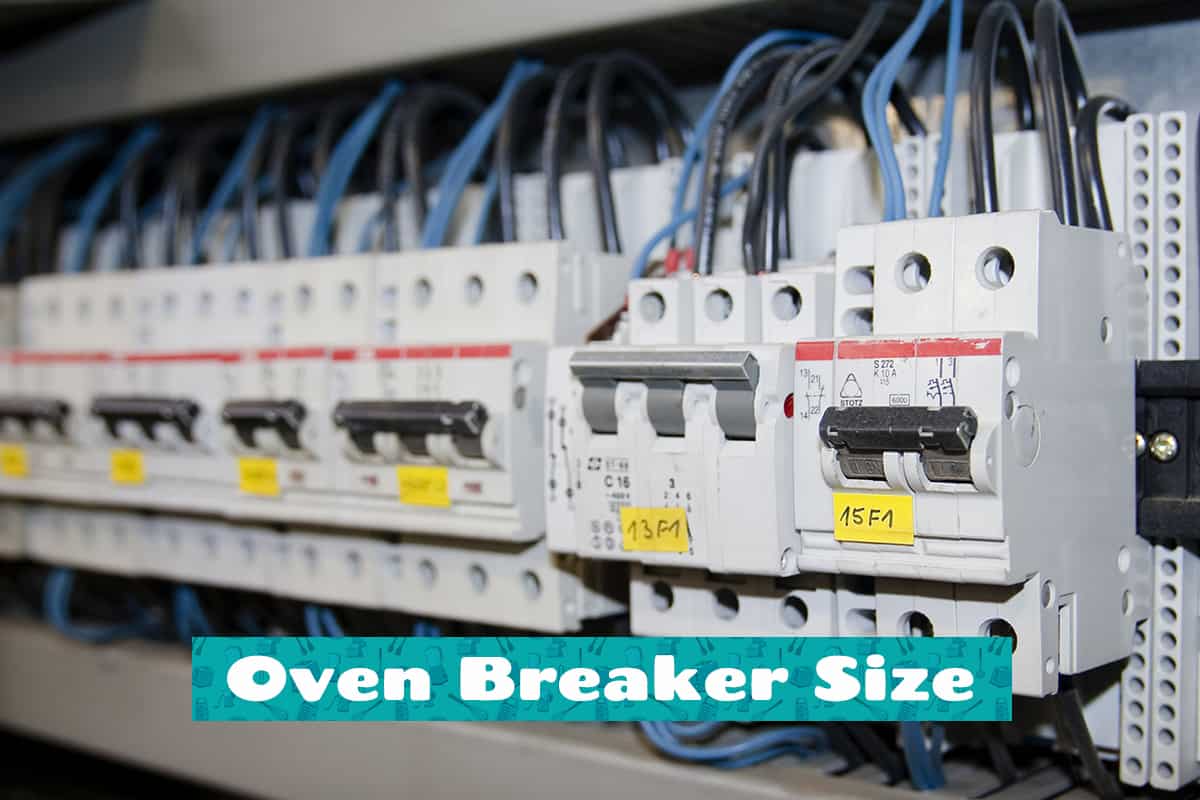
One of the most straightforward reasons behind a non-working oven control panel could be power-related. A temporary power outage in your home, a blown fuse, or a tripped circuit breaker can all result in a non-responsive oven control panel.
- Temporary Power Outage: If there’s been a recent power outage in your area, it could have affected your oven’s operation. Once power is restored, the control panel might not restart properly, leading to non-responsiveness.
- Blown a fuse or Tripped Circuit Breaker: Every oven is protected by a fuse that can blow if there’s an electrical surge or overheating. Similarly, a tripped circuit breaker can cut off the power supply to your oven.
2. Internal Circuitry or Wiring Problems
The control panel communicates with the other parts of the oven using internal wiring and circuits. If there’s an issue with these components, the control panel might stop working.
- Faulty Wiring: Over time, the internal wiring of the oven can degrade, leading to incomplete circuits. This might result in the control panel not receiving or sending signals correctly.
- Circuitry Issues: The control panel relies on a control board to function. This board can get damaged due to power surges, overheating, or simple wear and tear.
3. Prolonged Use or Wear and Tear
Like any appliance, your GE oven is subject to wear and tear. Prolonged usage can lead to degradation of various components, including the control panel.
- Repeated Usage: Over time, the physical buttons on the control panel can wear out, leading to non-responsiveness.
- Accumulated Dirt or Grease: If the control panel isn’t cleaned regularly, dirt or grease can accumulate, possibly blocking button presses or affecting the electronic components.
4. Software or Firmware Issues
Modern ovens, like GE models, rely on software and firmware to function. If there’s an issue with this software, the control panel might become non-responsive.
- Software Glitches: The software that controls the oven can occasionally experience bugs or glitches that stop the control panel from working.
- Outdated Firmware: Your oven’s firmware needs periodic updates to work correctly. Outdated firmware might result in a non-responsive control panel.
Basic Troubleshooting Steps for a Non-Working GE Oven Control Panel
When your GE oven control panel isn’t responding as expected, some basic troubleshooting steps can help diagnose and often resolve the issue. However, remember that some problems might require professional attention, so don’t hesitate to call in an expert if needed.
Check the Power Supply
- Check Power Outage: Confirm whether there’s power in other parts of your home. If there’s been a power outage, wait for the power to return, then try operating your oven again.
- Inspect the Circuit Breaker: If the power is fine elsewhere in your home, check your circuit breaker. A tripped breaker can cut off power to the oven, making the control panel non-responsive. If the breaker is tripped, reset it and try operating the oven.
- Examine the Fuse: Ovens have an internal fuse that can blow due to electrical issues or overheating. If you suspect a blown fuse, it’s best to call a professional as replacing it involves opening up the oven.
Clean the Control Panel
- Clean the Buttons: Use a soft, damp cloth to gently clean the control panel buttons. Do not use abrasive cleaners or sponges as they can damage the panel.
- Clean the Display: If your display is non-responsive or shows incorrect information, it might need cleaning. Use a soft cloth and a gentle cleaner to clean the display.
Reset the Oven
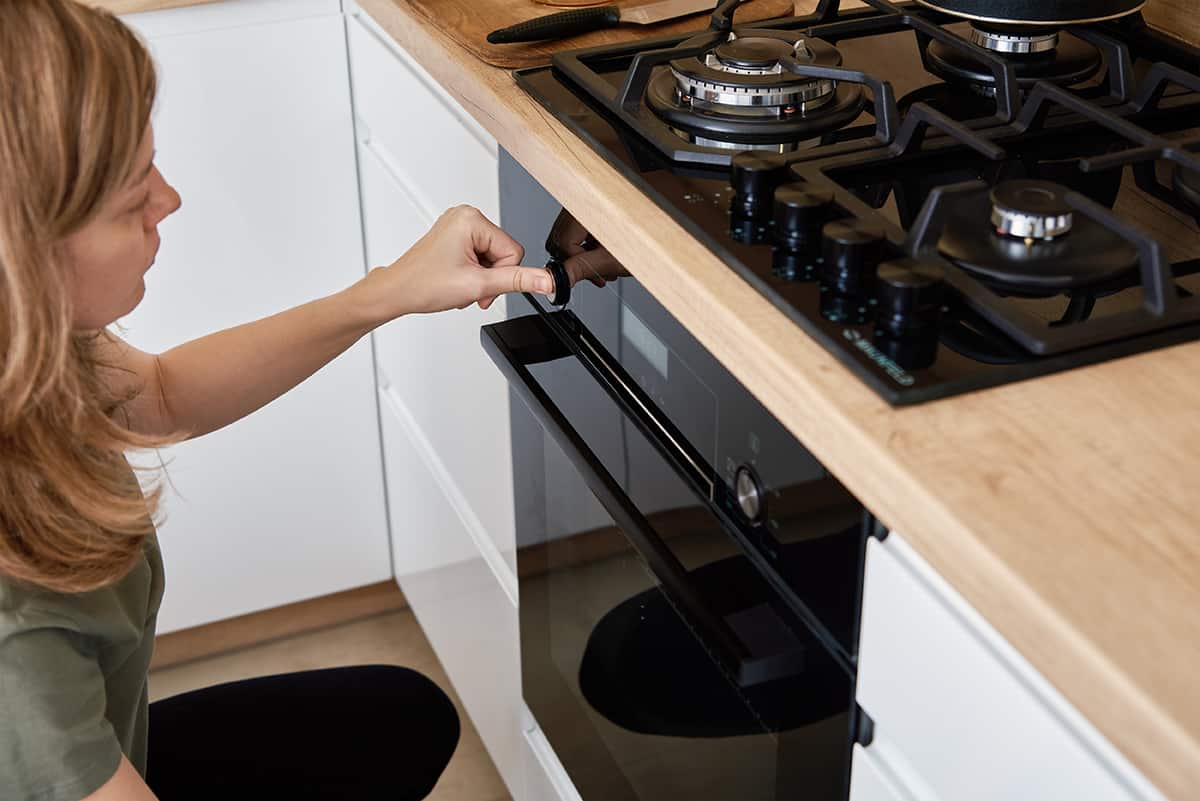
- Perform a Soft Reset: A soft reset involves turning off the oven using the power button, waiting for a minute, then turning it back on. This can clear minor software glitches.
- Perform a Hard Reset: A hard reset involves unplugging the oven from the power outlet, waiting for a few minutes, then plugging it back in. This can clear more serious software issues.
Update the Oven Firmware
- Check for Updates: Consult your oven’s manual or the GE website for information on checking and updating the oven’s firmware.
Advanced Troubleshooting Techniques
While basic troubleshooting techniques are usually sufficient to handle many issues with a GE oven control panel, some situations might require advanced troubleshooting. Note that these techniques should be performed only if you are comfortable with electrical appliances.
Checking the Control Board
- Inspect for Damage: First, inspect the control board for any visible signs of damage, such as burns or scorch marks. These might indicate that a circuit has shorted out.
- Check for Loose Connections: Loose wiring connections can also cause issues with the control panel. Inspect the connections and make sure they are secure.
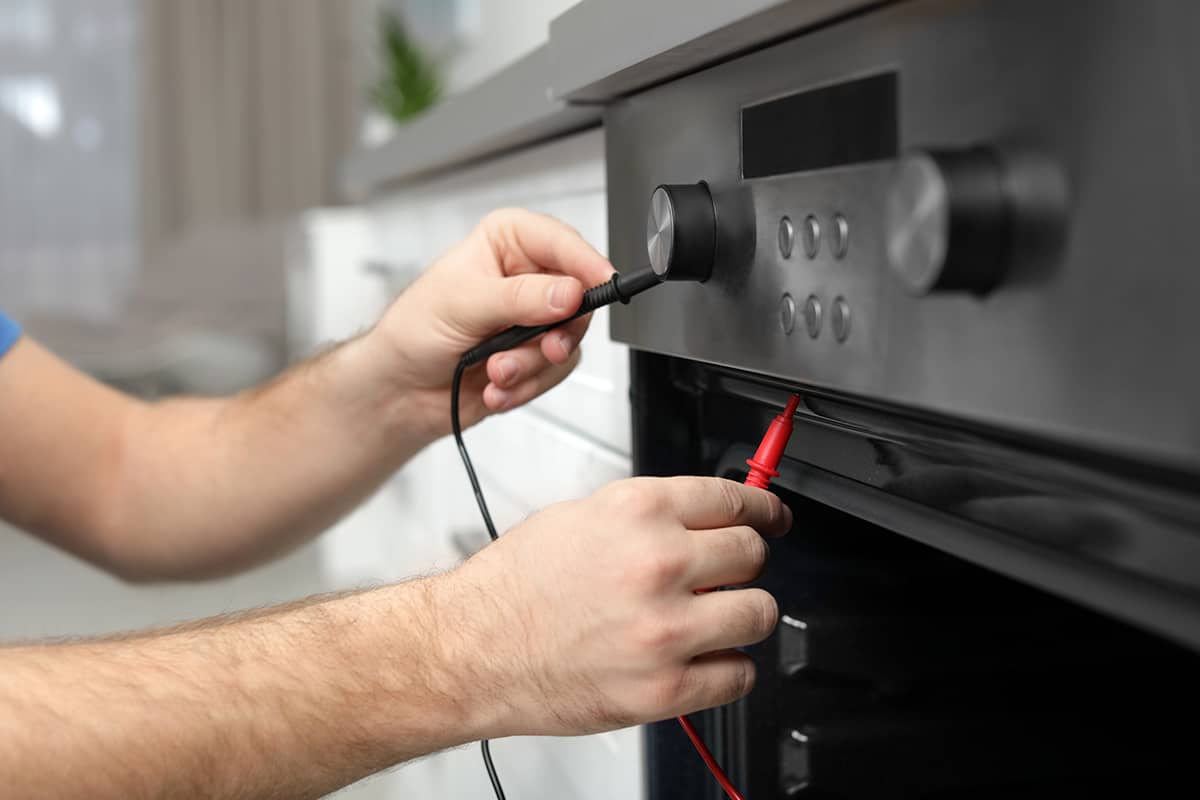
Testing the Control Panel
- Unplug the Oven: Ensure that the oven is unplugged from the power source before proceeding with this step.
- Test the Control Panel: Use a multimeter to test the control panel for continuity. If the multimeter does not show continuity, it means the control panel is defective and needs to be replaced.
Replacing the Control Panel
- Order the Correct Part: The first step is to order the correct control panel for your model of GE oven. You can usually find this information in the user manual or on the GE website.
- Follow the Installation Guide: The new control panel should come with an installation guide. Follow the instructions carefully to install the new control panel. Be sure to disconnect the power before starting the installation.