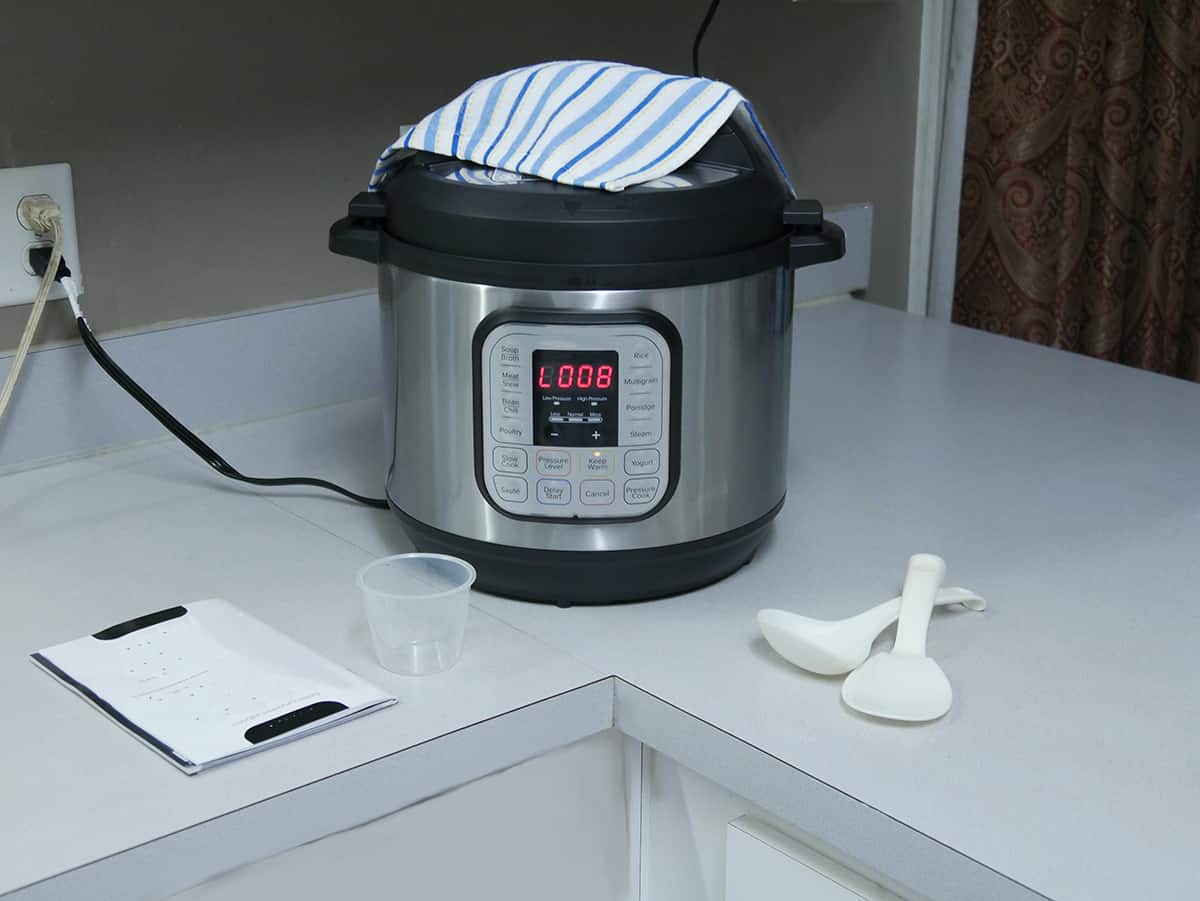
Pressure cookers have revolutionized modern kitchens by offering an efficient way to cook food quickly and effectively. Their key magic lies in their unique ability to cook under high pressure, which significantly reduces cooking time. Yet, newbie pressure cooker users often grapple with how long it takes for a pressure cooker to reach the right pressure.
Typically, a pressure cooker takes between 10 to 15 minutes to reach optimal pressure. This duration, however, can vary based on factors such as the quantity and type of food, amount of liquid, and starting temperature of ingredients.
This guide will explore the subject in more detail by explaining the factors influencing pressure build-up and offering practical tips to optimize your pressure cooker usage,
The Basics of Pressure Cooking
Pressure cooking is an efficient method of cooking that harnesses the power of steam and pressure. It works by trapping steam in a sealed pot, thereby increasing the temperature and cooking food faster.
At the core of pressure cooking are three fundamental principles.
Heat: It’s essential for boiling water, generating steam, and increasing internal pressure.
Pressure: High pressure allows for increased cooking temperatures beyond the boiling point of water.
Time: Pressure cooking substantially reduces cooking times, making it a preferred method for busy households.
The Pressure Building Process
When you place your ingredients and liquid into the pressure cooker and secure the lid, the cooker is sealed, allowing steam to build up. As you apply heat, the liquid inside begins to boil and convert into steam, causing pressure to rise within the cooker.
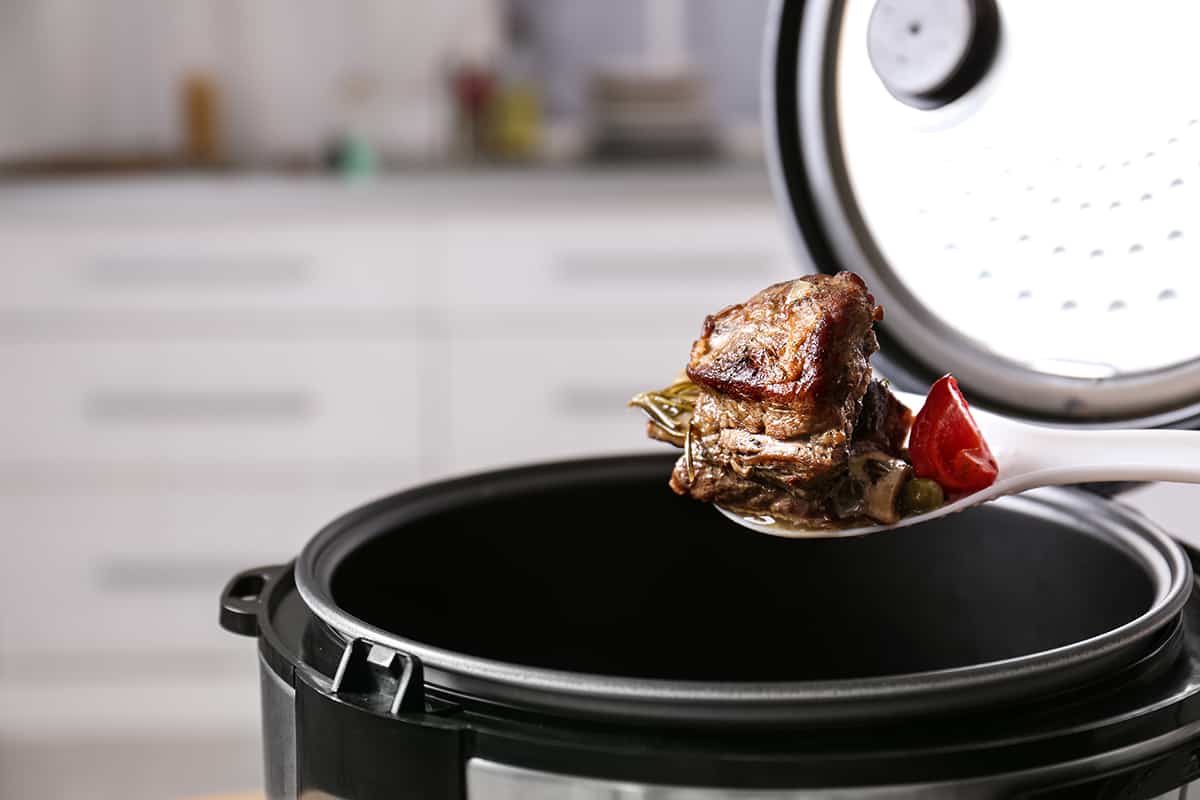
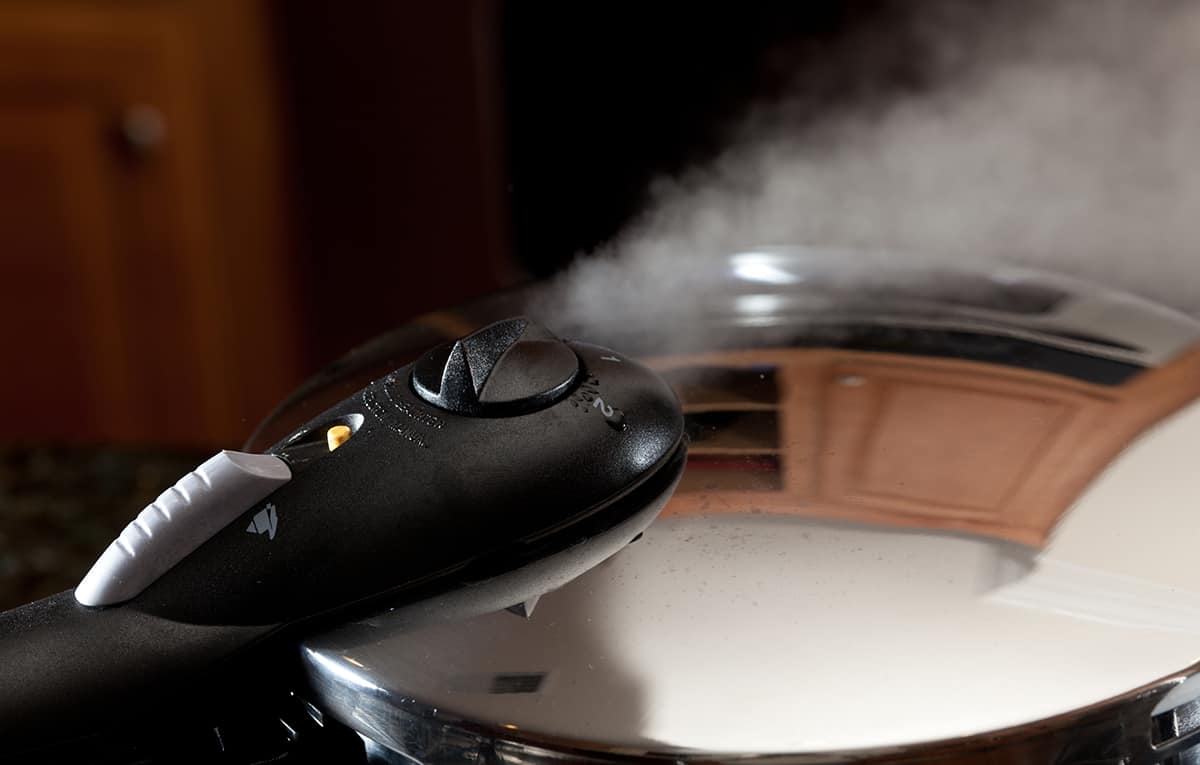
When the pressure reaches the cooker’s designated level (between 3 and 15 PSI for most modern cookers), the pressure regulator activates to maintain this level. The steam generated pushes against the food, forcing moisture and heat into it, which is what cooks the food.
“Coming to Pressure” Time
The time it takes to reach this pressure level is often referred to as the “come to pressure” time. This time is not usually factored into the cooking times stated in recipes. When planning your cooking, account for the “coming to pressure” time by tacking on an extra 10-15 minutes to your total cook time.
However, different models may have different “come to pressure” times. You will need to test your pressure cooker for a more accurate measurement. Here’s how you calculate the “come to pressure” time:
- Begin timing when you turn on the heat.
- Once the cooker has reached pressure, note the time.
- Calculate the difference between the start time and the pressure time is your “come to pressure” time.
After you’ve found the “come to pressure time” in minutes, add it to the cooking time specified in your recipe for a more accurate total cooking time.
Factors Impacting Pressure Build-Up Time
Various factors can influence how long your pressure cooker takes to reach pressure:
- Volume and Type of Food: The more food and liquid you place in the cooker, the longer it will take to heat and come to pressure. Certain food types, such as grains or frozen foods, may also increase this time due to their high-density nature.
- Quantity and Type of Liquid: Pressure cookers rely on steam from boiling liquid to build pressure. The more liquid you use, the longer it will take to boil and create steam. The type of liquid also matters. For instance, water will heat up faster than thicker liquids like broth or sauces.
- Starting Temperature of Ingredients: Room temperature ingredients will reach pressure faster than refrigerated or frozen ingredients. Thaw your frozen foods or allow refrigerated items to sit out a while before cooking to shorten pressure build time.
- Altitude: The higher the altitude, the lower the boiling point of water. This means that at high altitudes, your pressure cooker may take longer to come to pressure.
Factoring in Natural Release Time vs. Quick Release Time
Once your food is cooked, the next step is to release the pressure inside the cooker safely. There are two primary methods for doing this: natural release and quick release.
- Natural Pressure Release: In this method, you turn off the heat and let the pressure decrease naturally. As the cooker cools, the pressure drops, allowing you to open the lid safely. This process can take 10 to 20 minutes or more, depending on the cooker’s contents. Natural release continues to cook your food, so it’s best for recipes that require slow, gentle cooking, like stews or braised meats.
- Quick Pressure Release: This method involves manually releasing the steam from the cooker, typically using a valve or button. It rapidly reduces the pressure inside the cooker, allowing you to open it within minutes. This method is best for foods that cook quickly, like vegetables or seafood, to prevent overcooking.
Like the “come to pressure” time, release time will most likely not be accounted for in your recipe. As such, you need to manually factor it into your total cooking time. Keep in mind that the method you choose for releasing pressure can affect your food’s final texture and consistency.
Tips for Optimizing Pressure Cooker Use
The more efficient your use of the pressure cooker, the better the quality of your meals and the less time you’ll spend in the kitchen. Below are some practical tips to optimize your pressure cooker use.
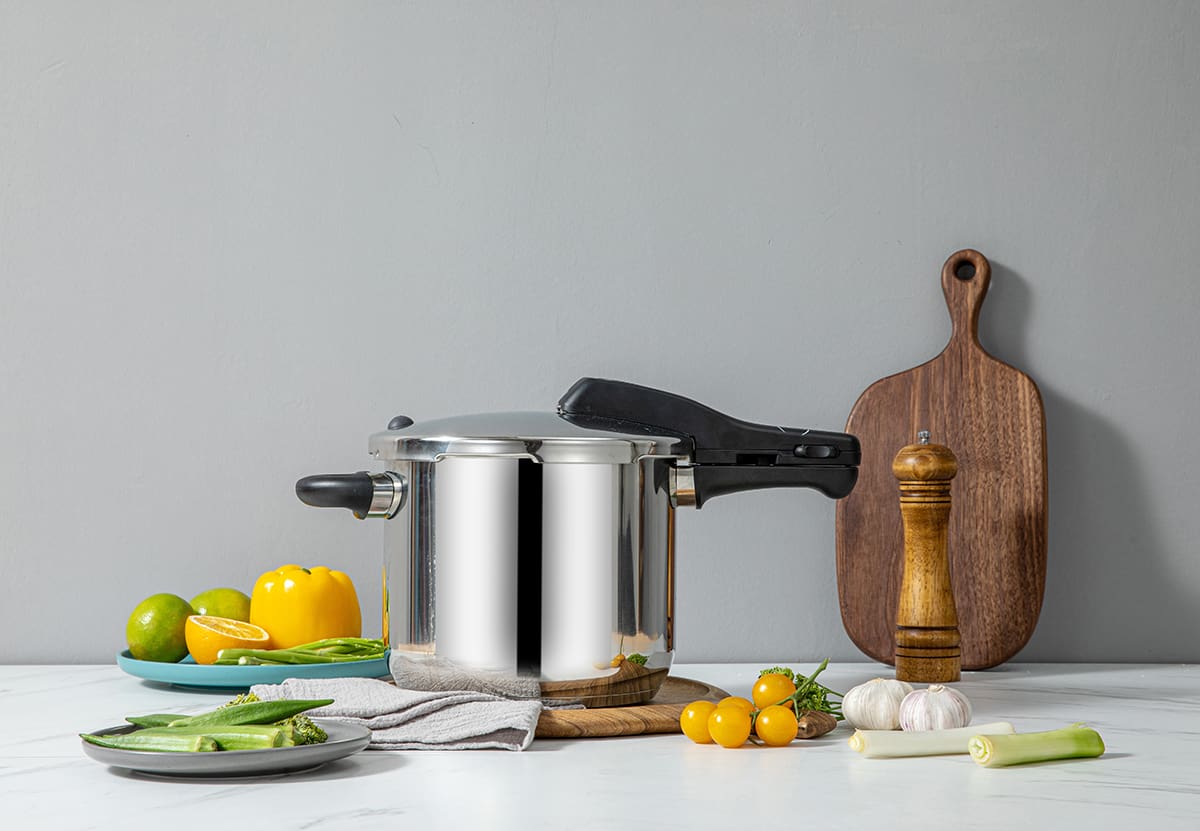
Choosing the Right Liquid
The steam that builds pressure in your cooker comes from the liquid you add. So, choosing the right liquid and quantity is an important factor.
- Water is the most common liquid used due to its rapid boiling point. However, you can also use broths, sauces, or wine for added flavor.
- The minimum liquid requirement for most pressure cookers is around one cup, but check your manual to confirm.
- Avoid using thickeners or dairy products as they may prevent steam from escaping, risking pressure build-up.
Sealing the Pressure Cooker Correctly
A pressure cooker must be sealed correctly to build and maintain pressure.
- Ensure the rubber sealing ring is clean, undamaged, and correctly positioned before every use.
- Confirm that the pressure valve is clean and not blocked. A blocked valve can hinder steam release and may lead to dangerous pressure build-up.
- Listen for a hissing sound when the cooker is coming to pressure. If it continues after reaching pressure, it could indicate a poor seal. Reduce heat and check the lid.
Adjusting Heat Levels
Adjusting your stove’s heat level can affect how quickly your pressure cooker reaches pressure and how steadily it maintains it.
- Use high heat to bring the cooker to pressure rapidly. Once pressure is reached, reduce the heat to low enough to maintain pressure without exceeding it.
- If the cooker’s pressure indicator shows a drop in pressure during cooking, increase the heat slightly until it stabilizes.
Using Pressure Cooker Timers
Some modern pressure cookers come with built-in timers that begin counting down once the cooker has reached pressure. If yours doesn’t have this feature, use an external kitchen timer. Remember to include “come to pressure” and “release pressure” times in your total cooking time.
Releasing Pressure Safely
Releasing pressure safely prevents burns from steam and ensures your food is cooked correctly.
- Use a pair of tongs or an oven mitt to turn the pressure release valve.
- Keep your face and hands away from the steam.
- Allow the pressure indicator to drop fully before attempting to open the cooker. If the lid resists, it means there’s still pressure inside.