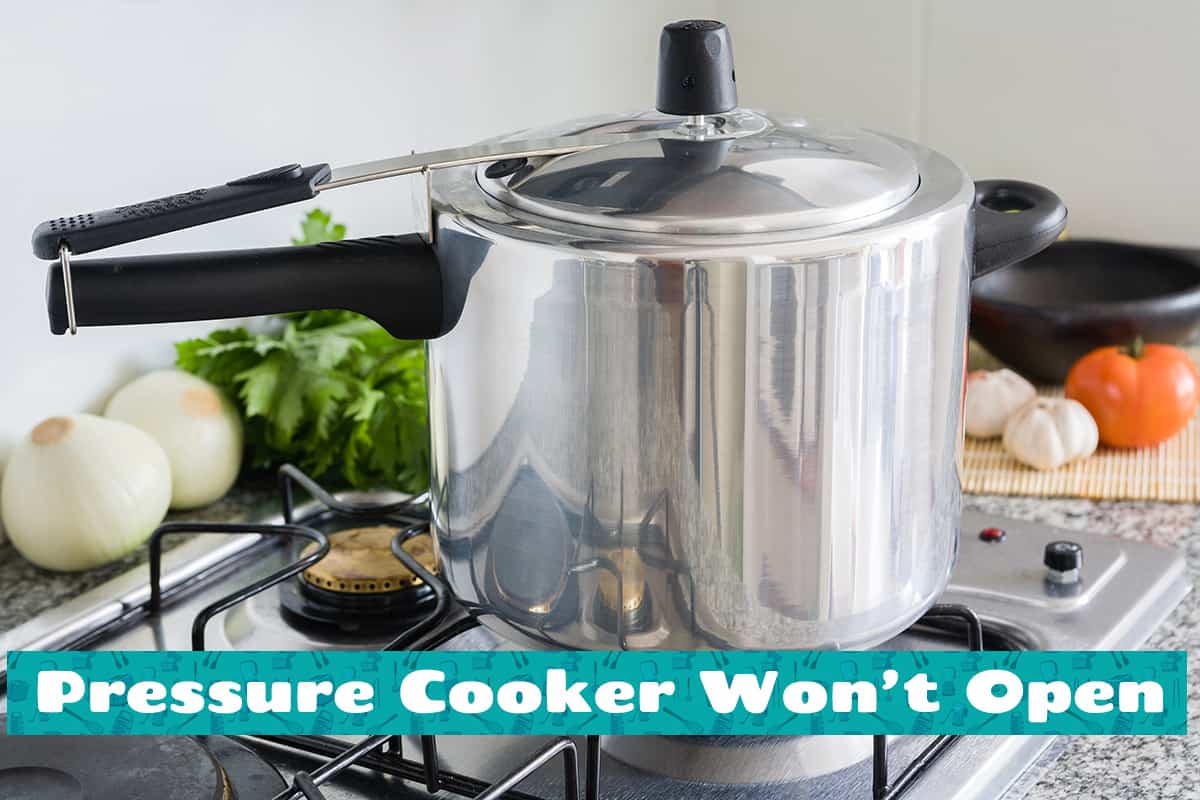
Pressure cookers are handy kitchen appliances that operate under high pressure, but what makes them special also presents unique challenges. One such challenge is when the pressure cooker stubbornly refuses to open.
Common reasons for why your pressure cooker won’t open when it’s done cooking are as follows:
- Excessive internal pressure
- Faulty sealing ring or gasket
- Misalignment of the lid
- Damaged or stuck pressure valve
- Food particles obstructing the seal
- Deteriorated handles or locking mechanism
- Temperature differences
This article will cover the reasons behind a stuck pressure cooker in more detail, as well as offer solutions and maintenance tips to prevent this issue from reoccurring.
Basic Mechanics of a Pressure Cooker
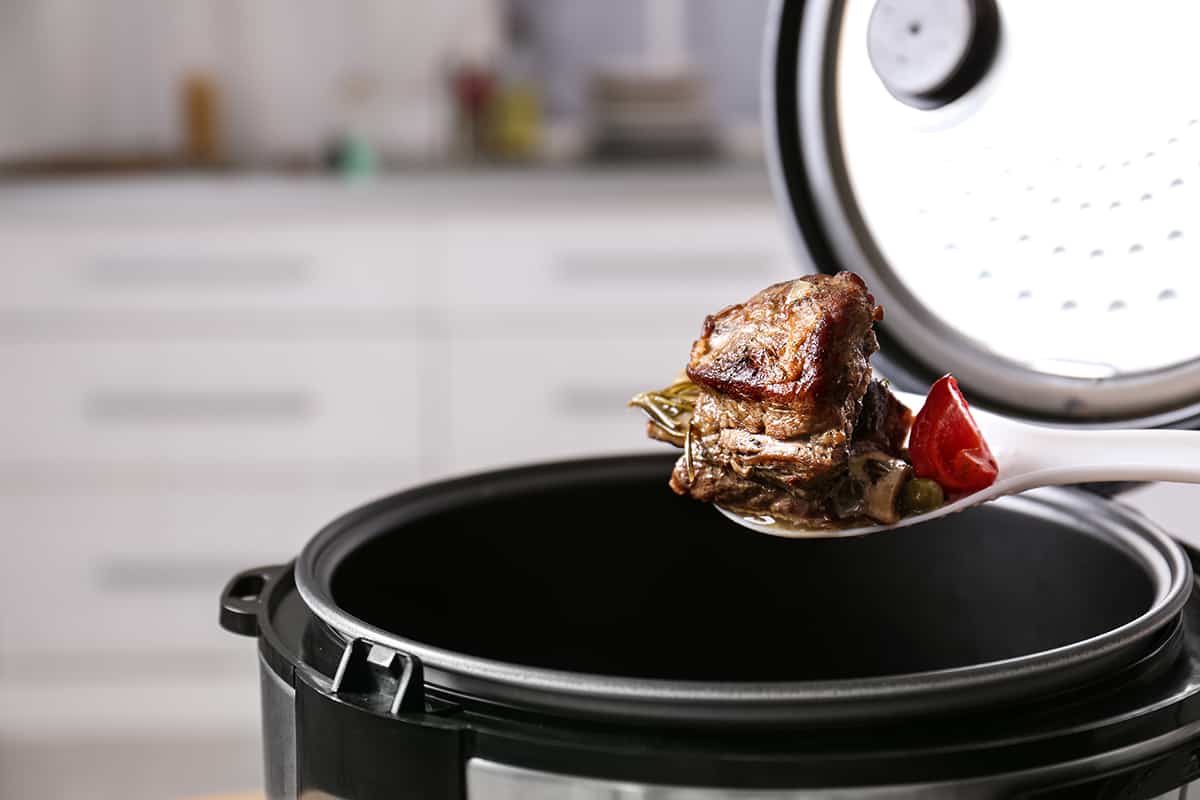
At its core, a pressure cooker is a sealed pot. When you add liquid and heat the pot, it produces steam. Since this steam is trapped, it causes the internal pressure to rise, which in turn increases the boiling point of the liquid. This heightened boiling point allows food to cook faster than conventional methods.
Given the increased pressure inside the cooker, water and other liquids boil above the standard 100°C (212°F). Higher temperatures lead to faster cooking. For instance, beans that might take hours to soften on a regular stove could be ready in a fraction of the time within a pressure cooker.
Main Components
- The Pot: Typically made of stainless steel or aluminum, the pot is durable and designed to withstand high temperatures and pressure.
- The Lid: This is an essential component. It securely locks in place, ensuring that steam and pressure remain trapped inside.
- Sealing Ring or Gasket: Positioned around the inner rim of the lid, the sealing ring ensures a tight seal. Over time, wear and tear can affect its efficacy, which is why regular inspection is crucial.
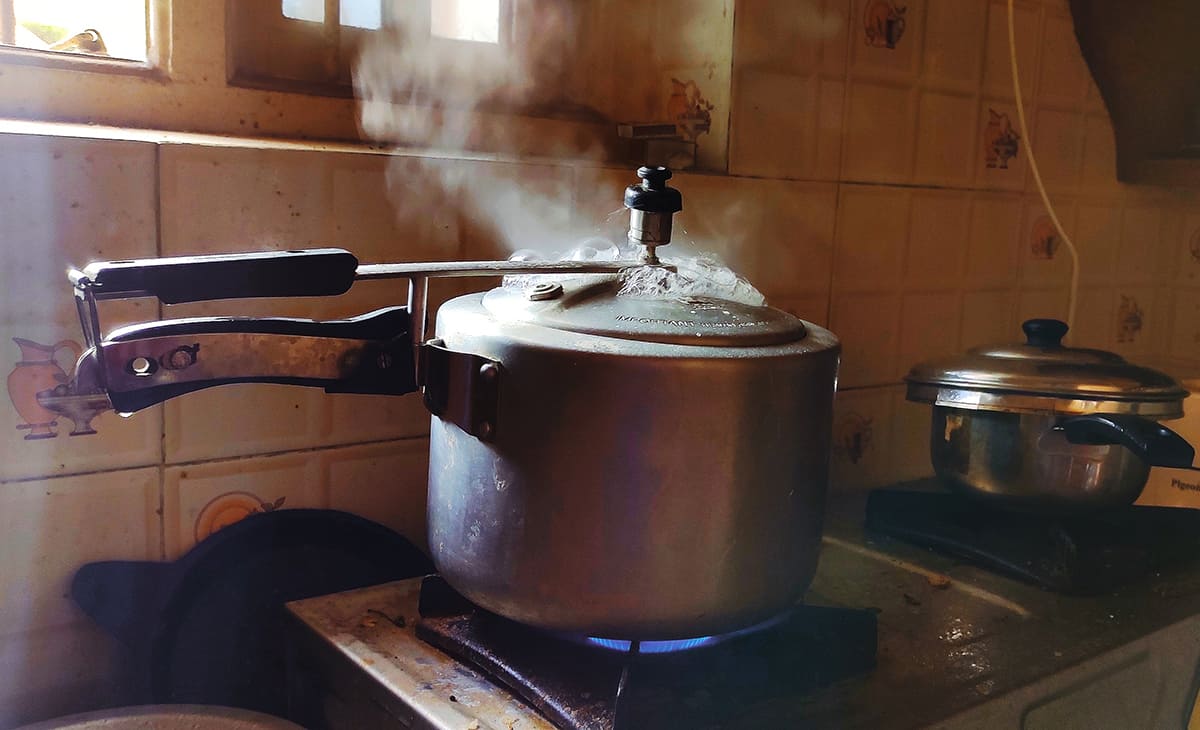
- Pressure Valve: This acts as a release mechanism for excess steam, maintaining optimal pressure levels. Weighted valves are found in older models, this valve releases steam when a certain pressure is reached. Spring valves are the more modern version, which offers more precise pressure control and is often accompanied by a pressure indicator.
- Safety Valve: A backup for the pressure valve, the safety valve engages if the primary valve malfunctions, releasing steam and preventing potential hazards.
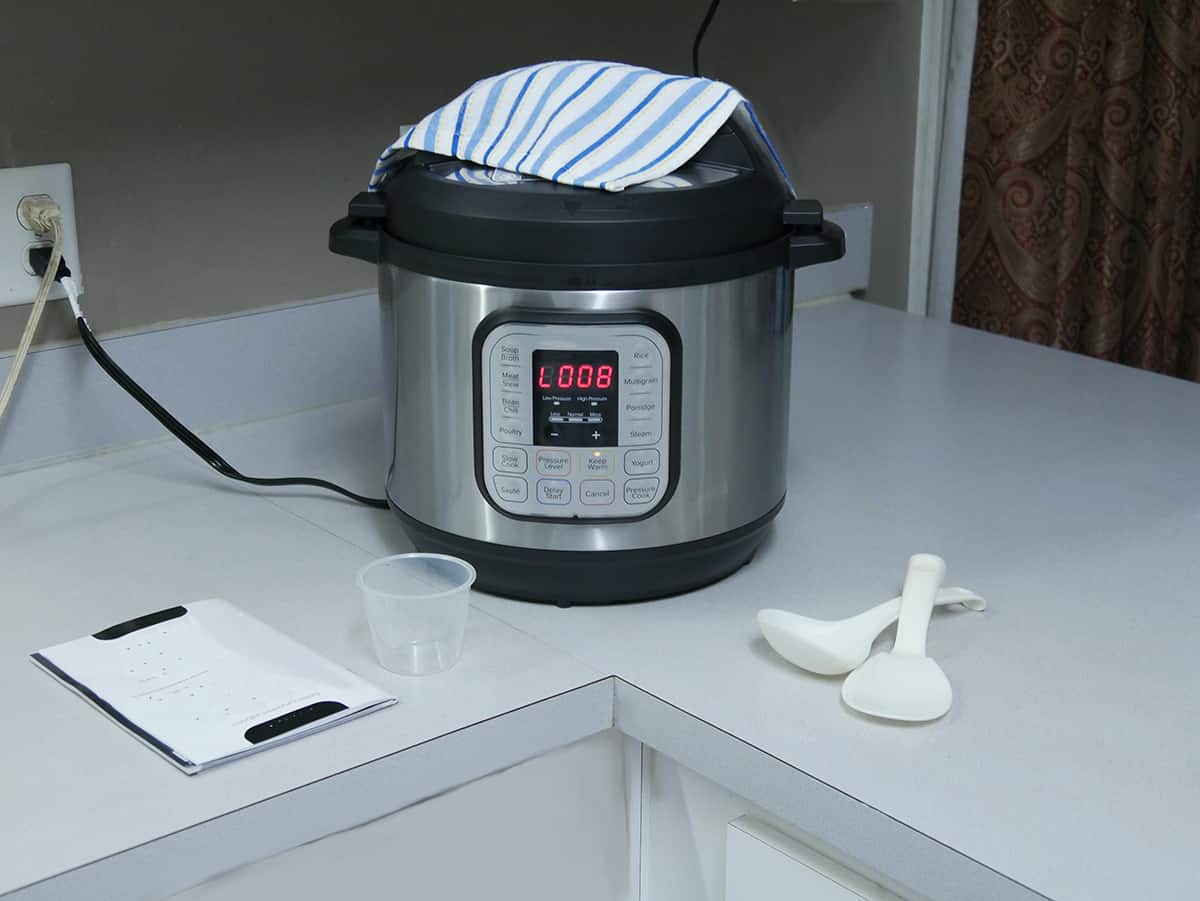
- Heat Source: While the pressure cooker itself doesn’t produce heat, it relies on an external source. This could be a stove, induction cooker, or even an electric coil in the case of electric pressure cookers.
Safety Mechanisms
- Locking Mechanism: Many pressure cookers feature a locking system that prevents the lid from being opened when there’s still pressure inside.
- Pressure Indicators: These show when the cooker is pressurized, signaling when it’s safe (or not) to open.
- Multiple Release Valves: Modern units come equipped with multiple valves to release excess steam to ensure no over-pressurization.
Top Reasons Why Your Pressure Cooker Won’t Open
If your pressure cooker fails to open after it’s done cooking, it may be due to one of the following causes:
1. Excessive Internal Pressure
The main function of a pressure cooker is to trap steam and increase internal pressure. However, the safety mechanisms will prevent the lid from opening if there’s too much pressure. If the cooker is removed from heat, but the pressure hasn’t dropped to a safe level, the cooker remains sealed.
2. Faulty Sealing Ring or Gasket
The sealing ring ensures a tight seal between the pot and the lid. The sealing ring can wear, become deformed, or even crack with time. This can lead to the cooker being sealed tighter than usual.
3. Misalignment of the Lid
If the lid isn’t correctly aligned, it can get stuck. Rushed or incorrect placement can lead to misalignment. Sometimes, overfilling the pot can cause this too.
4. Damaged or Stuck Pressure Valve
The pressure valve controls the release of steam and maintains optimal pressure levels. Food particles or mineral deposits from water can obstruct the valve, preventing it from functioning correctly. A damaged valve can also malfunction.
5. Food Particles Obstructing the Seal
Bits of food can sometimes get trapped between the pot and the lid. Rapid release of pressure or overfilling the pot can cause food to splash up and get lodged.
6. Deteriorated Handles or Locking Mechanisms
The handles of the pressure cooker, along with its locking mechanisms, ensure a secure fit. These components can wear out or break over time, especially with frequent use.
7. Temperature Differences
Rapid temperature changes can cause the metal of the pressure cooker to contract or expand. If a hot pressure cooker is placed under cold water or in a cold environment suddenly, the metal may contract, and the lid will jam.
Solutions and Maintenance Tips

They say prevention is the best cure, and this certainly applies to pressure cookers. Here’s how you can take care of your pressure cooker and prevent stuck lids in the future.
1. Inspect the Sealing Ring or Gasket
How to Inspect: Check for cracks, deformities, or signs of wear.
Frequency: Every 2-3 uses.
Solution: Replace if damaged. Always use the parts recommended by the manufacturer for compatibility.
2. Clean the Pressure Valve
How to Clean: Remove the valve according to the manufacturer’s instructions and clean it under running water using a soft brush.
Frequency: After each use.
Solution: If the valve appears damaged or is not functioning correctly after cleaning, consider replacing it.
3. Ensure the Lid and Pot are Free from Food Residue
How to Clean: Wash both the pot and lid with warm soapy water. Ensure no food particles are lodged in the sealing area.
Frequency: Every use.
Solution: For stubborn residues, soak in warm soapy water and then scrub gently.
4. Check Handles and Locking Mechanisms
How to Inspect: Ensure handles are securely attached and that locking mechanisms engage smoothly.
Frequency: Every 2-3 uses.
Solution: Tighten any loose screws or components. If wear and tear are evident, consider replacing the affected parts.
5. Avoid Overfilling the Cooker
How to Measure: Follow manufacturer guidelines. Typically, pressure cookers should not be filled more than two-thirds full.
Frequency: Every use.
Solution: Always consider the volume of the food and liquid together, especially when cooking foods that expand, like rice or beans.
6. Store Properly
How to Store: Remove the sealing ring and lid. Store the pot, lid, and sealing ring separately in a dry place. This allows airflow and prevents unwanted mold or odors.
Frequency: After every use.
Solution: If you detect any mold or odor, clean the affected parts thoroughly before using the cooker again.
7. Clean the Safety Valve
How to Clean: Similar to the pressure valve, remove and clean under running water.
Frequency: After 5-6 uses.
Solution: If you notice the safety valve not functioning correctly, it’s time for a replacement.
8. Avoid Rapid Temperature Changes
How to Handle: Let the cooker cool naturally or use recommended methods. Avoid placing a hot cooker under cold water or in cold environments.
Frequency: Every use.
Solution: If you accidentally expose the cooker to rapid temperature changes and notice issues, inspect all components before the next use.
FAQs
1. How long should I wait before opening a pressure cooker?
After cooking, ensure your pressure cooker has fully depressurized before opening it. Typically, you should wait until the pressure indicator drops, signaling it’s safe. Depending on the cooker’s size and contents, this can take anywhere from a few minutes to over 20 minutes.
2. Can I replace the sealing ring myself?
Yes, you can replace the sealing ring yourself, and it’s a straightforward process for most pressure cookers.
- Purchase the correct replacement ring suitable for your cooker’s model
- Remove the old ring by gently pulling it out from its groove in the lid.
- Clean any residue or food particles from the groove.
- Fit the new sealing ring into the same groove, ensuring it sits evenly.