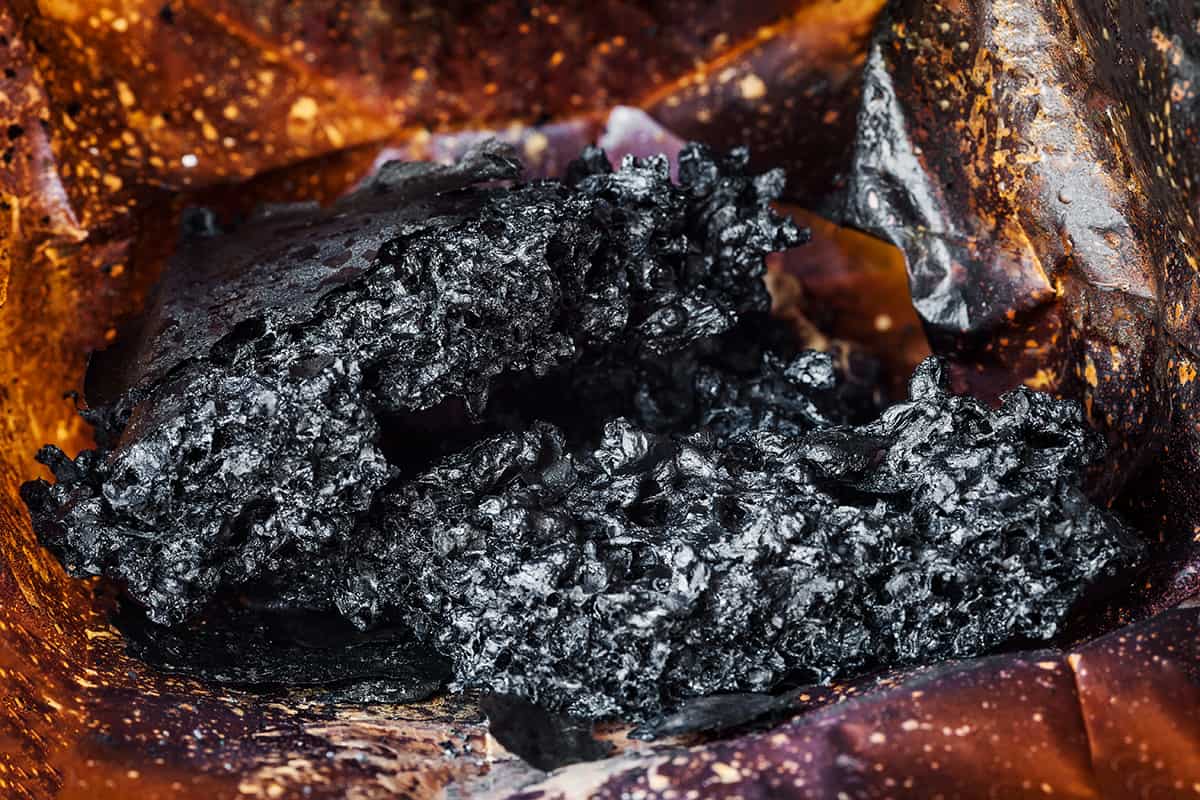
Burnt sugar in the oven can be a common kitchen mishap. Whether it’s an overflowing pie, caramel sauce, or a batch of cookies gone wrong, that sticky, caramelized mess can be challenge to address.
To clean burnt sugar from an oven:
- Let the oven cool
- Remove large chunks
- Choose a natural or commercial cleaner
- Apply the cleaning solution
- Let it sit
- Scrub away residue
- Rinse thoroughly
This guide will provide a detailed description of this process, as well as describe natural and commercial cleaning solutions.
Preliminary Steps Before Cleaning
Before tackling the sticky residue of burnt sugar in your oven, proper preparation can make the process smoother.
1. Safely Turning Off and Unplugging the Oven
First and foremost, switch off your oven and, if possible, unplug it. This step eliminates any risk associated with electricity and ensures your safety during the cleaning process.
2. Letting the Oven Cool Down
Wait until your oven is cool to the touch. A hot oven can cause cleaners to evaporate quickly, reducing their effectiveness. Moreover, a heated surface can lead to burns if contacted.
3. Removing Large Chunks of Sugar
With a plastic or wooden spatula, gently scrape off any big pieces of burnt sugar. This makes it easier for the cleaning solution to work on the stubborn, caramelized spots left behind.
Natural Cleaning Solutions
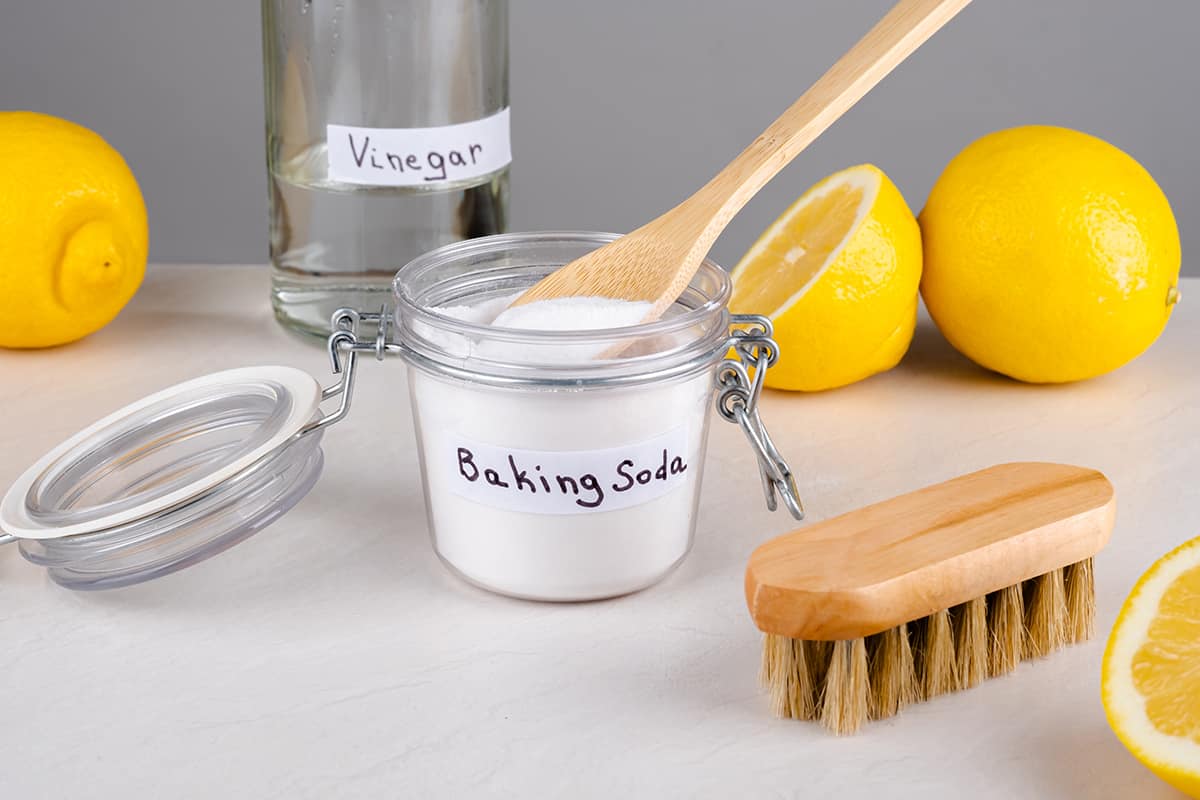
Natural ingredients, like baking soda or lemon juice, possess properties that can break down burnt residues. They act as gentle abrasives or natural degreasers, making them suitable for oven-cleaning tasks.
These over cleaner alternative solutions are often readily available in most households and can deliver impressive results without the use of harsh chemicals.
1. Using Baking Soda and Water Paste
Mix equal parts of baking soda and water to form a paste. Spread this mixture over the burnt sugar areas and leave it for a few hours or overnight. The paste works to soften the sugar, making it easier to scrub off. After waiting, use a cloth or soft brush to wipe and rinse with plain water.
2. Utilizing White Vinegar Solution
White vinegar, with its acidic nature, can help dissolve stubborn burnt sugar. Fill a spray bottle with equal parts of vinegar and water. Spray the solution onto the affected areas, letting it sit for an hour. Afterward, scrub with a sponge and rinse the oven interior.
3. Lemon Juice and Water Magic
Lemon, like vinegar, is acidic and can be used to combat burnt residues. Mix the juice of two lemons with a cup of water in a heatproof bowl. Place it in the oven and heat at a low temperature for 30 minutes. The steam helps loosen the burnt sugar. Once cooled, scrub and wipe the oven clean.
Commercial Cleaning Solutions
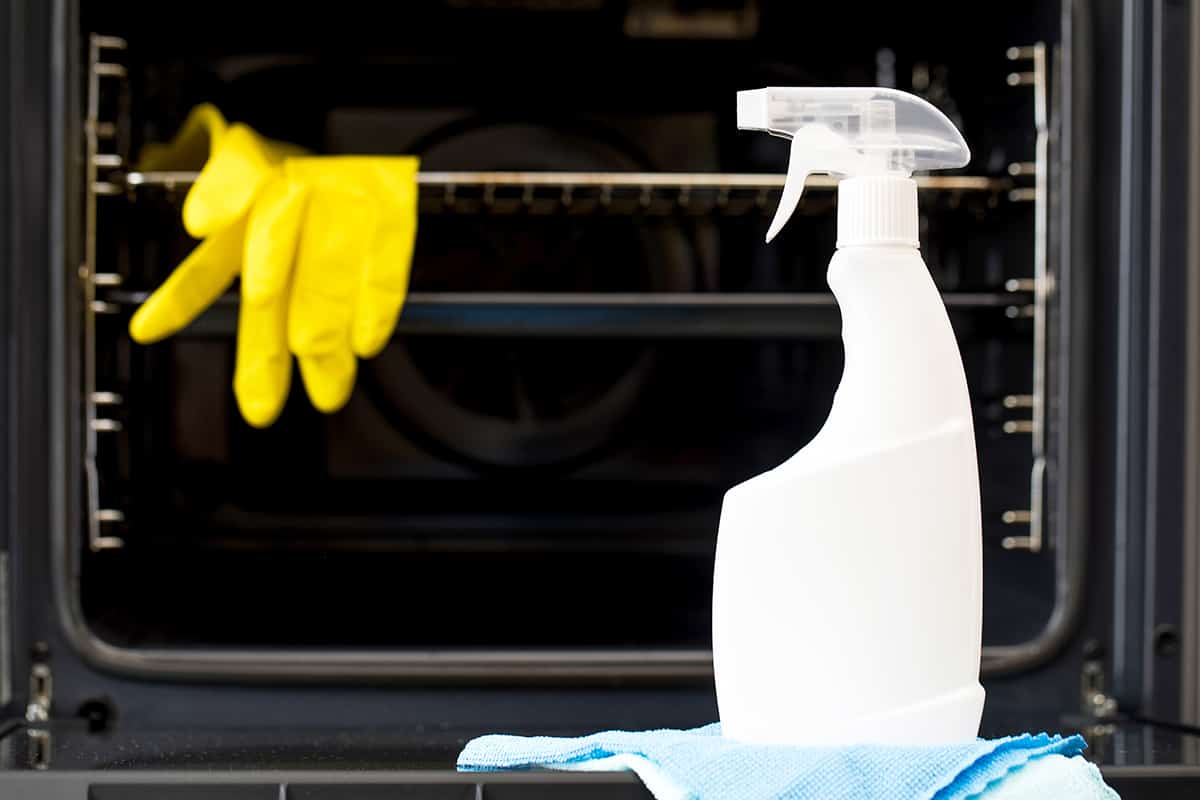
For homeowners seeking a quick and potent solution, commercial cleaning products designed for ovens can be the answer.
Popular Oven Cleaning Brands
There are several trusted brands in the market, such as Easy-Off and Goo Gone. These products have been formulated specifically for ovens, targeting grease, burnt food, and sugar deposits.
How to Use Commercial Cleaners Safely
When using these products, always read the label instructions first. Typically, you’ll need to spray or spread the cleaner on the affected area and wait for a specified time. Wear gloves and ensure the room is well-ventilated as some cleaners can emit strong fumes.
After the waiting period, scrub the oven interior gently with a sponge or brush. Finish by rinsing thoroughly with water to remove all traces of the cleaner.
Ensuring a Thorough Rinse to Avoid Residue
After using a commercial cleaner, it’s vital to rinse the oven multiple times. Any lingering chemical residue can produce unwanted odors or smoke when the oven is used again. A damp cloth or sponge is effective for this rinsing process. Once cleaned, wipe the oven dry and leave the door open for a while to air it out.
Detailed Cleaning Procedure
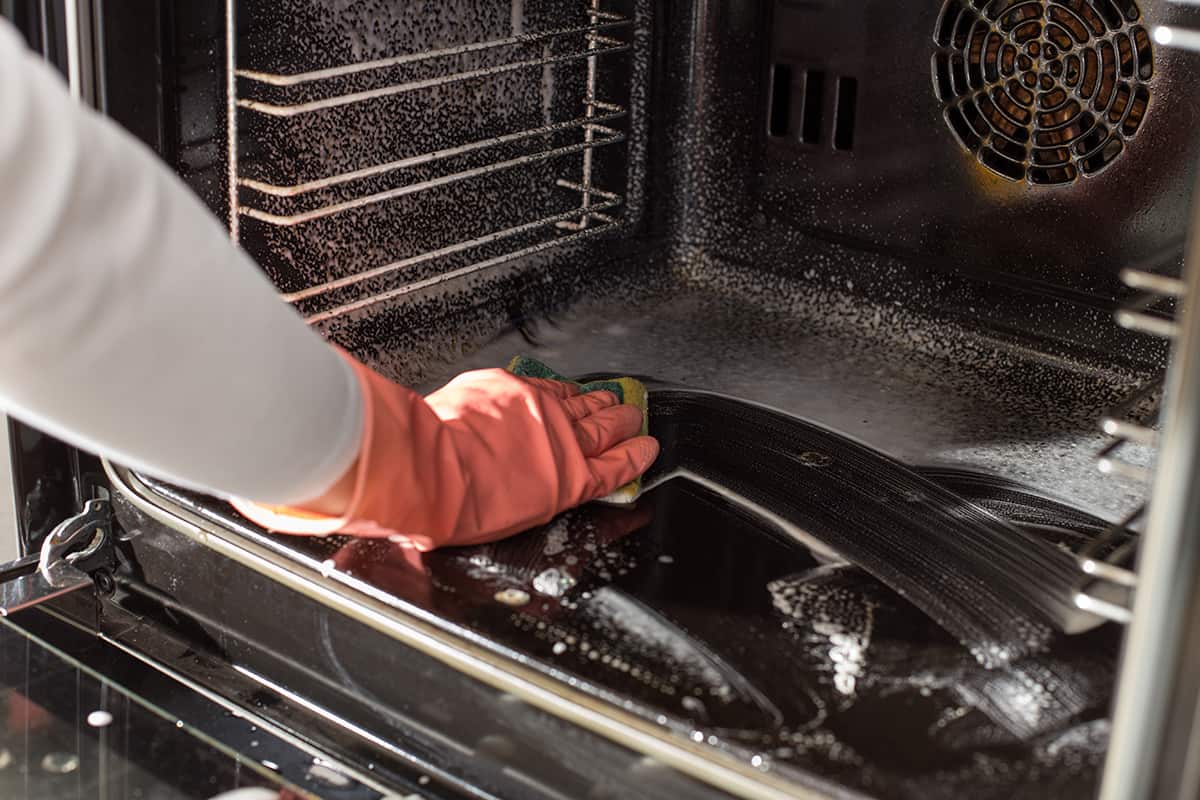
Cleaning an oven, especially when dealing with burnt sugar, requires a methodical approach. The following guideline can help you effectively restore your oven’s pristine condition.
1. Applying the Cleaning Solution
Whether you’ve chosen a natural remedy like baking soda paste or a commercial oven cleaner, the first step is application. Coat the burnt sugar spots generously, ensuring every nook and cranny is covered. For sprays, a consistent mist over the area works best, while for pastes, a spatula or an old toothbrush can help spread it evenly.
2. Letting the Solution Sit for Optimal Results
Allowing the solution to penetrate and break down the burnt sugar is key. For natural solutions like baking soda and lemon juice, an overnight soak or at least a few hours is beneficial. Commercial cleaners, being more potent, might require less time, ranging from 30 minutes to 2 hours. Always refer to the product’s label for specific waiting times.
3. Scrubbing and Wiping Away the Sugar Residue
After the waiting period, the burnt sugar should be softened and ready for removal. Using a non-abrasive scrubbing brush or sponge, gently scrub the affected areas in circular motions. For tough spots, a scrubbing pad can be more effective. Remember, vigorous scrubbing might scratch the oven’s surface, so gentle, consistent pressure is the way to go.
4. Rinsing and Drying the Oven
Once you’ve scrubbed away the residue, it’s time to rinse. If you’ve used a commercial cleaner, multiple rinses might be necessary to remove all chemical traces. For natural solutions, a single thorough rinse should suffice. Use a damp cloth or sponge, wiping in sections to ensure all cleaner residues are gone. After rinsing, pat the oven’s interior with a dry cloth. To expedite the drying process, leave the oven door open for an hour.
5. Addressing Oven Racks and Trays
Remove these from the oven and soak them in a sink filled with hot soapy water. After an hour, scrub each rack with a brush, focusing on burnt-on spots. Rinse them under running water and let them air dry before placing them back in the oven.
6. Final Touches and Precautions
Once the oven is clean, it’s advisable to run it at a low temperature for about 15 minutes. This step helps in identifying any missed spots or lingering residues. If there’s any smoke or strong odor, turn off the oven and address the problem areas.
Using the Self-Cleaning Feature
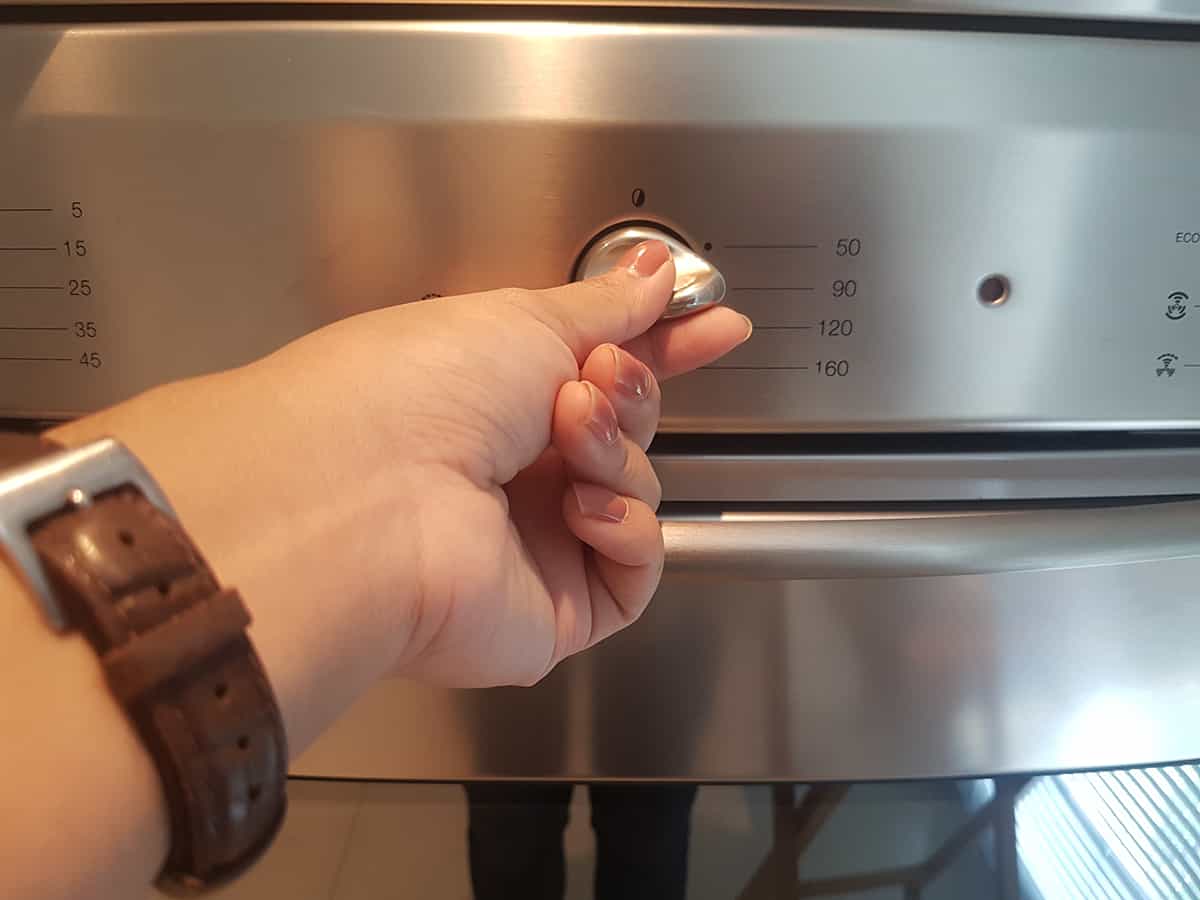
Many modern ovens come equipped with a self-cleaning feature, a built-in mechanism designed to incinerate food residues, including burnt sugar.
The self-cleaning function works by heating the oven to an exceptionally high temperature, usually above 800°F. At these temperatures, any food remnants or spills inside the oven carbonize, turning into ash. This ash can then be easily wiped away once the cycle completes and the oven cools.
How to Initiate the Self-Cleaning Cycle
Before starting the self-cleaning process, remove oven racks, trays, and any other detachable parts. Check the oven for any large food particles and wipe them away. Close the oven door and select the self-cleaning option on your oven’s control panel. Some ovens offer different durations for the cleaning cycle, typically ranging from 2 to 5 hours, depending on the level of dirtiness.
After the Self-Cleaning Cycle
Once the cycle is complete, the oven will need time to cool down. This cooling period can vary but usually takes a couple of hours. After the oven has cooled, open the door and wipe away the ash residues with a damp cloth. If there are any stubborn spots left, they can usually be addressed with a mild cleaner and some elbow grease.
