Installing a freestanding dishwasher is not difficult but does require a bit of DIY skill, some planning, and work in tight quarters. You will need to know the approximate dimensions for the area where you want to install it.
Here are the basic steps you should follow:
- Find an appropriate location for installation by measuring for height and width requirements.
- If possible, choose an area with good light so that you can see when connecting hoses and making electrical connections.
- Remove any damaged cabinets if needed before installing the dishwasher (if they are in bad shape).
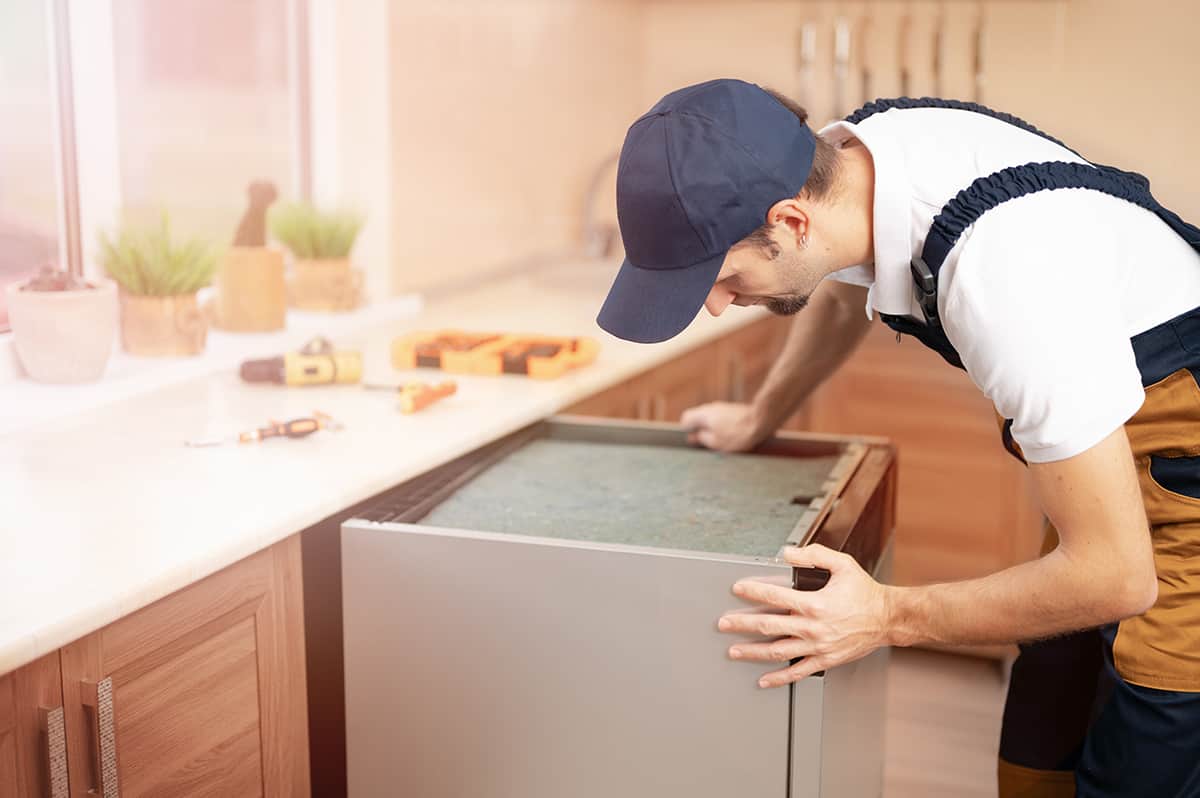
Measure for Space
It’s very important to check the dimensions of the space and the dimensions of your dishwasher before doing the installation works. So, measure the width of the dishwasher, the width of the opening for the dishwasher, and the height of your current unit.
Make sure that you have enough room to fit a new dishwasher into your kitchen before purchasing one by measuring how wide, tall, and deep it is (you can usually find these measurements in inches on a product’s website).
Each model may be different in size, so consult with an appliance expert at Lowe’s Home Improvement if you’re unsure what size will work best for you!
Turn Off the Power and Water
First, turn off the power at the circuit breaker. Then, turn off the water supply. There should be a shutoff valve under your sink, or you may need to turn off a hose bib on your home’s exterior in order to turn off your home’s main water supply.
After that, disconnect any hoses from your old dishwasher and install them onto your new dishwasher (don’t worry about installing these yet).
Disconnect and Move the Existing Dishwasher
Disconnect the existing dishwasher from its power source. Most likely, this is a cable that connects to an outlet. Use a screwdriver to disconnect it.
The next step is to disconnect the water supply line to your old dishwasher and reconnect it to your new one in the same way you disconnected it—with a screwdriver. You may also need to turn off your water supply at this point (just turn off the valve on your mainline if you’re unsure).
Remove any remaining hoses from your old dishwasher and set them aside for use with your new one, saving yourself sometime later on when installing these hoses into place on the new appliance. If there are no hoses left attached to your old machine after removing all of them in this step, skip ahead to Step 4 below because there won’t be anything left for you here!
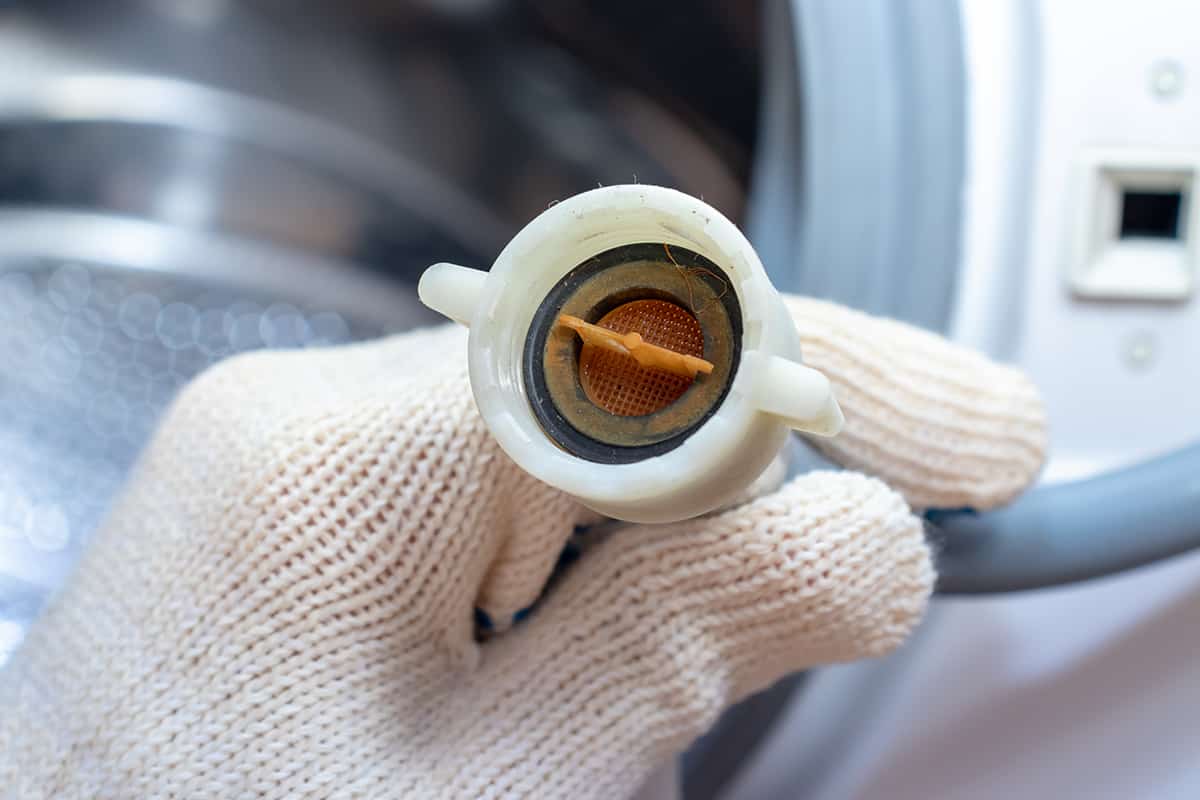
Clean Up and Check the Drain Hose
Clean up the area around your new dishwasher. Your old one may have left behind some dirt or grime, and you’ll want to ensure that your new one is installed in a clean environment.
Make sure there are no visible leaks from any of the fittings on either side of the sink. Check for kinks in the hose or cracks in its surface; these can cause water not to drain properly through it.
You should also look at how far down into the drainage pipe your drain hose reaches—if it’s too short, you could get mold or mildew build-up over time that will affect how well it works (and potentially ruin some dishes).
Checking this while installing is important because if something goes wrong, later on, having access to a long enough hose will allow easy repairs without breaking walls or ripping out flooring just to get at what needs fixing!
Install the Front Recess Panel
Now that you’ve installed the dishwasher and plugged it in, it’s time to add a few finishing touches. First, install the front recess panel. This is usually held on by three screws in the back of the dishwasher door. This can be tricky because you have limited access to them from inside of this area, so use a drill or screwdriver for best results.
Once it’s in place, you can attach your handle using two screws at each end of the handle assembly and one screw on top of the washing machine door frame (if present). Then install gaskets around both sides of your door and attach handles on each side using two screws per handle set (one near its base where it meets with bodywork; another at its midpoint).
Finally, line up your dishwasher control panel with its slot alongside the interior wall surface and press until firmly seated into place, making sure not to bend any wires or break anything off during the installation process
Connect the Wiring Harness and Water Lines
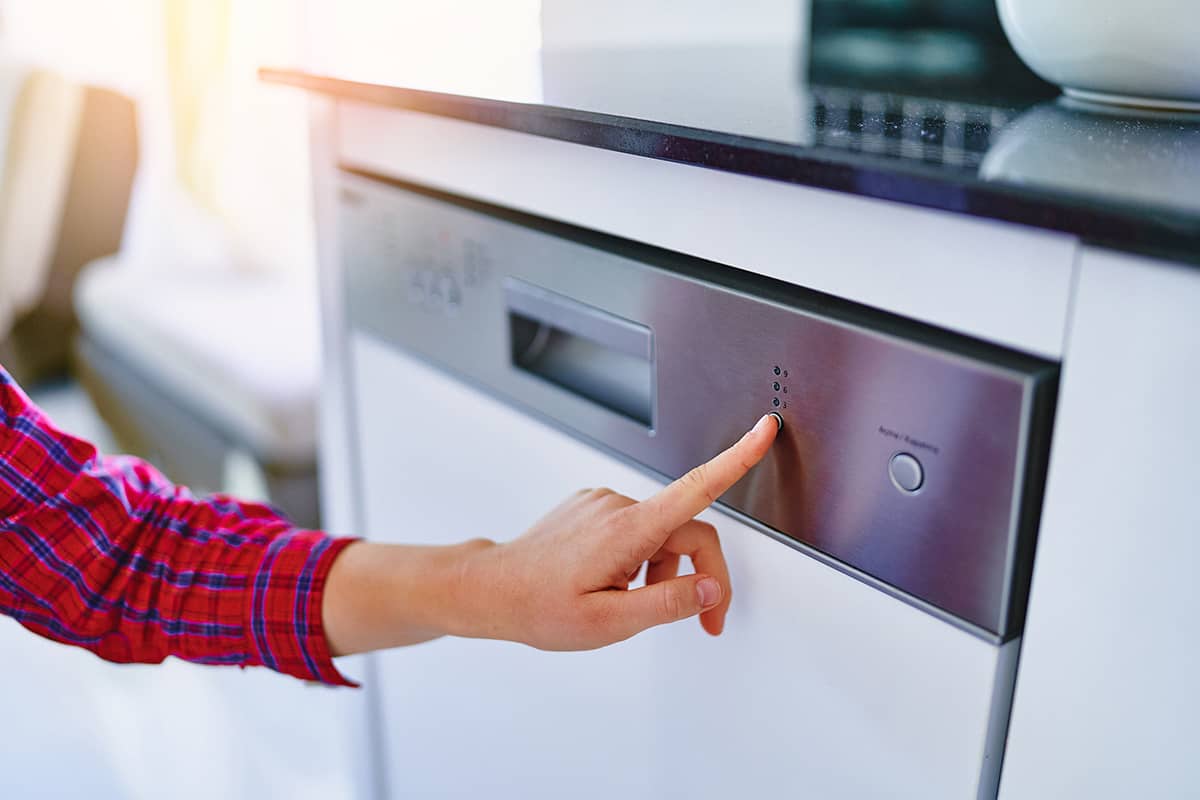
Connect the dishwasher’s electrical cord to an outlet.
Then, attach the water lines to the dishwasher. The water line for a freestanding dishwasher needs to be connected and secured in place before you install it, so this is something that requires planning ahead of time, especially if you don’t have a handyman around (or even if you do).
The type of connection varies depending on the brand and model of your dishwasher, but most people use either quick connectors or twist clamps to connect their water lines.
After that, attach any additional hoses needed by following instructions on your owner’s manual or included with whatever parts came with your dishwasher purchase (like an overflow hose). You’ll also want to make sure these are securely fastened, so they don’t come loose during operation and cause damage inside or outside of your home!
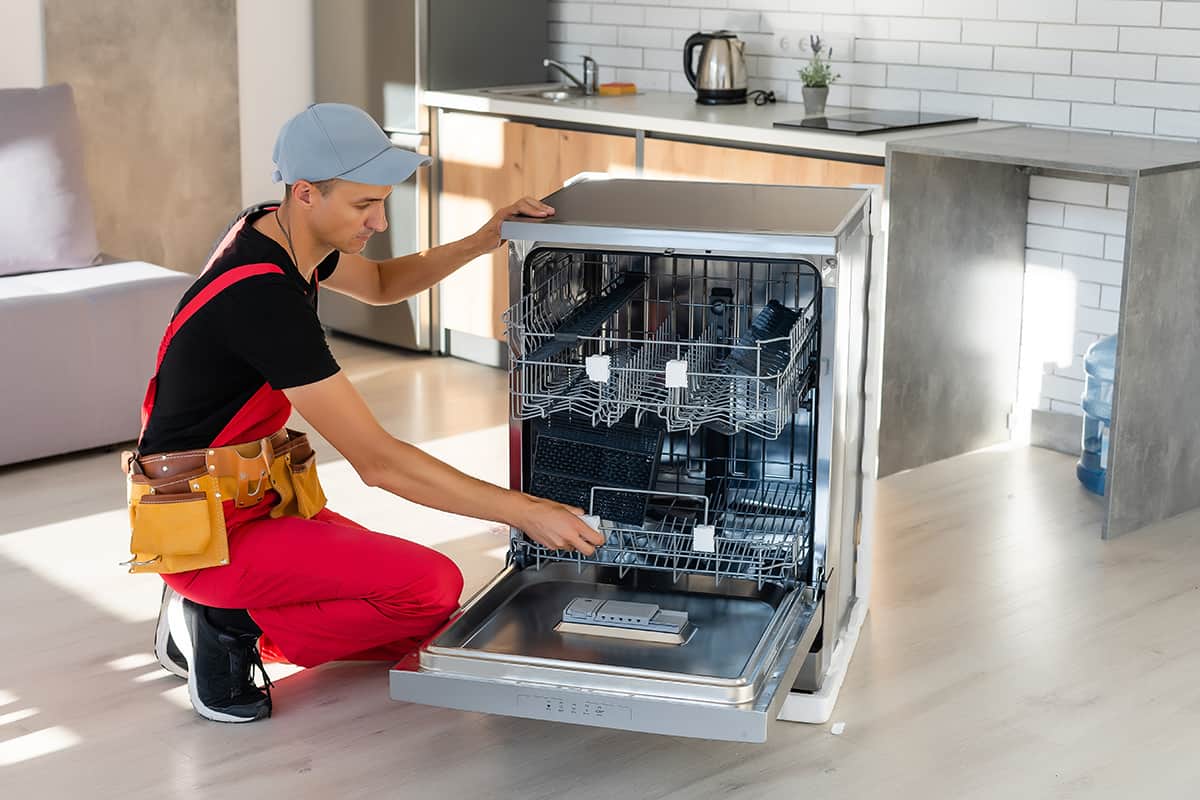
Level and Install the New Dishwasher
Once the dishwasher is in position, you must check that it is level. This will ensure that the door seals properly and water drains into the tub correctly. If your new dishwasher isn’t level, use shims under any legs that are higher than 6 inches (15 cm). You may also need to adjust the height of your existing countertop or cabinet if it’s unusually high or low.
To check for levelness, place a straightedge on top of each corner and side to check across each of them individually; then measure how far off from perfect 90 degrees each corner angle is—or use a carpenter’s level for more accuracy. If you find one corner has shifted less than 1/8 inch (3 mm), you can usually ignore this unless there’s some other problem with it (like a crooked door).
Once you’ve leveled out your dishwasher by adjusting its placement on its feet or legs, attach all hoses according to manufacturer instructions and turn on the power at the breaker panel or fuse box nearest the dishwasher location
Mount Water Supply and Drain Lines
The dishwasher must be connected to both a water supply line and a drain line. Here is what you need to do.
Connect the water supply line.
This can be done by either connecting it to the existing water supply pipe or by running a new one if needed. You’ll need to turn off the main water supply valve before doing this step.
Connect the drain line.
If you’re using an existing drain connection, you don’t need to do anything but remove any existing clamp that might be holding it in place (and then reconnect said clamp). Installing a new drain connection requires mounting another section of PVC pipe next to where your current PVC pipes are located.
Conclusion
If you need to install a freestanding dishwasher, it is important you measure the width to ensure it will fit in the space. If you are uncertain about whether or not your dishwasher can be installed in this configuration, consult with a professional.
Generally speaking, however, most models should be capable of being installed as freestanding devices.