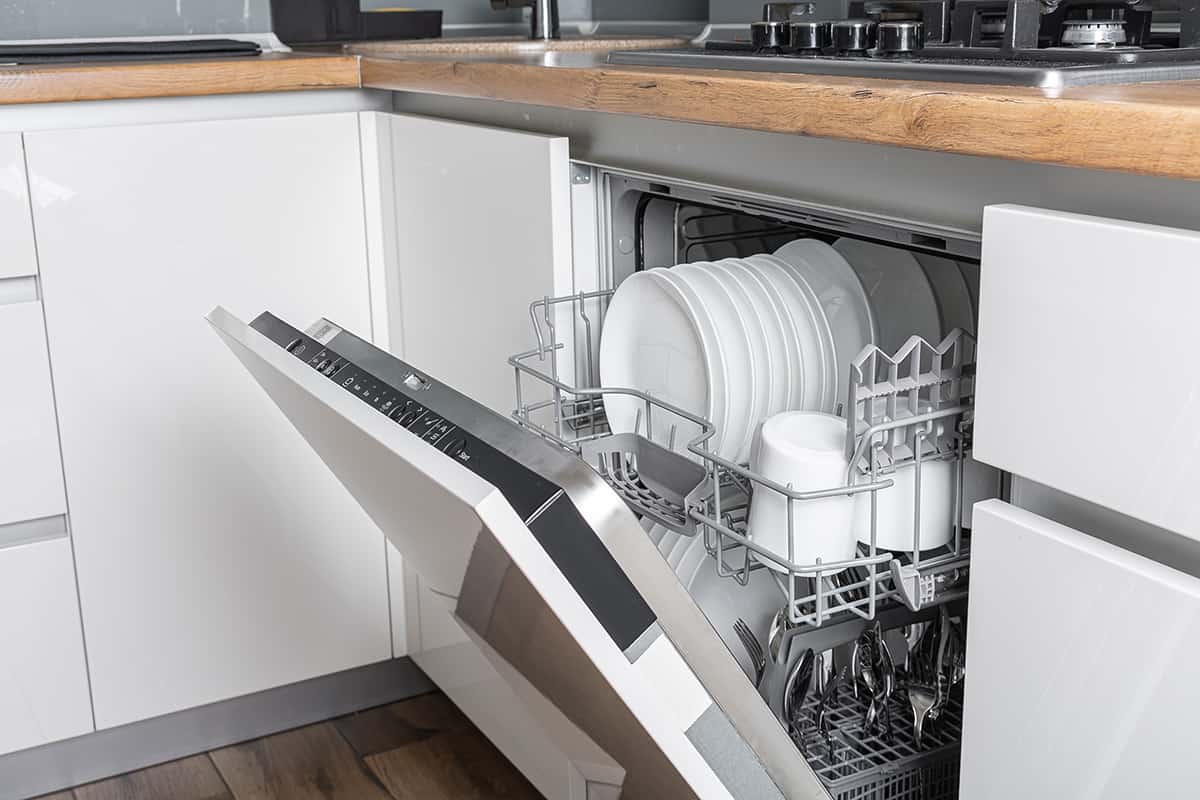
As far as dishwasher issues go, the front panel isn’t something that often needs to be fixed. However, over time, even a Bosch dishwasher’s cabinet face can end up damaged beyond repair. Luckily, replacing the front panel isn’t too hard.
To replace the front panel of a Bosch dishwasher, you need to remove the front panel screws, remove the cracked front panel, replace it with a new one, and fasten the screws.
Piece of cake, right? It sure is, provided you have the right tools and a suitable replacement front panel. Below, I’ll go into greater detail about how you can go about replacing the front panel of a Bosch dishwasher.
How to Replace a Bosch Dishwasher Front Panel
Replacing the front panel of a Bosch dishwasher is a no-brainer. Really, all you have to do is remove the current front panel by unscrewing the fasteners and then swap it out for the replacement panel.
However, there are a few things you should have on hand before you get started—namely:
- A screwdriver
- A compatible replacement front panel
- A pair of needle-nose pliers
- A work light (optional)
Are you unsure of where to purchase a replacement front panel? The first place you should look is on the official Bosch website. However, if you have an older model—something made over 7 years ago—then your best bet is to shop for second-hand parts from a private seller. If your dishwasher Bosch dishwasher is over 10 years old at this point, it might be more cost-efficient to purchase a new dishwasher altogether.
Assuming you have all the supplies and equipment ready, we can work on replacing the front panel. The entire process will only take about 60 minutes at most.
Step 1—Unplug the dishwasher
First and foremost, you should make certain that the dishwasher has been powered off before unplugging the power cord. The last thing we need is to zap ourselves during this simple installation procedure.
If you want to take the extra step, go to the circuit breaker and flip it off to ensure that absolutely no electricity is surging through the dishwasher, though unplugging the appliance should suffice. Just make sure that your workspace has plenty of light, so you can see what you’re doing. Either set up a work light or open your kitchen window’s drapes to let in natural sunlight.
Step 2—Remove the fasteners
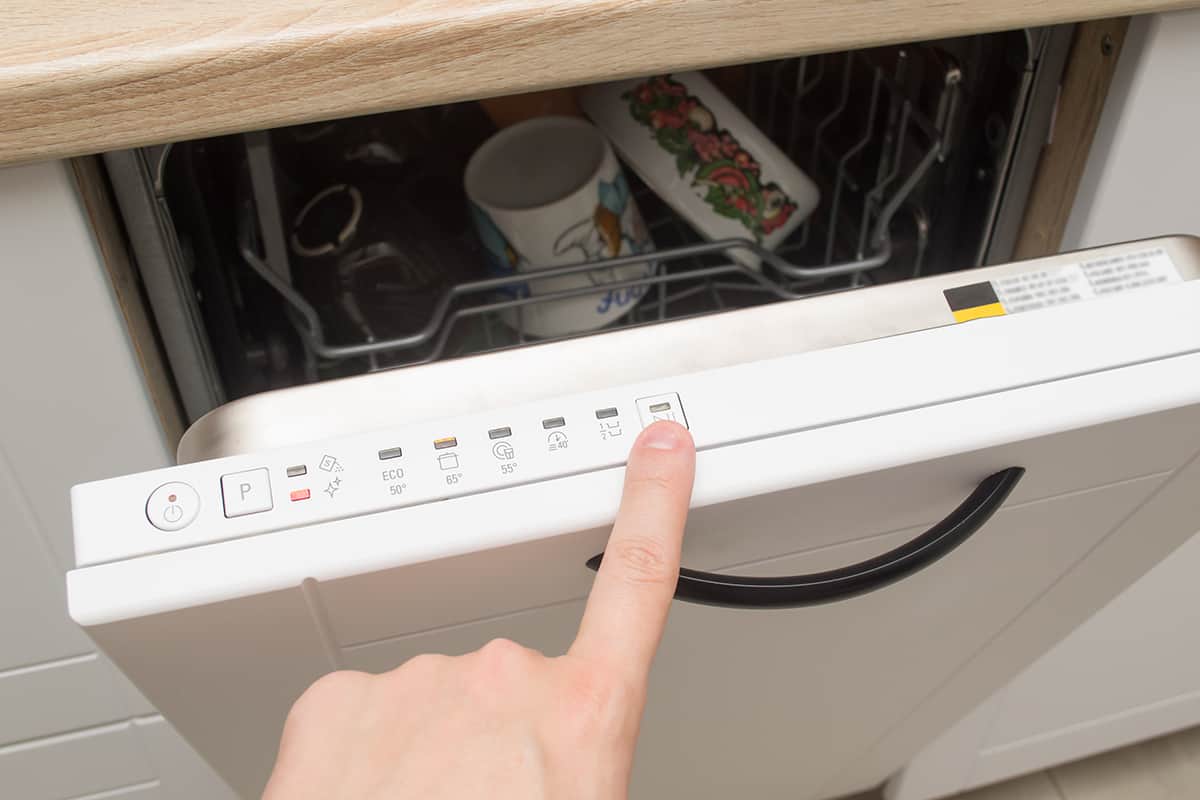
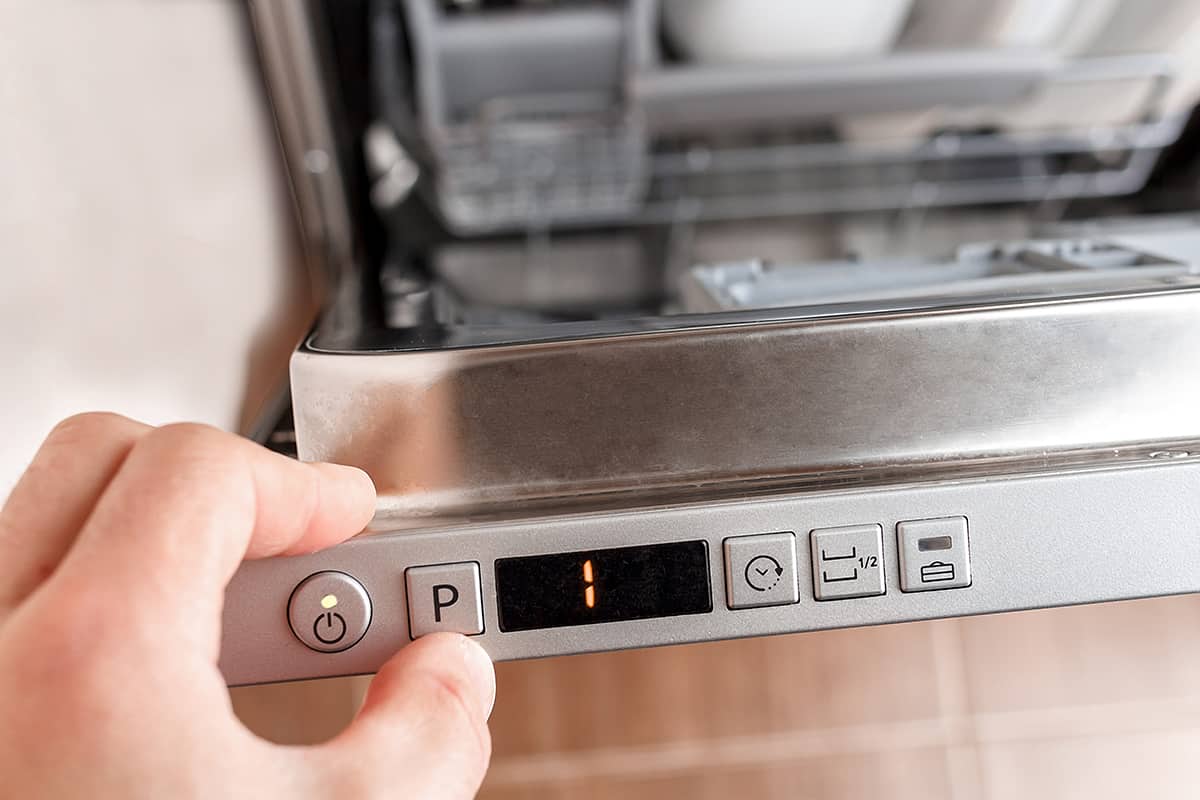
Next, open the Bosch dishwasher’s door as far as it can go. This will give you access to the screws that keep the current front panel in place. In many Bosch models, there will be screws near the bottom of the panel, as well as the adjacent and opposite sides. The number of screws will depend on the dishwasher model.
Even though the replacement panel will come with its own set of screws (if you purchased a brand-new replacement), make sure you don’t lose the screws. In the end, you might end up using one of them in the event that your replacement panel’s set of screws is incomplete. You can use a magnetic strip to keep them in place or simply drop them in a tiny box or container for safekeeping.
Step 3—Shut the dishwasher door and remove the front panel
After successfully removing all of the front panel’s screws, the next step is to shut the door. However, make sure the door latch doesn’t engage as it will prevent the current front panel from sliding off. Now, carefully slide the front panel upward to loosen and remove it from the door completely.
In cases where the dishwasher is older than 5 years, you might need to wiggle the front panel to loosen it from the door. In extreme cases, only a needle nose plier will be narrow enough to fit in the tiny crack between the door and front panel, which will allow you to loosen the edges and remove any solid bits of debris keeping the front panel from sliding off.
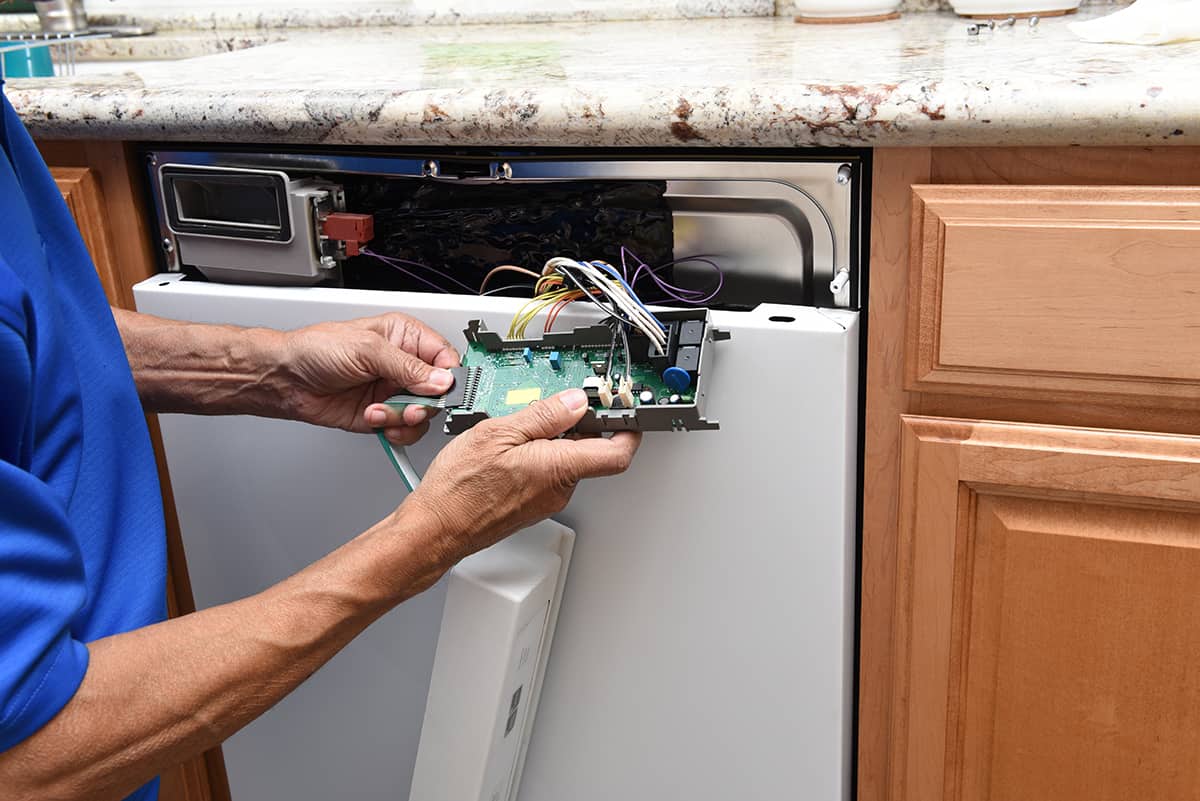
After you have removed the front panel, gently place it to the side and unbox the replacement front panel in accordance with the manufacturer’s instructions. Consult the included paperwork if you are unsure of how to prepare the replacement panel.
Step 4—Install the replacement panel
When the replacement panel is ready, it’s time to slide it onto the dishwasher door’s rails. First, align it with the rails from above, then gently slide it down until the top of the panel is flush with the top of the door. All the while, the door of your dishwasher should remain closed.
To test whether the front panel is in place, slowly pull open the dishwasher door. The front panel shouldn’t remain in place with little to no wiggle. Once you’re satisfied that the replacement front panel is secured, you can proceed to the next step.
Step 5—Tighten the fasteners on the new panel
Swing the dishwasher door open carefully until it lies perpendicular to the floor. This will give you access to the back portion of the door, on which you will need to screw in the fasteners of the new panel.
Some people have had trouble aligning the screw holes on the panel with the screw holes on the back of the door. If this happens, you may have to shut the door to reposition the replacement panel. Alternatively, you can gently slide the front panel until it’s in the proper position and all the screw holes are lined up perfectly.
Step 6—Shut the door
After all the screws have been fastened in place, shut the dishwasher door slowly. That way, you can see whether the front panel has any wiggle to it. If it does, you might have missed a screw, or the door and front panel are not aligned properly.
Step 7—Turn on the dishwasher and test it out
After installing the replacement front panel, turn the circuit breaker on and plug the dishwasher into the nearest wall outlet. Try to run a quick wash cycle to determine whether or not the dishwasher works.
You will have to check the edges of the panel for leaks or loud noises to determine whether it has been installed correctly. If you can see droplets of water accumulating around the perimeter of the door, or if the dishwasher is making more noise than usual (a sign that the front panel hasn’t sealed the door completely), return to step 5 and continue from there.
You may also like these related articles.