Get your oven ready to bake like a pro! Regular maintenance not only ensures top-notch performance but also extends the lifespan of your oven. From cleaning spills to checking the door seal, taking care of your oven is easier than you think.
Here’s a quick maintenance checklist for your oven:
- Clean the inside of the oven
- Check the gasket
- Clean the stovetop
- Clean the range hood
- Check the gas line
- Clean the racks
- Make use of the self-cleaning feature
A lot of these points may sound obvious, but they all deserve a deeper explanation. In this guide, we’re going to talk about each of these maintenance checklist items in the hopes of helping you achieve a cleaner and safer baking environment at home.
Oven Maintenance Checklist
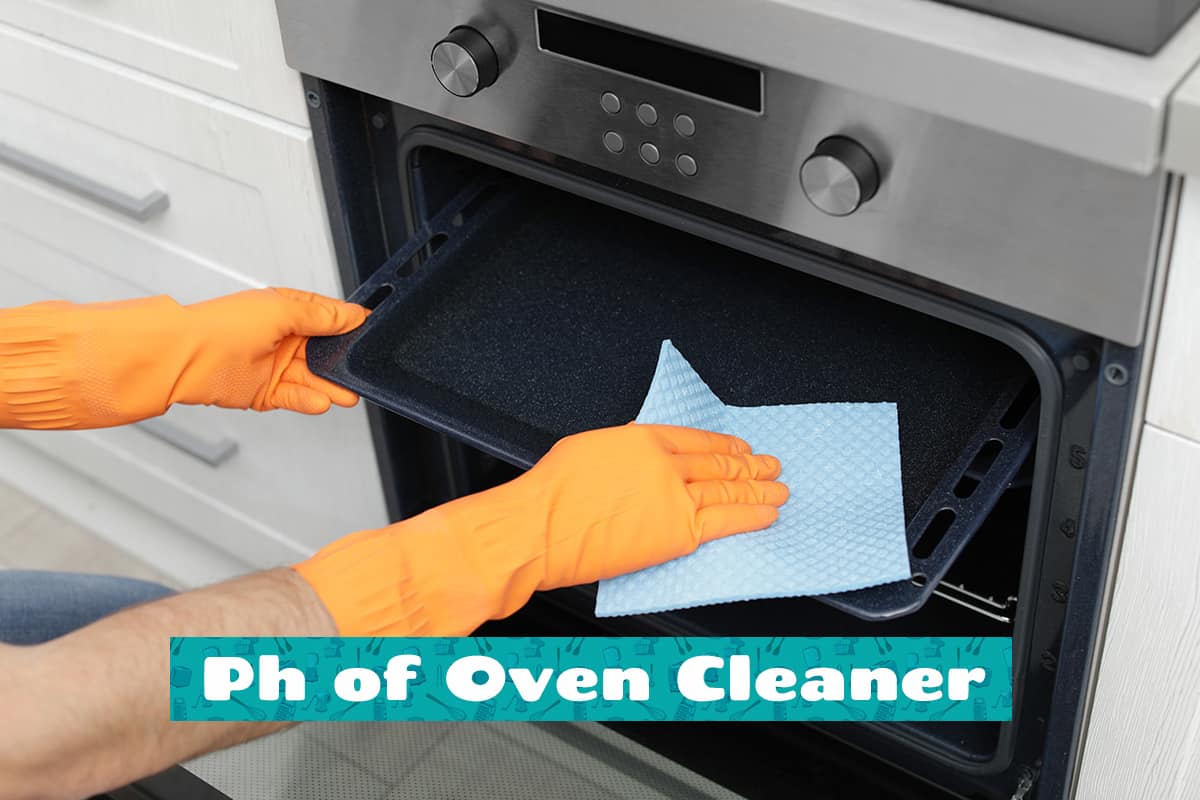
1. Clean the inside of the oven (every three months)
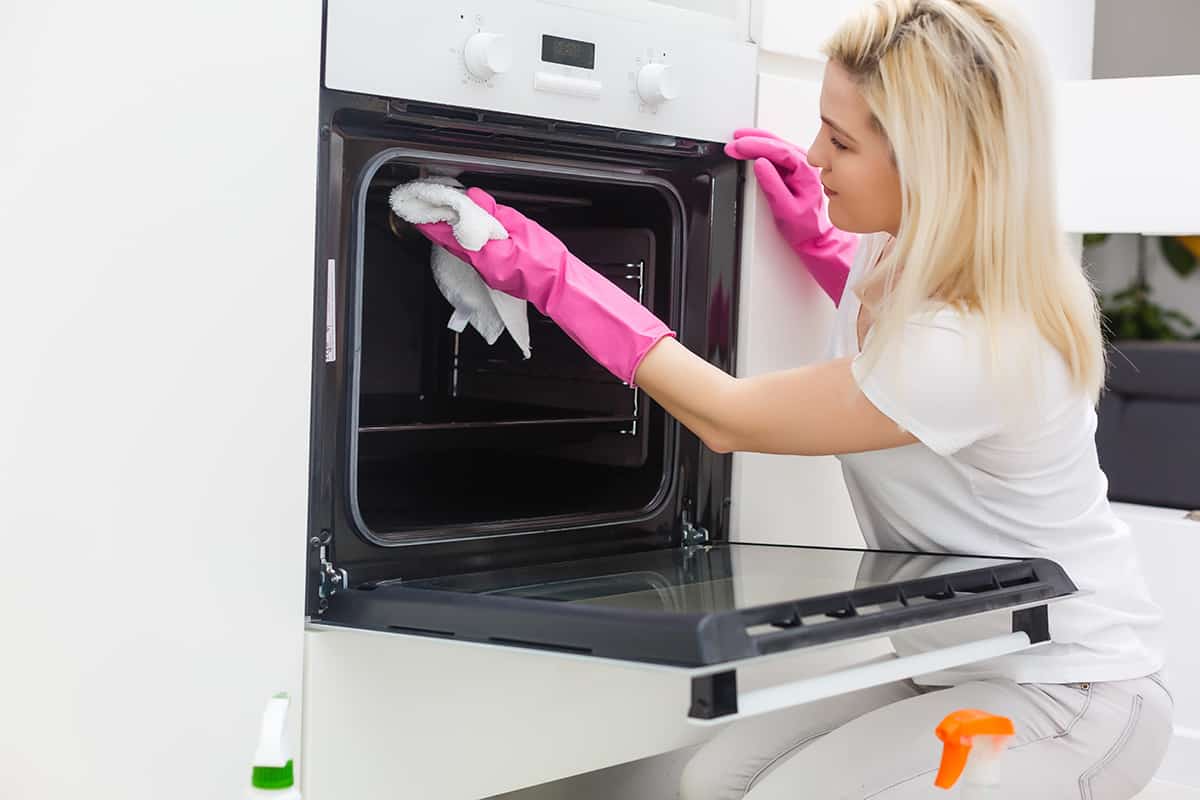
Dirty ovens can be a real hot mess! Grease splatters, food spills, and baked-on grime can make even the most seasoned cook cringe. Over time, these stubborn stains can turn your once-pristine oven into a fire hazard, leaving a nasty odor and a less-than-appetizing cooking surface.
Follow these steps to clean your oven:
- Remove any loose debris or cooking racks and set them aside. Wipe down any loose crumbs or debris with a damp cloth.
- In a spray bottle, mix a solution of warm water and a mild dish soap or a dedicated oven cleaner. You can also use a commercial cleaner or any of these 5 alternatives.
- Spray the solution inside the oven, including the sides, ceiling, and door. Make sure to get every inch of the interior surface.
- Leave the solution on for about 15-20 minutes to allow the cleaning agents to penetrate and loosen the grime and grease. Follow the instructions on the label if you’re using a commercial oven cleaner.
- Using a soft-bristled brush or sponge, scrub the interior of the oven, including hard-to-reach areas such as corners and the door. Be gentle and avoid using abrasive materials that could scratch the surface.
- Wipe down the interior with a damp cloth to remove the cleaning solution and any remaining grime. Dry thoroughly with a clean cloth.
- Replace the cooking racks and any other parts you removed earlier.
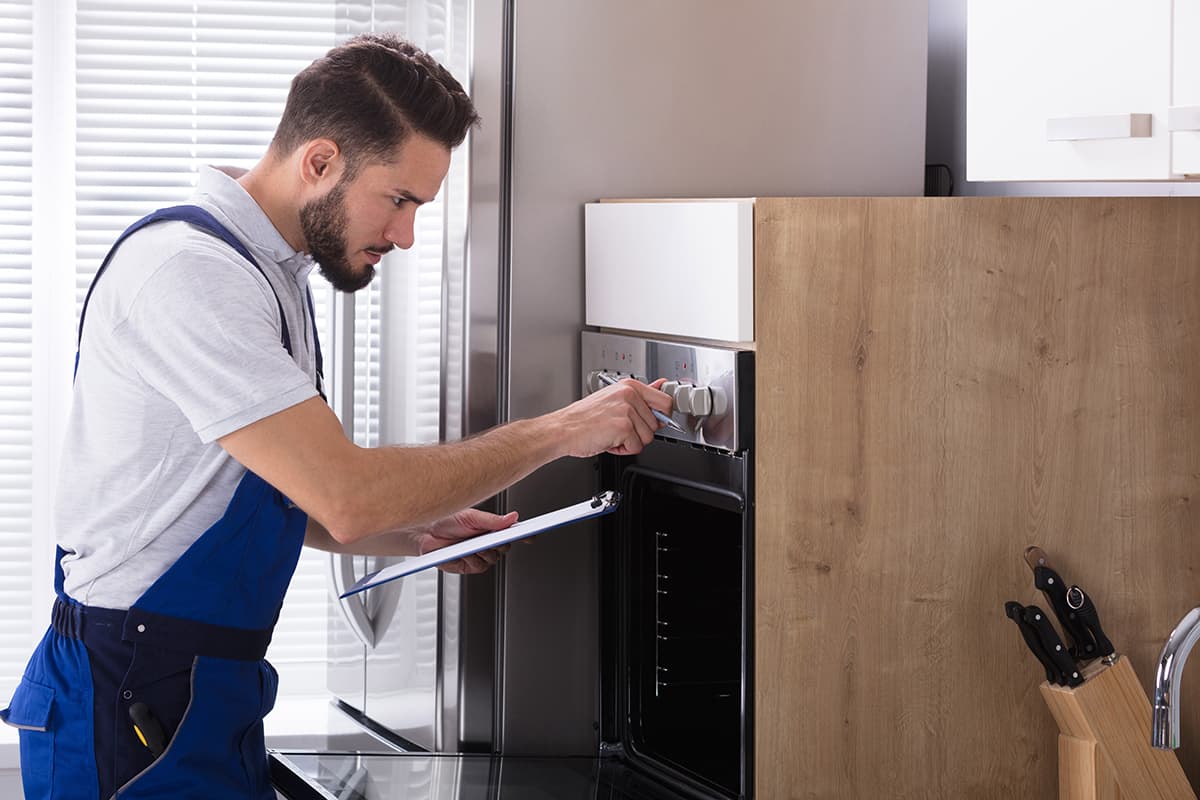
2. Check the gasket (before and after each use)
These unsung heroes of the oven world keep heat in and spill out. Without them, your oven would be a culinary disaster! But over time, door gaskets can get brittle, crack, or just plain wear out. That’s when you start to feel the heat, literally. Don’t let a faulty gasket ruin your baking game.
To check the gasket, run your finger across the entire surface. You can also visually inspect it for cracks or damage. If you’re certain the gasket isn’t damaged, you should clean it by following these steps:
- Open the oven door.
- Mix a soap-and-water solution.
- Apply the solution.
- Let the solution sit for 5 minutes.
- Wipe the gasket with a clean, dry rag or paper towel.
- Dry the gasket with a clean, dry rag or paper towel.
- Shut the oven door.
3. Clean the stovetop (every 1 to 2 months)
A dirty stovetop is a recipe for disaster in the kitchen! Spills and old food remnants can turn your gleaming stovetop into a mess that would make even the most seasoned baker run for cover. A dirty stovetop not only looks unappealing, but it can also ruin your baking experience by affecting the heat distribution and leading to unevenly cooked dishes.
There are a few parts you should pay attention to when cleaning the stovetop, so follow these guidelines carefully:
- Remove any pots, pans, and burners from the stove and place them in the sink. Turn off the stove and let it cool completely.
- Using a damp cloth, wipe down the stovetop to remove any loose debris or crumbs.
- In a spray bottle, mix a solution of warm water and a mild dish soap or a dedicated stovetop cleaner.
- Spray the solution onto the stovetop, making sure to cover all areas, including the burners and control knobs.
- Leave the solution on for about 10-15 minutes to allow the cleaning agents to penetrate and loosen the grime and grease.
- Using a soft-bristled brush or sponge, scrub the stovetop, including the burners and control knobs. Be gentle and avoid using abrasive materials that could scratch the surface.
- Wipe down the stovetop with a damp cloth to remove the cleaning solution and any remaining grime. Dry thoroughly with a clean cloth.
- Replace the burners and control knobs and turn the stove back on.
4. Clean the range hood (every month)
Grime, smoke, and oils can quickly accumulate on your hood, leaving it looking less than appealing. But it’s not just about the looks, a dirty hood can also affect your baked goods. It can impede the airflow, leading to smoky kitchens and even, in the worst-case scenario, a fire risk. Don’t let a dirty hood ruin your baking magic; take control of the situation!
Cleaning the range hood depends on the type you have (ducted vs. ductless). Here’s a general guideline on how to clean a ductless range hood:
- Turn off the range hood and unplug it. Remove any filters or other parts that can be removed and set them aside. Cover the stovetop with a protective sheet or towel to catch any cleaning solution drips.
- In a spray bottle, mix a solution of warm water and a mild dish soap or a dedicated appliance cleaner.
- Spray the solution onto the range hood, including the exterior surface and any visible parts, such as the control knobs or lights.
- Leave the solution on for about 10-15 minutes to allow the cleaning agents to penetrate and loosen the grime and grease.
- Using a soft-bristled brush or sponge, scrub the range hood, paying extra attention to areas with visible dirt or grime. Be gentle and avoid using abrasive materials that could scratch the surface.
- Wipe down the range hood with a damp cloth to remove the cleaning solution and any remaining grime. Dry thoroughly with a clean cloth.
- Wash the filters in warm soapy water and rinse thoroughly. Allow them to air-dry completely before replacing them in the range hood.
- Replace any parts you removed earlier and turn the range hood back on.
5. Check the gas line (every month)
If the heating element is the heart of your oven, then the gas line supplies the blood needed to keep your oven in tip-top shape. These pipes carry the fuel that powers your stove and oven, keeping you cooking and baking to your heart’s desire. But just like everything else in life, gas lines can suffer from wear and tear, leading to leaks and even fires (PDF).
Pull your oven forward and inspect the gas valve and line to make sure the connections are tight. If you hear a hissing noise or smell gas, go outdoors and call your gas company immediately.
6. Clean the racks (every 2 or 3 months)
Dirty oven racks are the nemesis of every baker! Grime and baked-on food can turn your shiny racks into a mess that would make even the most seasoned cook scream. With a little bit of cleaning magic and the right tools, you can have your racks shining like new and ready to tackle any baking challenge.
Cleaning the racks is pretty straightforward. Simply remove them from the oven, soak them in a basin of soapy water, use the soft side of a sponge to scrub the racks, let them dry, then replace them in the oven.
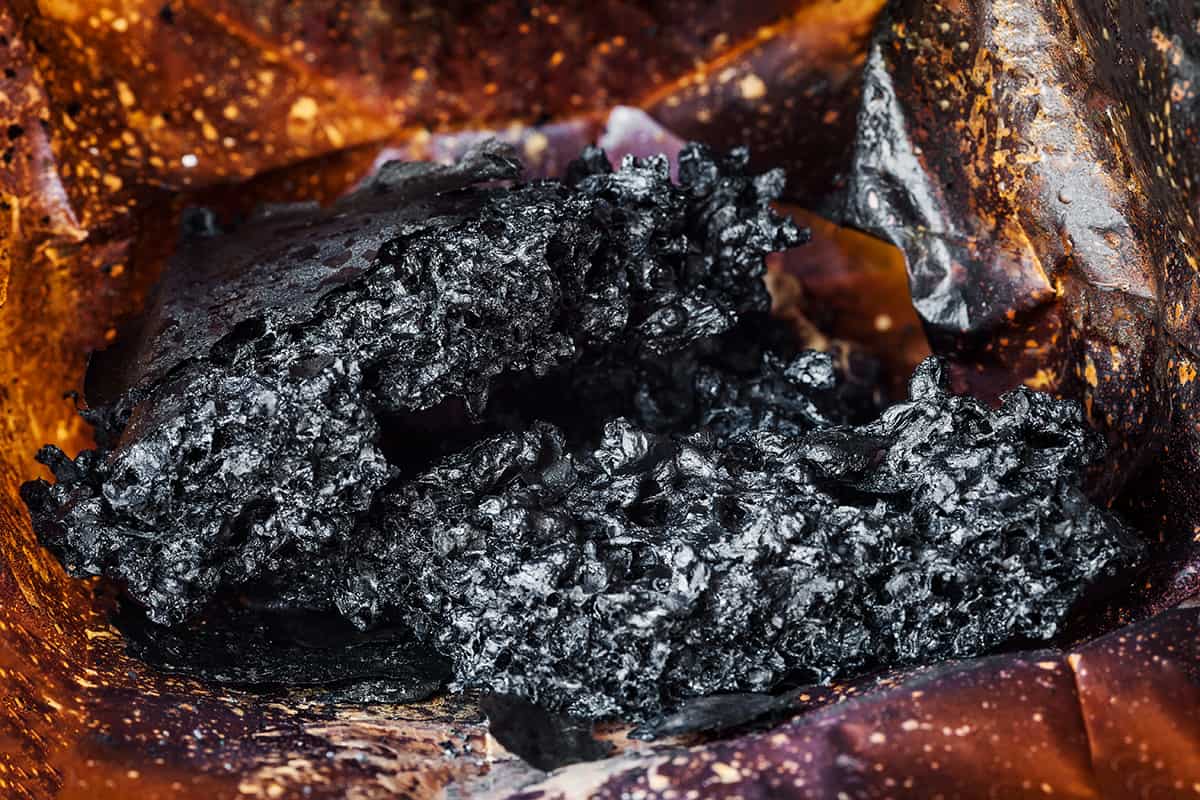
7. Make use of the self-cleaning feature (every 4 to 6 months)
The self-cleaning feature works by “nuking” your oven to beyond-normal temperatures (upwards of 900°F in some models). The heat destroys any lingering debris, turning it into ash that you can vacuum or wipe away.
This guide will show you how to use your self-cleaning oven, whether you can turn it off early, and whether it’s safe to leave your home while the self-cleaning feature runs.


Leave a Reply