Most stovetops will have dials or knobs that tell you how to select low and high heat. However, there are stoves that have numbers that represent how hot the stovetop gets.
So, what do these numbers mean, and how can you convert these numbers to degrees for cooking different foods? I’ll explain everything you need to know about stovetop temperatures and their dial settings in this guide.
Stovetop Temperature Chart
The following chart will offer a general description of what the different number settings mean on a stovetop.
| Stovetop Number Setting | Temperature |
| ½ | 250°F or 121°C |
| 1 | 275°F or 135°C |
| 2 | 300°F or 149°C |
| 3 | 325°F or 163°C |
| 4 | 350°F or 177°C |
| 5 | 375°F or 191°C |
| 6 | 400°F or 204°C |
| 7 | 425°F or 218°C |
| 8 | 450°F or 232°C |
| 9 | 475°F or 246°C |
| 10 | 500°F or 260°C |
In a nutshell, the stovetop number setting corresponds with what the temperature of your pan should be after preheating for 5 to 8 minutes. For instance, if you set your stovetop to 8, the pan should have a surface temperature of 450°F or 232°C after sitting on the stove grate for up to 8 minutes.
However, it’s important to note that the exact preheating times and the temperature will differ between cookware types and brands. To demonstrate, an aluminum pot will heat up a lot quicker than a ceramic Dutch oven. Another example is that a cast-iron skillet, which is a lot denser than stainless steel, will require longer preheating times in order to achieve the desired cooking temperature.
Also, these figures are only rough estimates and will vary between stovetops. Some models may only have five heating settings, while others may go beyond 10. For a more accurate reading, you should read the stove’s instruction manual.
How to Set a Stovetop to Low, Medium, or High?
Most online recipes will not instruct you to turn your oven on to a specific temperature. Instead, they will tell you to turn it on to low, medium, medium-high, or high heat. So, how exactly do you achieve those heat settings on a stovetop?
Some stovetops will come with dials that have Low and High settings. They are a lot easier to figure out how to set the cooking temperature to low, medium, or high. All you have to do is carefully turn the dial until you get a rough estimate of the desired cooking level.
But how do you do the same in stovetops with numbered heat settings? I’ll explain in the following sections.
Low Heat (1/2 to 3)
Cooking on low heat usually requires setting the stovetop’s dial to between ½ to 3. However, when most recipes instruct you to use low heat, they’re mainly talking about 2 or 3. Cooking at level ½ or 1 will be far too slow to do anything other than “boil” your food in oil, producing a soggy, super-fatty recipe (more power to you if that’s what you’re into).
If your stovetop only reaches a cooking setting of 5, then low heat will usually correspond with levels 1 and 2.
Medium Heat (4 to 5)
Medium heat is ideal for cooking vegetables and slowly browning meats. You will usually get the desired results by setting your stove to 4 or 5.
Cooking on medium heat can be a bit tricky since there is a pretty fine line between medium and medium-high. So, I suggest starting with 4 and working your way up to 5 or higher, depending on how quickly your food cooks (or burns).
For stovetops with a maximum cooking setting of 5, the perfect medium-heating setting should be 3 or even slightly under.
Medium-High Heat (6 to 7)
The majority of online recipes and recipe videos I see instruct their readers or viewers to turn their stoves on to medium-high heat. You should use this cooking level to sauté, sear, or pan-fry vegetables and meats. Usually, this is done to give color to your ingredients before finishing the dish off in an oven.
In stovetops with at least 10 cooking settings, you can set it to medium-high by turning the dial to between 6 and 7. If you want a more developed crust and a rarer interior, you should set your stove to 7 or even higher. As for stovetops with just 5 cooking levels, medium-high should be somewhere between 3 and 4.
High Heat (8 to 10+)
If your primary goal is to give meats a crispy exterior before finishing it off in the oven, then you should set your stove to high heat. This will usually begin at level 8, but you can push it to 10 or even higher if you want to quickly develop a crust before transferring your steaks to an oven. Stovetops with just 5 heat levels should be set to their highest level. However, I suggest starting with 4 and working your way up.
Recommended Cooking Temperatures
You’ve probably heard all sorts of kitchen buzzwords, like searing, charring, pan-roasting, sautéing, etc. The only question is, what temperature or heat setting should you set your stove to in order to achieve the proper cooking method? The following chart should give you a rough idea of how to do it.
| Cooking Level | Stovetop Number Setting | Temperature | Meats | Vegetables |
| Low | ½ | 250°F | Simmering (stew) | Simmering, blanching |
| Low | 1 | 275°F | Sunny side up, over easy, omelets | |
| Medium-Low | 1 to 2 | 275 to 300°F | Rendering | Caramelizing, sweating |
| Medium-Low to Medium | 3 to 4 | 325 to 350°F | Scrambled eggs | |
| Medium | 4 to 5 | 350 to 375°F | Pan-roasting | Sautéing, toasting |
| Medium | 5 | 375°F | Browning, shallow-frying | Browning, shallow-frying |
| Medium-High | 6 | 400°F | Browning, pan-frying | Roasting |
| Medium-High to High | 7 | 425°F | Searing, stir-frying | Stir-frying, pan-frying |
| High | 8 | 450°F | Searing, charring | Charring, blistering |
What Type of Oil Should You Use?
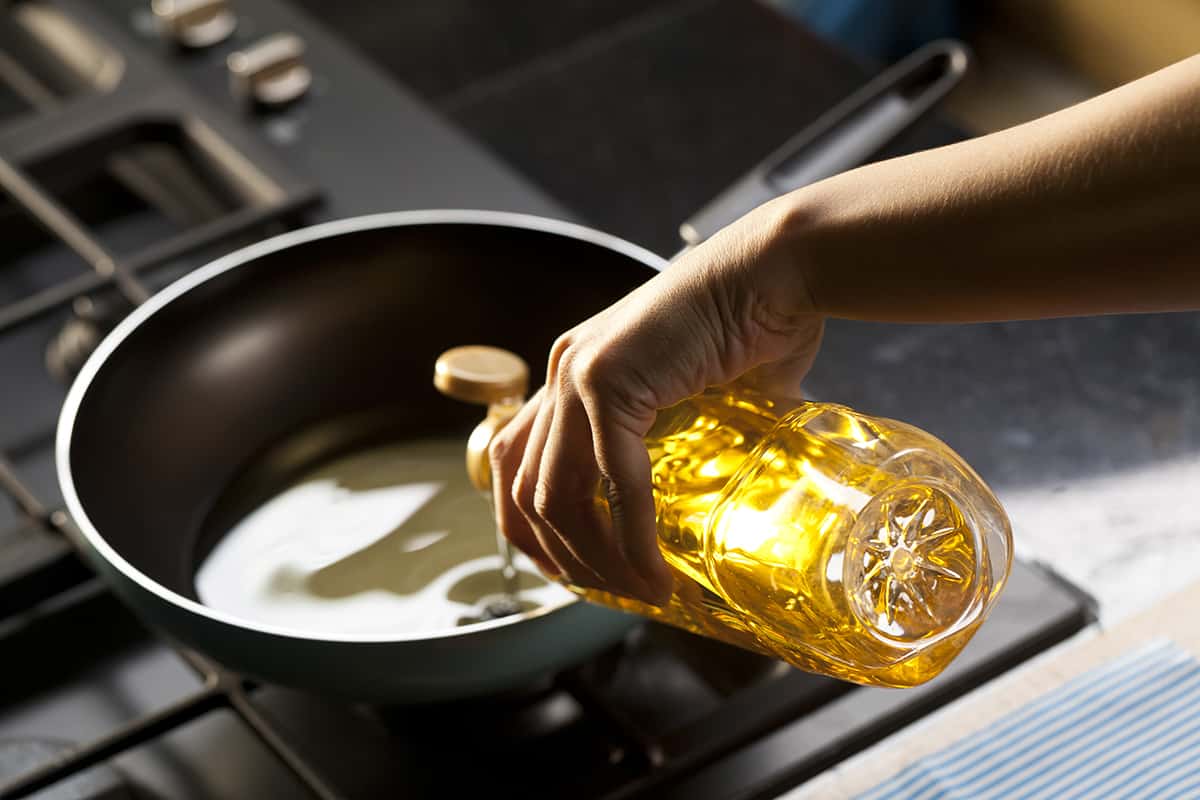
If you plan on browning, sautéing, searing, or even scrambling, then it’s worth knowing the different types of cooking oils and how they react to different cooking temperatures. Even though all cooking oils can be used to achieve the same goal—e.g., adding a crust to meats or softening stir-fried veggies—they don’t withstand the same levels of heat in the same way.
The first thing you should understand is the smoke point of each cooking oil. The smoke point is the temperature at which the cooking oil loses its shine and produces foul-smelling smoke. Certain oils, like avocado oil, can withstand greater amounts of heat than others, such as extra-virgin olive oil.
As such, you should restrict EVOO to scrambling or pan-roasting meats, whereas you have a lot more wiggle room with avocado or peanut oil.
If you’re interested in learning about the smoke points of different cooking oils, I suggest giving this guide a look.
What Type of Pan Should I Use?
Earlier, I mentioned how different metals react differently to certain cooking temperatures. For instance, aluminum, which is an excellent conductor, heats up a lot more quickly than cast iron.
There is no simple answer to determine which type of pan you should use. After all, you can pretty much do all the things in a stainless-steel skillet that you could do in a cast-iron pan.
Below, I’ll break down the advantages and disadvantages of different pan materials.
| Metal Type | Advantages | Disadvantages |
| Aluminum |
|
|
| Carbon steel |
|
|
| Cast iron |
|
|
| Ceramic |
|
|
| Copper |
|
|
| Enameled cast iron |
|
|
| Glass |
|
|
| Stainless steel |
|
|
| Teflon |
|
|
As you can see, not all pan and pot materials are the same. The easiest way to determine what pan material you should get is by figuring out what you’re going to use it for. For instance, if you want to char your food on the stove and finish it off in the oven, you should look for an oven-safe pan. If you want to make pasta in a single pan, choose a material that doesn’t react to the acids in tomato sauce.