Your stove is your gateway to delicious home-cooked meals, holiday dinners, and even those midnight snacks. But what happens when this culinary workhorse flashes an F2 error code? It’s enough to halt your cooking plans and create an unexpected hurdle in your day.
The F2 error code usually indicates that your stove’s oven temperature sensor reports inaccurate readings. To get rid of this error, you can try resetting the appliance or checking the sensor’s connections. A faulty sensor or control panel may need professional attention if the issue persists.
This guide will walk you through what the F2 error means, how to diagnose it yourself, and the steps to fix it.
A Quick Intro to the F2 Error Code
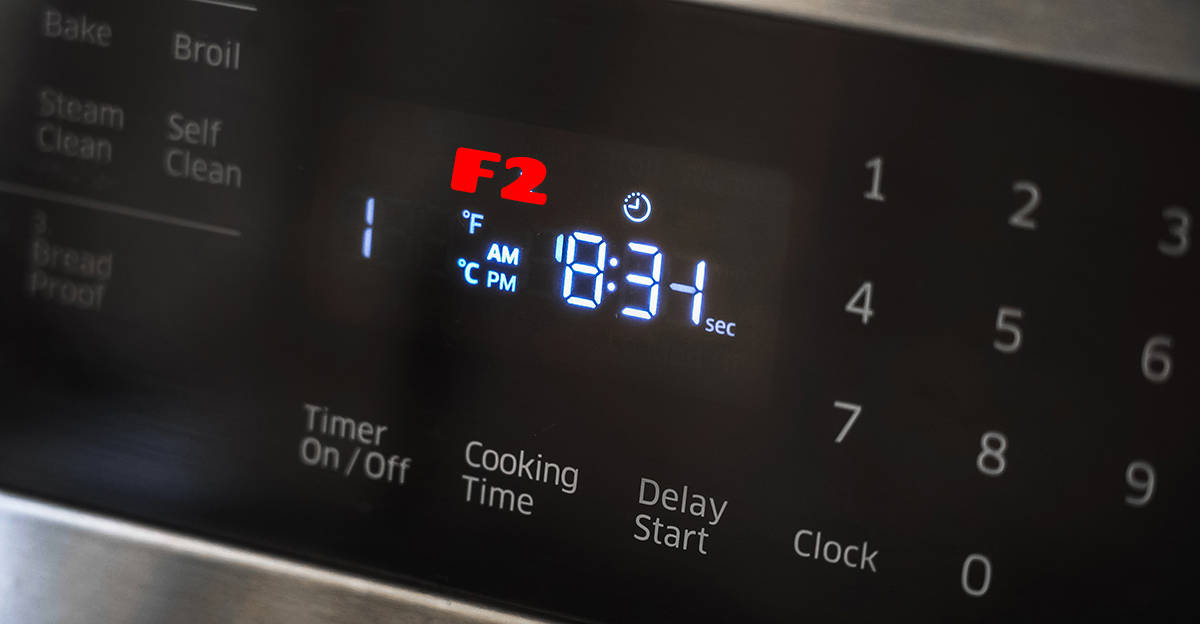
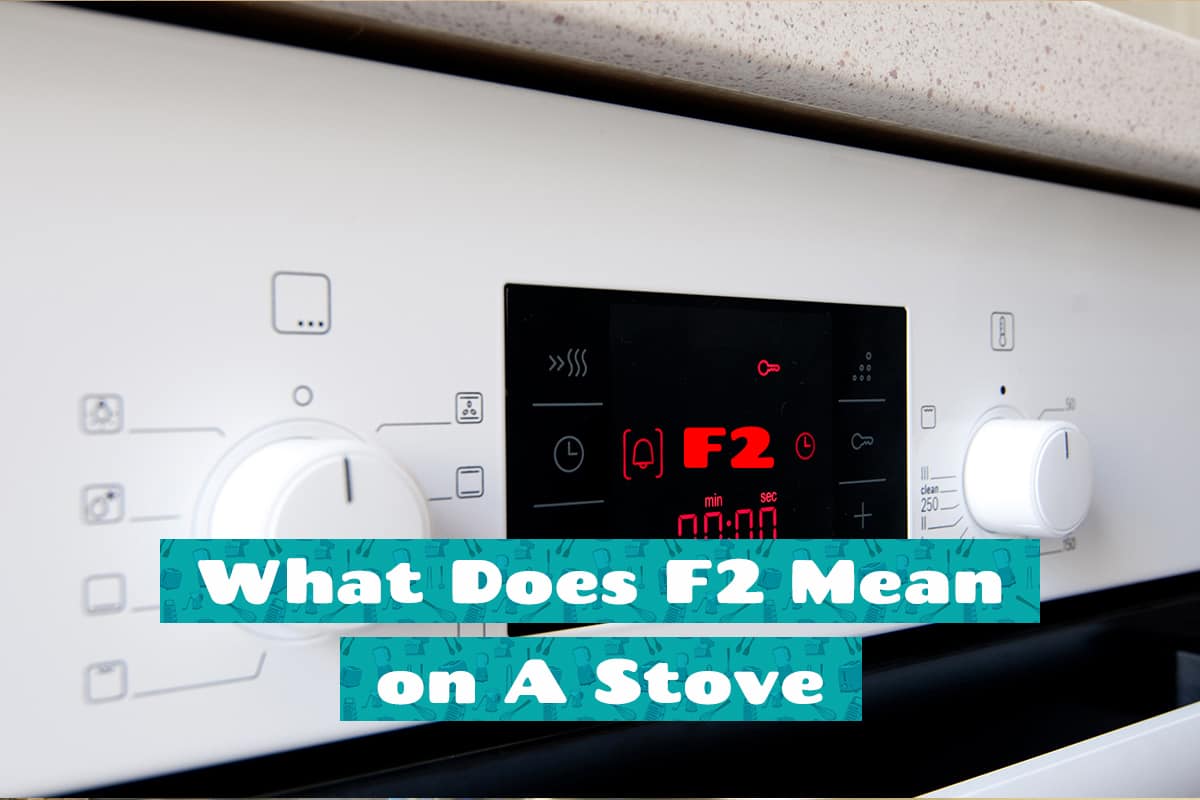
Modern electric stoves have backguards with a built-in control board or panel. This will also usually house the electronic display that informs you of different stove/oven modes, temperatures, and timers, as well as those pesky error codes that throw a wrench into your cooking groove. It’s here where you’ll encounter the F2 code.
The F2 error is usually activated when the sensor reports a temperature that’s way out of the normal range. Sometimes, it’s a real issue; other times, it could just be a glitch.
Several factors can trigger the F2 code:
- Overheating: Cooking at super high temperatures.
- Underheating: Oven not reaching set temperature.
- Electrical Snags: Loose or damaged wires.
- Software Issues: Outdated firmware or software bugs.
Your stove comes with a built-in temperature sensor that sends data to the control panel. The F2 error happens when this communication breaks down. Most often, the culprit is a faulty sensor, but other times, it could be the oven’s control panel or even the wiring between them.
You’ll usually hear a beeping sound along with the F2 message flashing on your stove’s display. Some models might even go as far as to lock the oven door as a safety measure. So, if your oven starts blaring the song of its people, you know something’s up.
How to Diagnose the F2 Error
As mentioned above, there are several things that can trigger the F2 error code. It’s now your job to figure out what the underlying problem is via DIY diagnoses.
Preliminary Checks Before Diagnosis
Before diving into detailed diagnostic steps, let’s get some basics out of the way. First, note down the brand and model of your stove; you’ll need this for reference later. Second, check if the error appears consistently or if it’s a one-time thing.
Using Built-in Diagnostic Features
You can access these by pressing a combination of buttons on the control panel, usually outlined in the user manual. This can help identify whether the problem lies in the sensor, control panel, or wiring. To keep things snappy, here’s how to use built-in diagnostics on three popular brands:
- GE Stoves: Usually, GE stoves have a “Self-Diagnose” option in the settings menu. Go through the menu, hit “Self-Diagnose,” and follow the on-screen instructions.
- Samsung Stoves: Samsung often has a “Smart Diagnosis” feature, accessible via their SmartThings app. You can also use the control panel to navigate to diagnostics.
- Whirlpool Stoves: Whirlpool models typically require you to hold down two specific buttons together for a few seconds. Check your user manual for which buttons to press.
Manual Diagnostic Steps
If your stove doesn’t come with a self-diagnosis feature, you can manually check some components to narrow down the problem.
- Sensor Check: The sensor is usually a thin, cylindrical piece located at the back of the oven. Disconnect the stove from the electrical outlet and remove the sensor by unscrewing it. Use a multimeter to check the sensor’s resistance. If it doesn’t match the standard resistance level outlined in the user manual, you’ve found your culprit.
- Wiring Check: While you’re at the back of the stove, take a quick look at all the wiring. Ensure that they are not damaged or loose. Torn or frayed wires can lead to incorrect sensor readings.
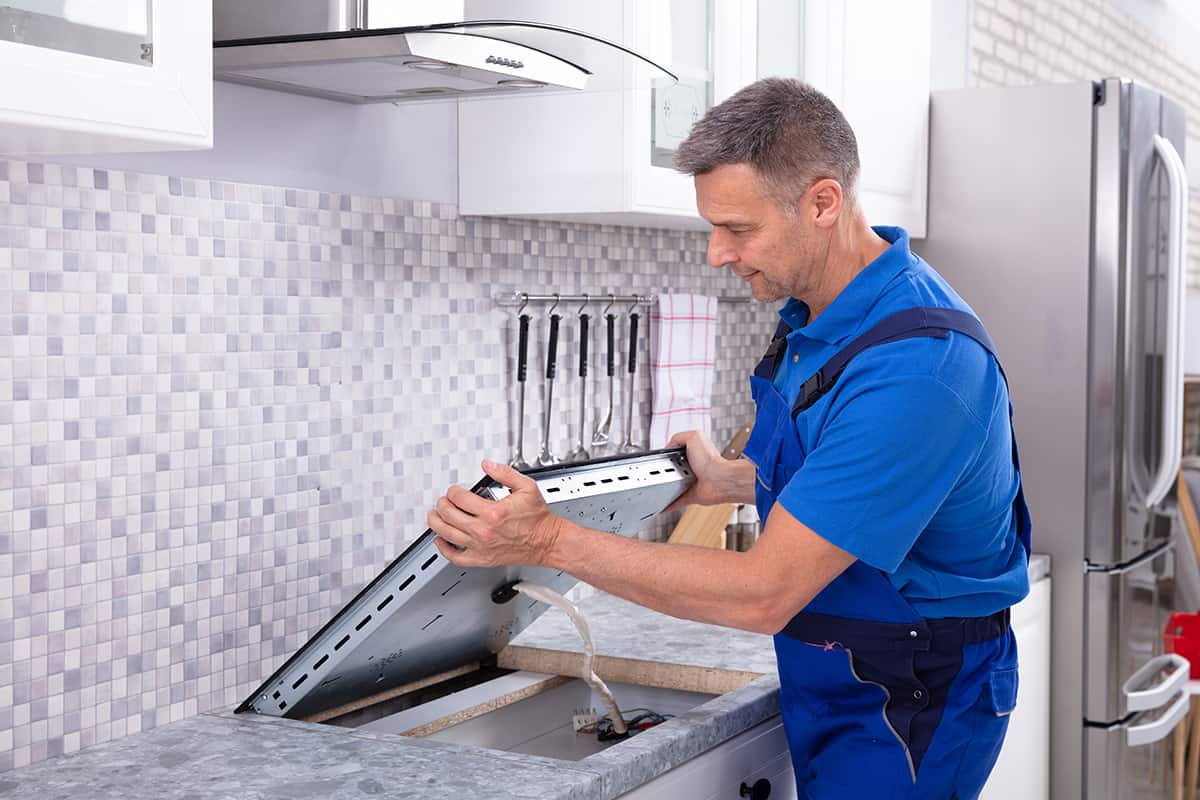
- Control Panel Check: Access the control panel by removing its cover, usually located behind the stove’s touch panel. Check for loose connections or damaged circuits. Also, check if any buttons are stuck or unresponsive. A damaged control panel might not read sensor data correctly, causing an F2 error.
How to Fix F2 Error
While the F2 error code is a pain, there are a few things you can implement to resolve the issue. Just make sure you’ve identified what’s triggering the problem in the first place by following the section above.
1. Reset the Stove
The simplest thing you can do is to reset your stove. To do this, simply turn it off and then unplug the cord. Leave it unplugged for 15 to 30 minutes before plugging it back in and booting up your stove.
This solution usually helps with minor problems (not that the F2 code is minor) and any one-time glitches. If the problem persists, you’ll have to take a more hands-on approach.
2. Replace the Temperature Sensor
Allow us to preface this by saying that anything you do to your oven apart from using it for its intended purpose may be categorized as “tampering” and, thus, void the warranty. So, unless you know what you’re doing, you should probably leave the more technical solutions to the pros.
With that said, here’s how you can replace a faulty temperature sensor if it’s what’s causing the F2 error:
- Turn off and unplug your stove for safety.
- Open your oven and locate the sensor, typically at the back.
- Unscrew the sensor and carefully disconnect its wires.
- Connect the new sensor’s wires and screw it into place.
- Plug the stove back in and test the oven to see if the error has been resolved.
3. Update the Control Panel’s Software
Some newer models have the option to update the software of the control panel. Check the manufacturer’s website for the latest update if this is the case with your stove. You’ll typically need a USB drive to download the update onto and then plug it into your stove. Follow on-screen instructions for installation.