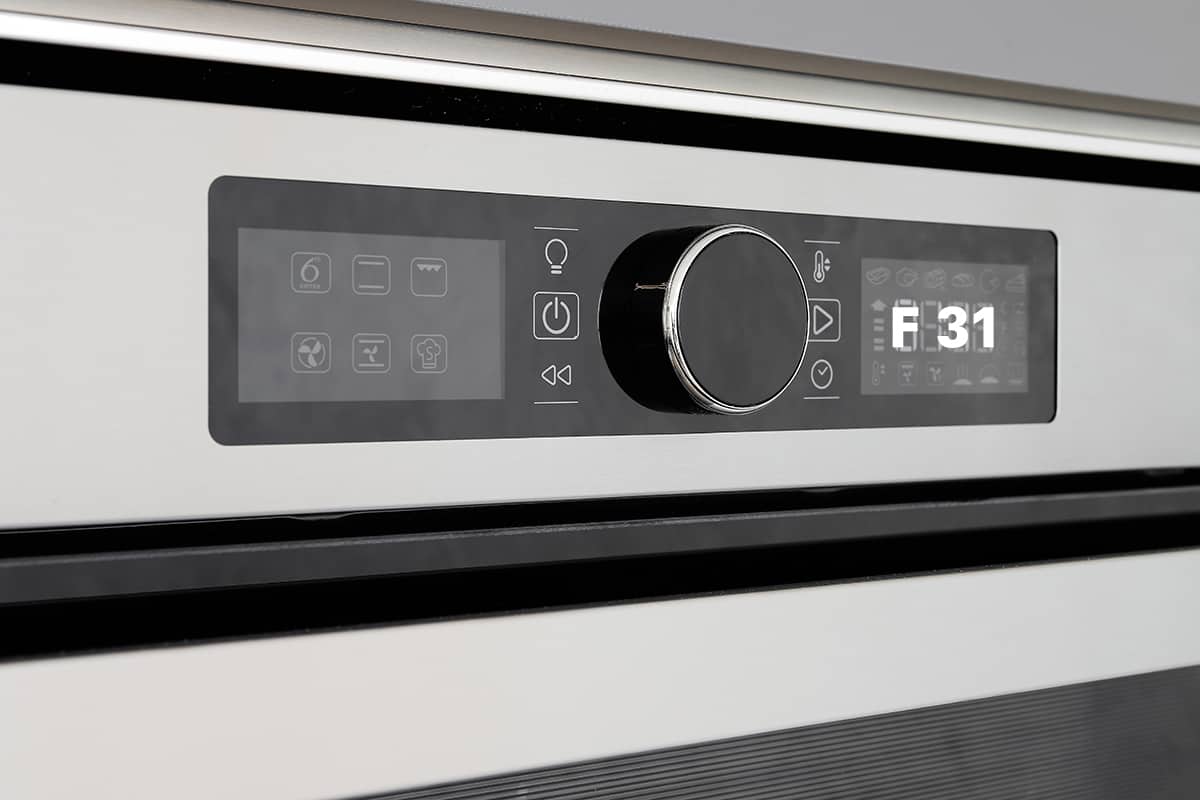
The great thing about modern ovens is that they don’t just cook food to perfection, but they come with self-diagnosing systems to inform users of what’s wrong with it. Of course, we’d rather not see error codes show up on the oven’s display, but at least we’ll know what to look for. One of the lesser common error codes in Kenmore or Frigidaire ovens is F31, but do you know what it means?
If your oven’s display shows an F31 error code, it means that the sensor probe or the sensor circuit is shorted. You will have to open the oven to test these parts for resistance with a multimeter and to replace them.
In this guide, I’ll explain what the F31 error code is in greater detail, as well as what troubleshooting methods you can do to resolve the error.
What Are Oven Error Codes?
Appliance manufacturers have made maintenance a lot easier for consumers with the use of error or fault codes. An error code will show up on your oven’s digital display to inform you of which part is in need of repair or replacement.
When an error code shows up, your oven will cease all operations. That way, it does not run the risk of further damaging internal components, which could break the oven and require heavy-duty maintenance to restore to full health.
If you see an error code, you should consult the oven’s paperwork to see which part it corresponds to. The most common errors indicate faulty doors, broken sensors, and defective heating and broiling elements.
What Does F31 Mean on My Oven?
The F31 error code in Kenmore and Frigidaire ovens indicates an issue with the oven temperature sensor probe. There are 3 components in your oven that will trigger the F31 code, namely:
- Temperature sensor probe
- Wiring harness
- Electronic control board
The F31 error code usually means that the sensor probe is defective or that the wires connecting the sensor probe to the control board are pinched. Pinched wires could lead to shorting problems since the bare wires may rub up against each other or against the metal cabinet.
If you find the sensor probe and wires to be in working order, then the control board may have registered a false positive, in which case, you will need to replace the board completely.
How to Check an Oven for an F31 Error Code
To check for faults after seeing the F31 error code, you will first need to get your hands on the following tools:
Multimeter—To perform the electrical checks on the sensor probe, wiring harness, and control board.
- Nut driver—To remove the oven’s back panel.
- Smartphone—To take a picture of the control board’s wiring.
- Putty knife—To detach and reattach the control board’s overlay.
- Screwdriver—To remove the control board’s mounting screws.
I’ll break the troubleshooting procedure into three parts—checking the probe sensor, checking the wiring harness, and checking the control board.
Checking the probe sensor
- Shut off the oven. Unplug it from the wall receptacle or flip the circuit breaker to shut off the flow of electricity to your oven. For gas ovens, shut off the gas supply or disconnect the gas supply line.
- Allow the oven to come down to room temperature.
- Pull the oven away from the kitchen wall to access the back of the oven.
- Use the nut driver to detach the nuts from the top and back panels.
- Remove the top and back panels from the oven.
- Examine the sensor probe’s cable. The cable will usually have a purple coating. If it’s loose, tighten the connection, reinstall the top and back panel of the oven, plug the oven back in, and do a test run. If the F31 code still shows up, or if the connection was tight to begin with, proceed to the next step.
Checking the wiring harness
- Unplug the wire harness from the control board.
- Using the multimeter set to check for resistance, place the probes on the purple wires’ terminals. The multimeter should have a reading of around 1080 ohms. If the multimeter has a reading of fewer than 1080 ohms, the probe thermometer is defective and needs to be replaced.
- Using the multimeter set to check for resistance, place one probe on the terminal of the purple wire and the other probe on bare metal inside the oven. Repeat this step for the second purple wire. If either of the wires has a 0-ohm reading, that means it is causing a short. If the multimeter shows an OL reading, that means the control board is defective.
Checking the control board
- Reattach the back panel of your oven, but leave the back of the top panel exposed.
- Take a quick picture of the control board’s wiring. You will need to consult this picture to see where each wire belongs when installing a new control board.
- Unfasten the mounting screws keeping the old control board in place. Remove the control board when all mounting screws are undone.
- If the replacement control board did not come with an overlay, use the putty knife to remove the overlay from the existing control board and align it with the new control board.
- Align the new control board’s mounting holes with the corresponding screw homes in the oven’s top panel.
- Fasten the new control board with the mounting screws.
- Restore power to the oven and run a test.
Difference Between F30 and F31 Error Codes
The F30 error code is nearly identical to the F31 error code. Both codes indicate that the thermometer sensor probe, wiring harness, or control board is faulty.
However, the F30 code does not include pinched wires in the oven’s diagnosis. So, the F30 code is less severe compared to the F31 code, although you will still have to perform similar checks when it shows up.
How Common Is the F31 Code?
Although the F31 code may be a cause for concern, it’s not all that common. It is usually found in older oven models that have been moved around or used excessively. In Frigidaire models, the most common error codes are F1 (faulty control board), F2 (oven is too hot), and F3 (sensor problems).
