Are you tired of bland and mushy Brussels sprouts? The secret to crisp, crunchy, and highly nutritious Brussels sprouts lies in a not-so-secrete cooking method known as blanching. So, how long should you leave them in their hot-water bath?
If you’re going to blanch Brussels sprouts for roasting or freezing, blanch them for 3 to 5 minutes, depending on how large they are.
Today, I’ll briefly describe what blanching is, as well as cover how long you should blanch Brussels sprouts, how to do it, and how to prepare Brussels sprouts for long-term storage.
Benefits of Blanching
Blanching is a cooking technique that has several advantages.
For starters, it keeps the color, texture, and nutrients of the vegetables. Blanching vegetables helps to inactivate enzymes that can cause the vegetables to lose their color and texture over time. When you freeze or roast blanched vegetables, their vibrant color and crisp texture will last longer.
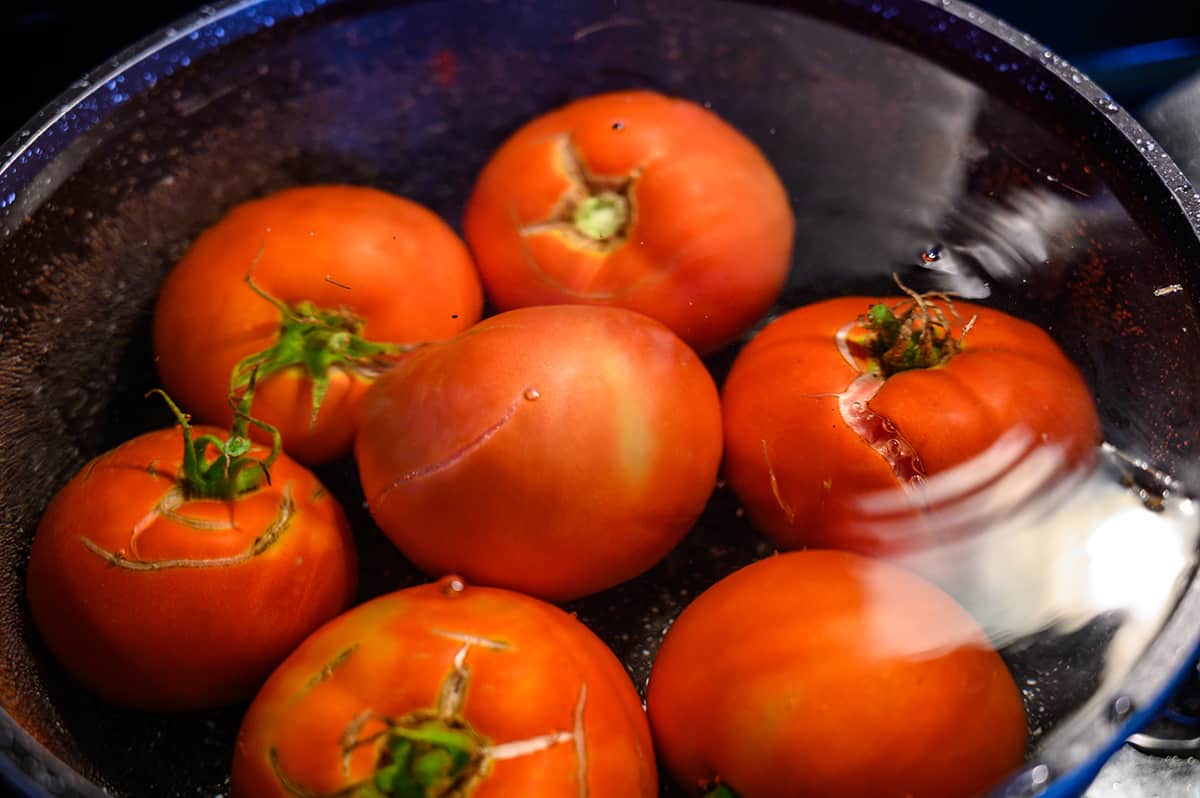
Secondly, blanching can make vegetables easier to peel. This is particularly true for vegetables with tough skins, such as tomatoes and peaches. Blanching the vegetables makes the skins puff up and loosen, making it much easier to remove them.
Thirdly, blanching can kill bacteria, viruses, and other microorganisms that may be present in vegetables. This is important to prevent food-borne illnesses and to ensure the vegetables are safe to eat.
Finally, blanching can help to preserve the nutritional value of vegetables. Blanched vegetables lose some of their water-soluble vitamins, such as vitamins C and B vitamins. However, blanching helps to preserve many nutrients, including vitamin A and beta-carotene.
How Long to Blanch Brussels Sprouts (Before Roasting and Freezing)
The ideal blanching time for Brussels sprouts varies depending on their size and desired level of doneness. Small sprouts should be blanched for 2-3 minutes, while larger sprouts should be blanched for up to 5 minutes.
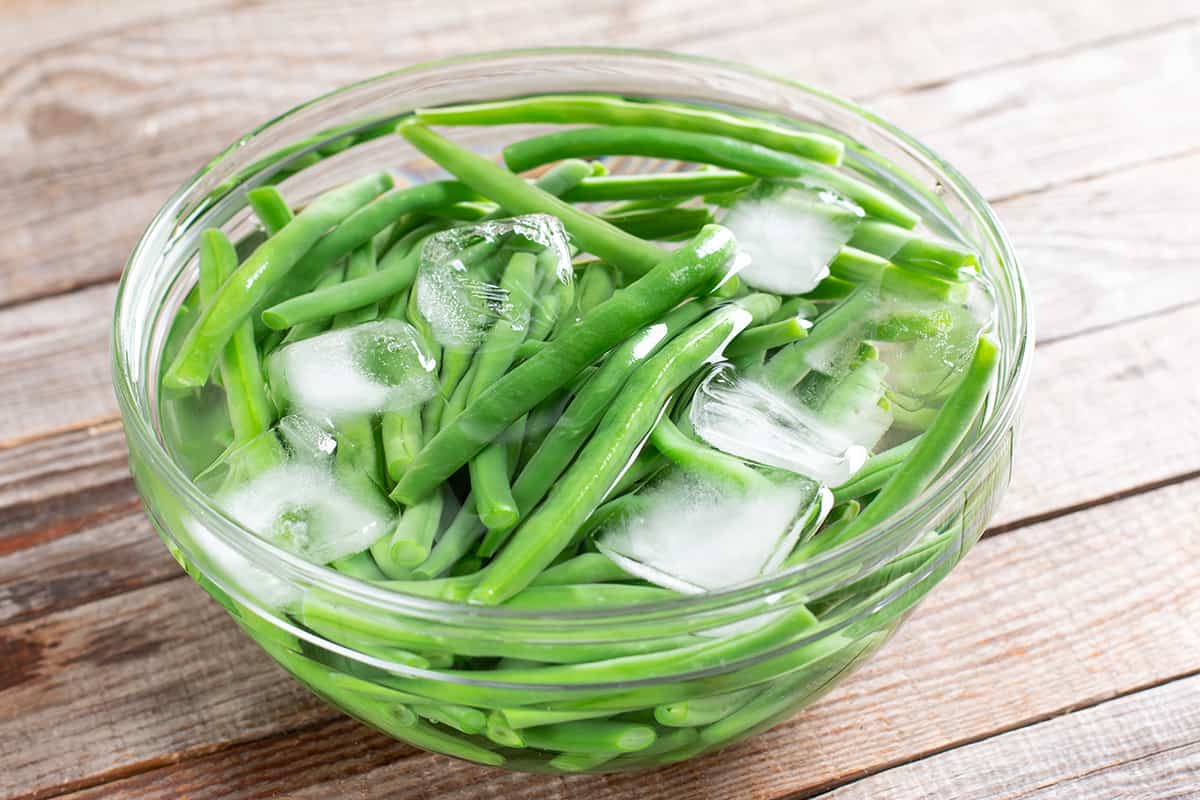
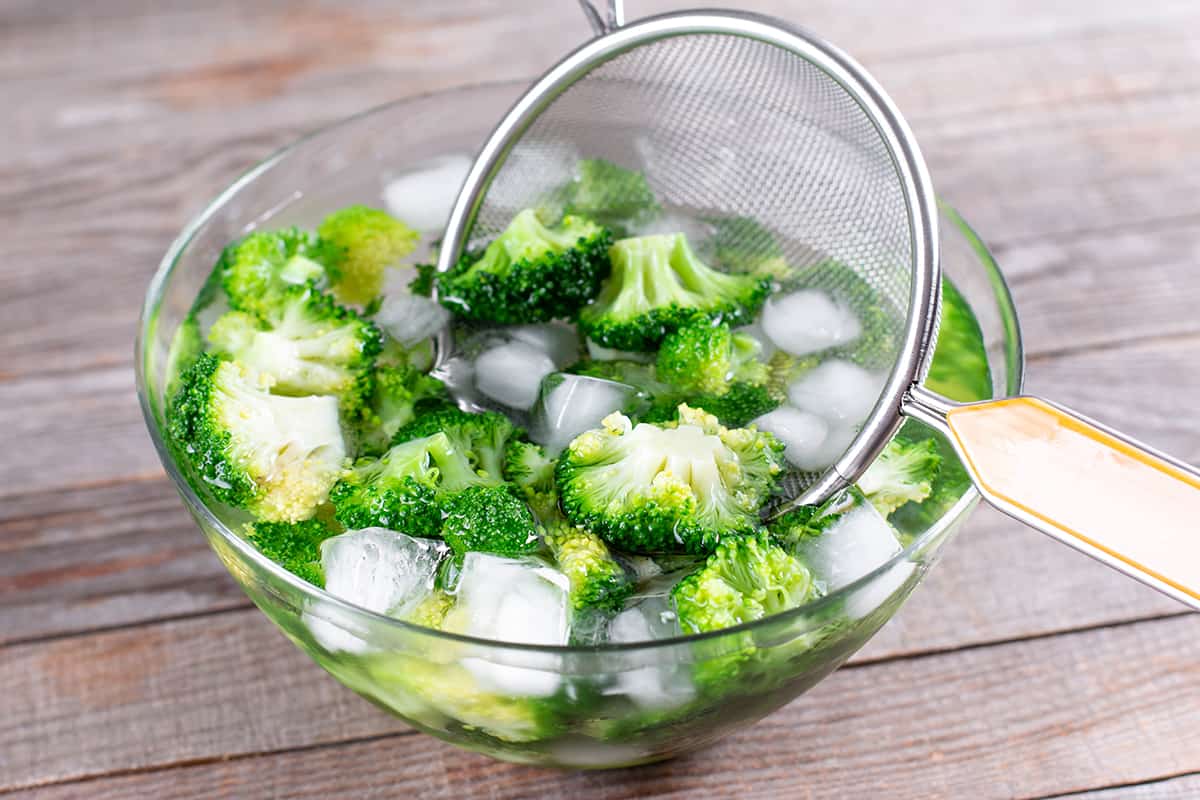
It is critical to test the sprouts for doneness by removing one from the blanching water, cooling it, and tasting it, adjusting the blanching time as needed. When the desired doneness is reached, immediately cool the sprouts in an ice water bath to stop the cooking process and preserve their texture and color.
How to Blanch Brussels Sprouts
Now that we have a basic understanding of blanching and how long it takes to blanch Brussels sprouts, let’s go over the steps of blanching them.
- Clean and trim the Brussels sprouts before cooking. Remove the stem end as well as any discolored or damaged leaves.
- Fill a large pot halfway with water and bring it to a boil.
- Make sure the Brussels sprouts are completely submerged in the boiling water.
- Time the sprouts according to their size and desired level of doneness as described previously.
- When the Brussels sprouts are done, remove them from the boiling water with a slotted spoon or tongs.
- To stop the cooking process and preserve the color and texture of the Brussels sprouts, shock them in an ice water bath.
- When the sprouts are cool enough to handle, remove them from the ice water and thoroughly drain them.
- Now that the Brussels sprouts have been blanched, they can be frozen or roasted as desired.
Be aware that blanching a large quantity of Brussels sprouts should be done in batches to avoid overcrowding and maintain a consistent boiling water temperature.
Vegetables are quickly chilled in an ice water bath after being blanched. The vegetables absorb water during this process, which can alter their texture and appearance. To prepare Brussels sprouts for freezing or roasting, pat them dry with a clean towel or paper towel to remove excess water. As a result, the Brussels sprouts will cook more uniformly and won’t steam instead of roasting or browning. Also, drying them thoroughly before freezing will stop them from crystallizing.
How to Freeze Brussels sprouts
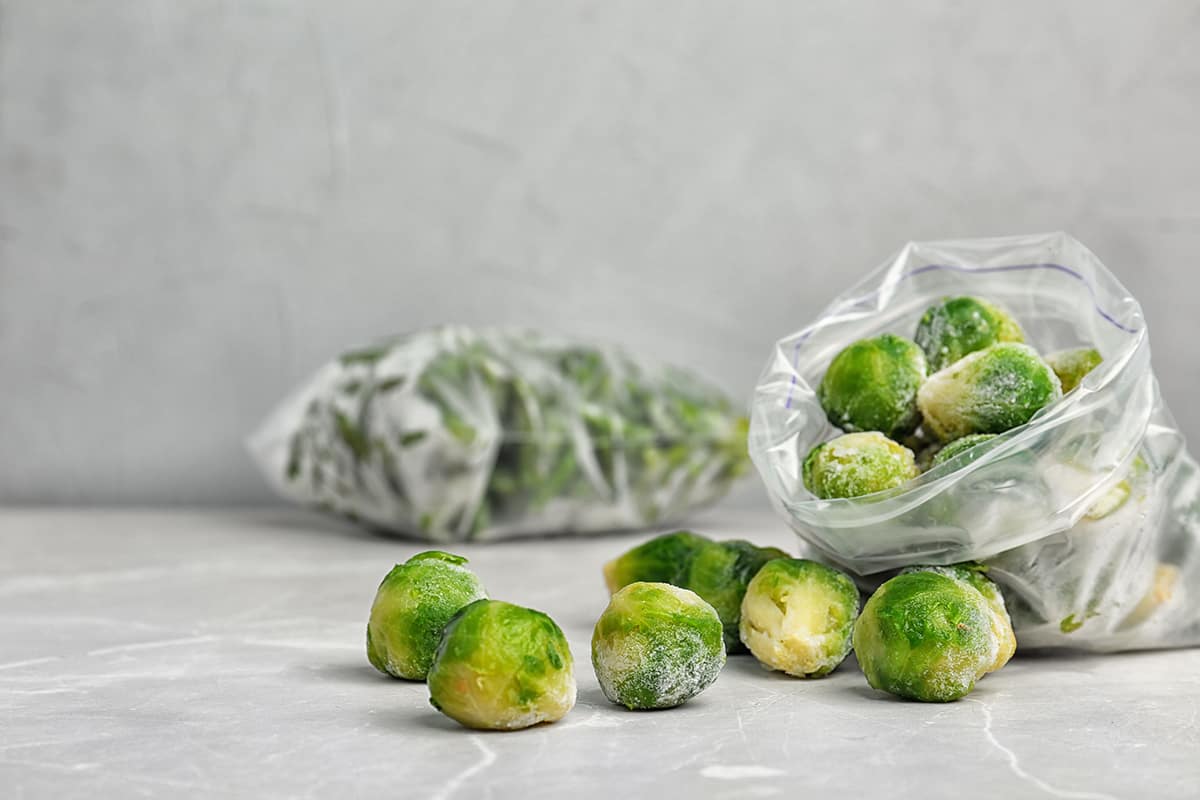
Freezing Brussels sprouts will increase their shelf life to up to 12 months without significantly affecting their quality and texture. Here’s how you do it the right way:
- Follow the above procedures to properly blanch your Brussels sprouts.
- After blanching and cooling, spread the Brussels sprouts in a single layer on a baking sheet or tray.
- Freeze the Brussels sprouts entirely by placing the tray in the freezer. In all, it should take around 2 to 3 hours.
- Once the Brussels sprouts have frozen, they should be stored in an airtight container or resealable freezer bag.
- Before closing the bag or container, be sure to squeeze out as much air as possible. This step can help reduce the risk of freezer burn.
- Be sure to write the current date and what’s inside the bag or container on the label.
How to Clean and Trim Brussels sprouts
Whether you’re going to use Brussels sprouts immediately or store them in the freezer for up to12 months, you should clean and trim the sprouts beforehand. Here’s how it’s done:
- You should wash the Brussels sprouts in cold running water to get rid of any dirt or debris.
- Remove the sprout’s base by slicing it off with a knife. The base of a sprout is called its “stem end,” since it is the location of the sprout’s original attachment to the stalk.
- If any of the outer leaves have turned brown or been damaged, remove them by gently pulling them off.
- Optional: Cut your Brussels sprouts however you want.
- Use a small paring knife to carefully trim away any blemishes or dark spots from the Brussels sprouts.
- After you’ve finished trimming the Brussels sprouts, give them one last rinse under cold running water to get rid of any lingering dirt or debris.