Green beans are one of those delicate types of vegetables that can go from raw to overcooked in an instant. If you don’t want to end up with a plate of mushy, sickly green beans on your plate, you should think about blanching them.
To blanch string beans, bring 4 quarts of water to a boil. Submerge a bunch of green beans in the boiling water for 2 to 5 minutes until they turn bright green but still retain their crunch. Immediately shock the green beans in an ice bath to stop them from overcooking.
Today, I’ll introduce the cooking technique known as blanching, as well as explain how to blanch green beans and what common mistakes to avoid.
Blanching 101
Food, usually vegetables or fruits, are blanched by being submerged in boiling water for a brief amount of time. Blanching is a cooking technique used to prevent the loss of color, flavor, and nutrients by rapidly heating food.
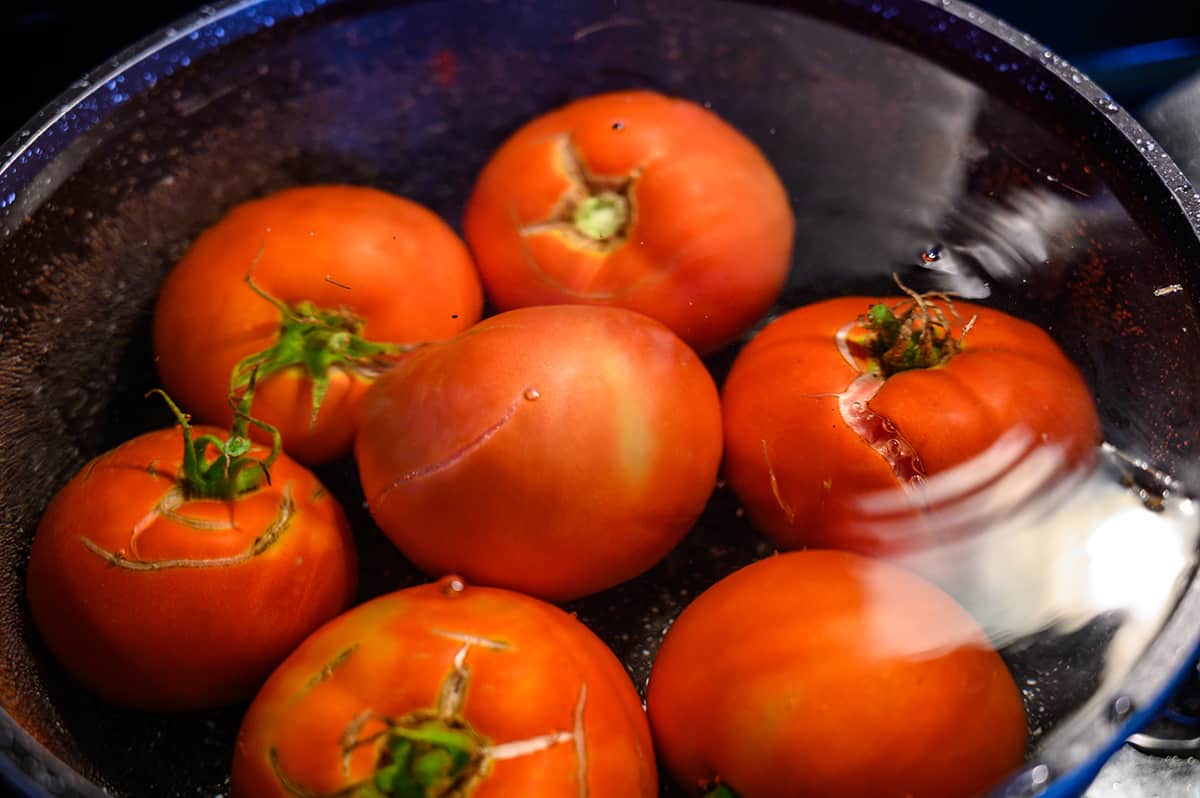
Tomatoes, almonds, and other foods with thick skins can be peeled more easily with its assistance. If you want to keep the food’s color and texture intact after you blanch it, you should shock it in ice water right after.
Steaming is another method of blanching, in which the food is steamed in a steamer basket suspended over a pot of boiling water. Asparagus and green beans, both of which are relatively delicate, are common candidates for this cooking method. Soups and stews, as well as foods intended for freezing or canning, often benefit from this method of preparation. Blanching is an easy and fast way to help keep food fresh.
How to Blanch Green Beans
Green beans’ color, texture, and flavor are all preserved during the simple process of blanching, which also makes the beans more tender.
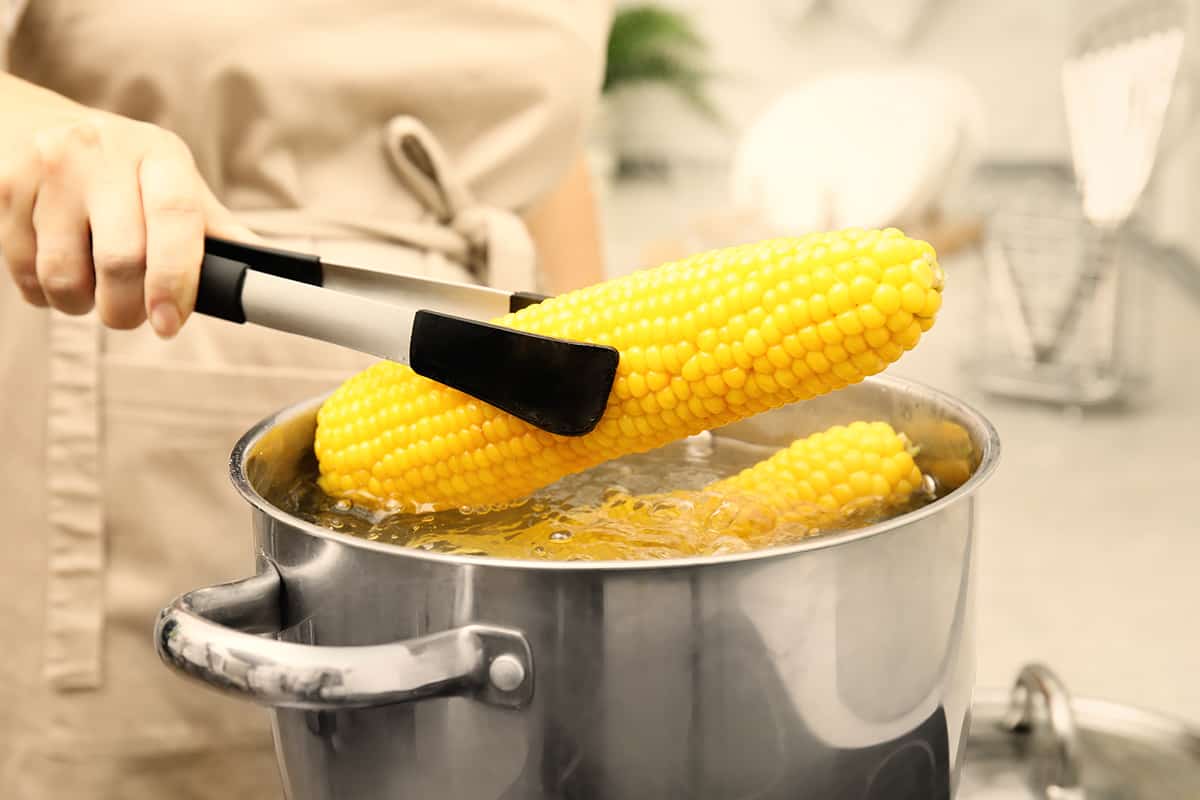
Bring a large pot of water to a full boil to begin. Make an enormous bowl of ice water while the water is heating up. Green beans should be added to boiling water and cooked for 2 to 5 minutes or until they brighten in color and become just tender.
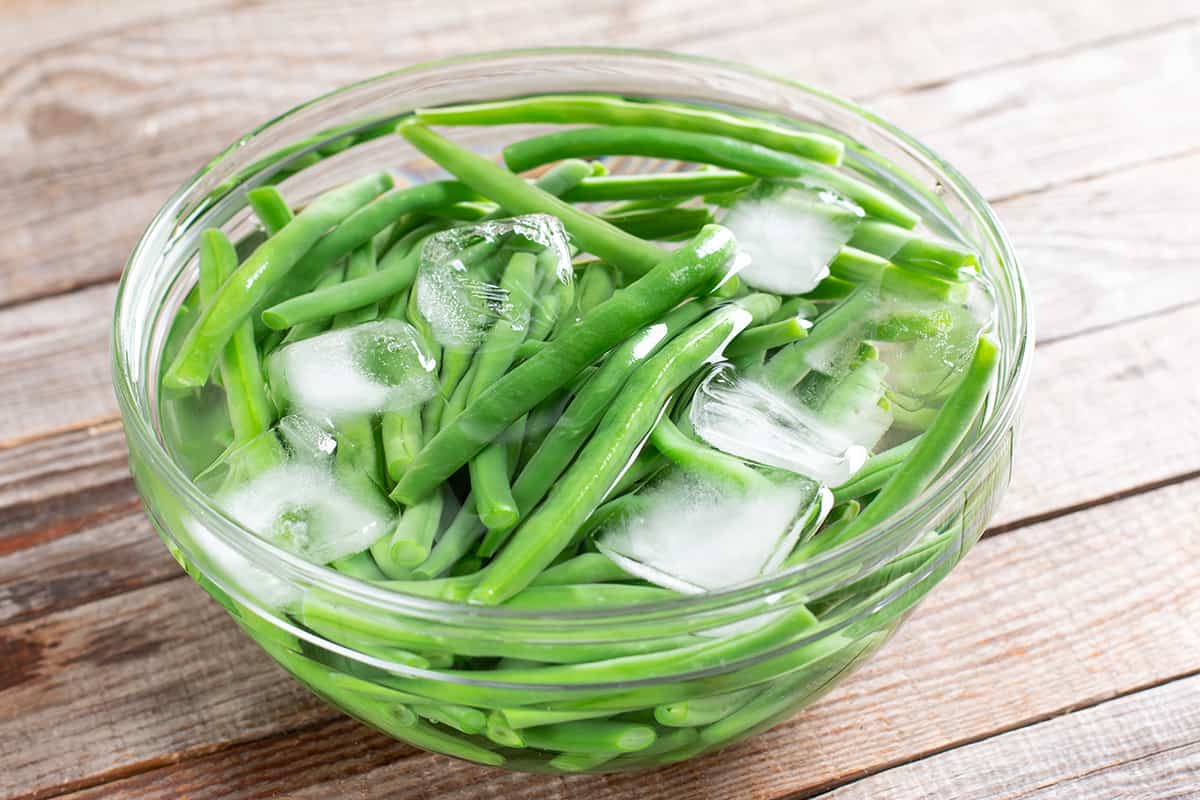
With a slotted spoon or tongs, remove the green beans from the boiling water and place them directly into the ice water. This will put an end to the cooking process and keep the beans from changing color or becoming mushy.
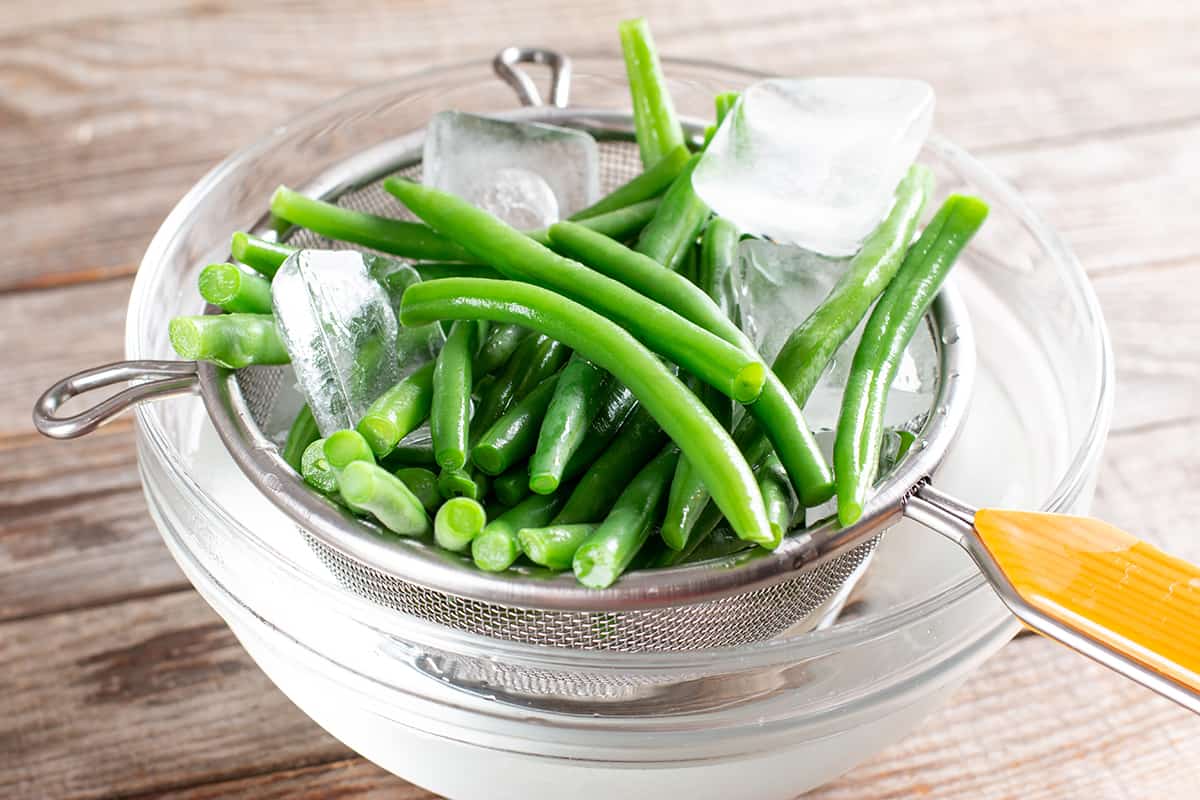
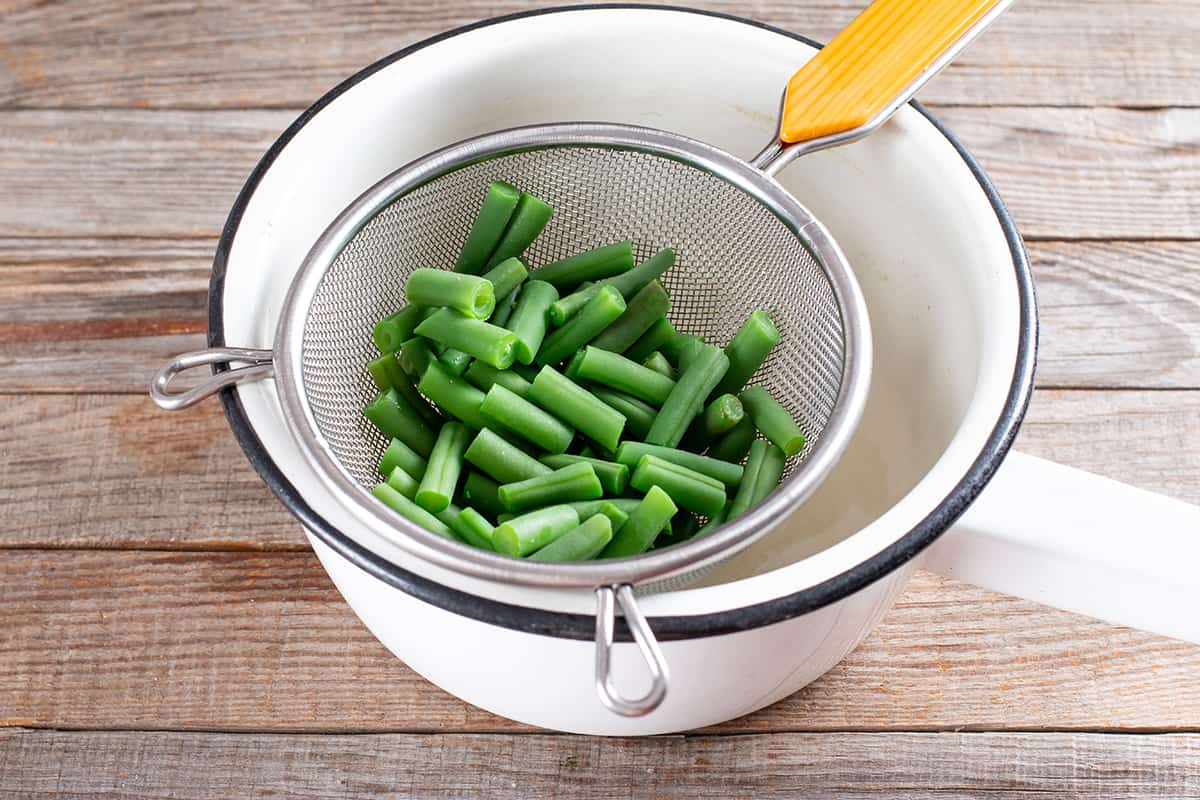
After soaking in ice water for 2 to 3 minutes, drain the green beans and dry them thoroughly with paper towels. It’s time to put the green beans to use in your dish or put them away for later.
You should remove a bean and taste it to determine if it’s done, as the blanching time will vary depending on the green bean’s size and thickness.
How Long to Blanch Green Beans
Blanching green beans requires a different amount of time, depending on their size and quantity. In general, the blanching time for green beans is shorter for smaller and thinner varieties and longer for larger and thicker ones.
Blanching green beans for only 2 or 3 minutes yields tender, skinny beans. Blanch green beans for 3 to 4 minutes if they are medium size. Green beans that are particularly large or thick should be blanched for four to five minutes.
Be aware that the time spent in the boiling water for green beans can be altered to suit both individual taste and the needs of the dish. For instance, you can blanch green beans for a longer time to make them softer to your liking.
The quantity of green beans you blanch at once is another factor to think about; the cooking time may need to be extended if you’re cooking a lot of green beans at once.
Common Blanching Mistakes
As easy as blanching may seem, there are several mistakes newbies make when blanching for the first time.
A common error is not using enough water. During the blanching process, the food should be completely submerged in boiling water. Overcooking and undercooking can occur in different parts of the food if the water level is too low.
Mistake number two is usually not heating the water beforehand. Before you put your food in the water, make sure it’s at a full boil. Overcooking or loss of color and texture may occur if the food is blanched for too long because the water is not hot enough.
Another common error occurs when people fail to properly chill the food after blanching properly; after removing the food from the boiling water, they should immediately transfer it to an ice water bath to stop the cooking process and preserve the color and texture. Overcooking can occur if the food is not cooled quickly enough.
Something else kitchen newbies can do when blanching is overcrowding the pot, which causes the boiling water to cool down and cook the food unevenly. If you want to blanch more green beans or any vegetable per batch, you should use a bigger pot with more water.
Another common oversight is taking the food out of the boiling water before checking to see if it is done cooking. It is essential to check the food to make sure that it is cooked all the way through without becoming overdone.
How to Check for Doneness When Blanching
When blanching food, there are a few ways to tell if it’s done. Picking out a piece and biting into it is the most typical strategy. This will help you determine whether or not the food needs to be blanched for a longer period of time.
A kitchen thermometer can also be used to determine if the food is at the proper internal temperature. To make sure the food is cooked all the way through, take the temperature of the thickest part of it.
Green beans, for example, can be checked for doneness by removing one and bending it; it should be tender but still offer some resistance. You can also give it a quick nibble to gauge its al dente-ness.
What you can do is take a small batch of green beans to use for a trial blanch. From there, adjust the blanching times and amount per batch accordingly.