Blanching corn in a bath of boiling water before continuing on to its final culinary destination improves its flavor and preserves its vibrant color. However, before you send it off for further processing, you must first determine how long it takes to blanch them.
When blanching corn for freezing, the corn should spend about 3 minutes in a pot of near-boiling water. As for blanching corn for immediate cooking, it should take around 7 minutes. The exact blanching times depend on the size of your corn.
In this guide, I’ll explain what blanching is and why you would need to blanch corn, as well as provide a step-by-step guide on how to blanch corn for freezing and cooking.
What Is Blanching?
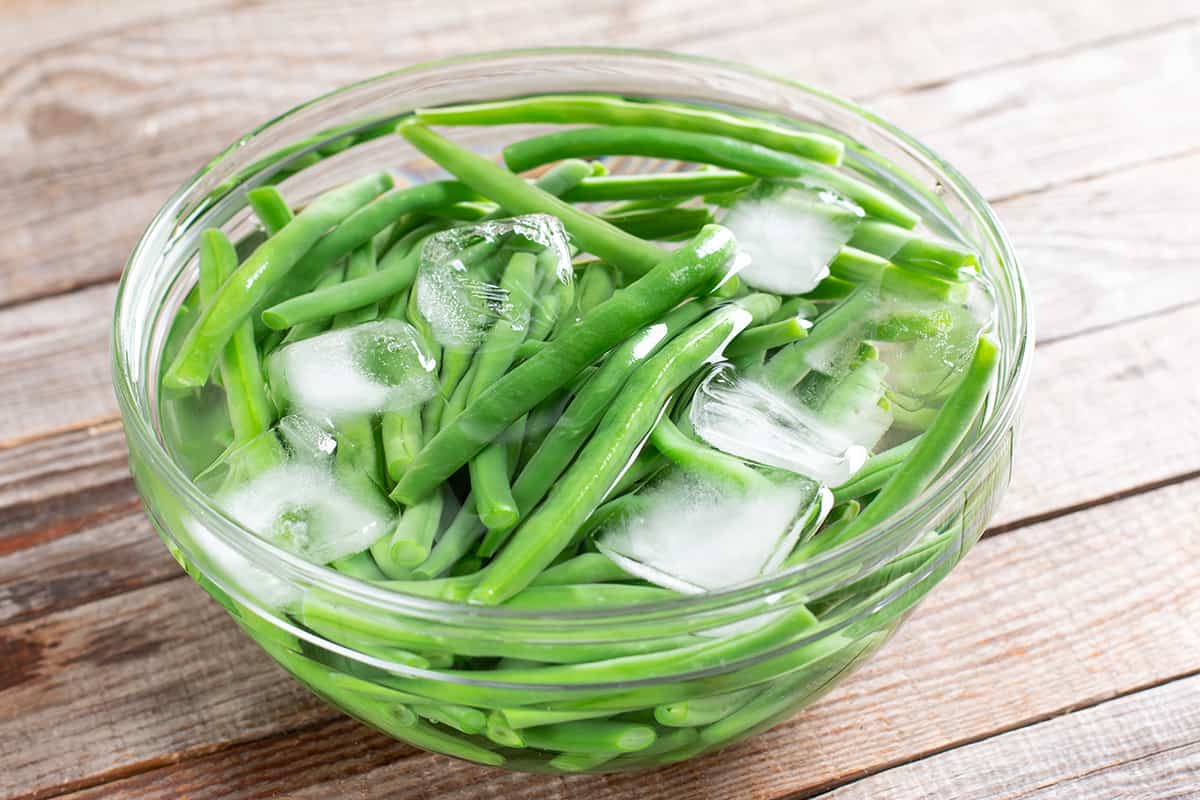
Food is “blanched” by being submerged in steam or boiling water for a short period of time before being cooled rapidly in ice water. This is a common step in preparing fruits, vegetables, and nuts for further processing, such as freezing, drying, or canning.
Vegetables, fruits, and nuts are typically blanched to preserve their flavor, texture, and color over time by stopping the enzyme actions that cause spoilage. Line cooks, short-order cooks, and chefs all use this time-tested method, which can also be used to prepare ingredients in advance.
Putting the boiled ingredients in a bowl of ice water immediately stops the cooking process, preserving all of the flavor and tenderness. Ingredients are typically blanched before being stored in the freezer, dehydrated, or canned.
Why Would You Need to Blanch Corn?
You can keep the corn’s flavor, texture, and nutrients by blanching it before you freeze or cook it. This can prevent the corn’s natural sweetness and tenderness from deteriorating over time by reducing or stopping the action of enzymes responsible for that process.
Corn kernels can have their skin removed through blanching, making them more manageable to peel or cut. The process also has the potential to eliminate any surface bacteria or microorganisms, making the corn fit for human consumption.
How to Blanch Corn for Freezing
To blanch corn for freezing, you will need:
- A large pot of boiling water with enough water to cover the corn
- A bowl of ice water with enough ice and water to submerge the corn
- A slotted spoon or tongs
- Bring a lot of water to a full boil in a big pot.
- Husk and wash the ears of corn while waiting for the water to boil.
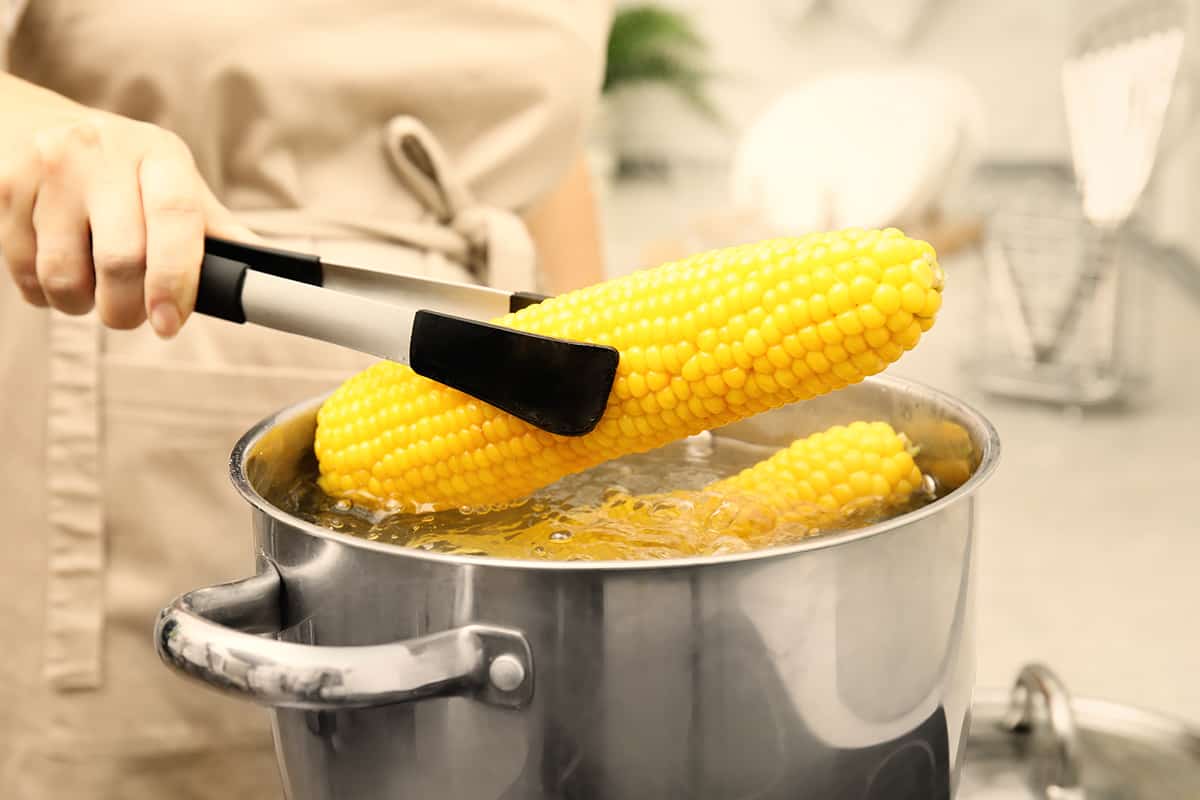
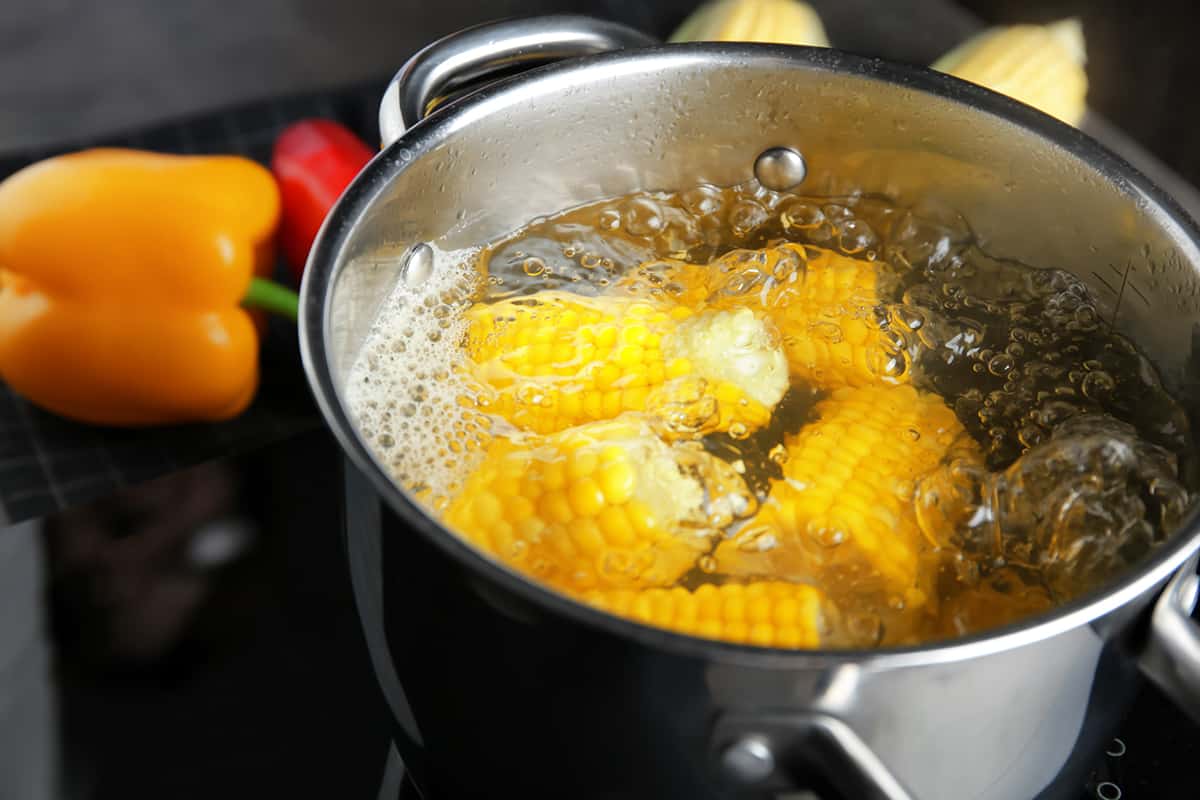
- Carefully drop the ears of corn into the boiling water.
- You should begin timing as soon as you add the corn. Blanching times range from 3 minutes for small ears to 5 minutes for large corn.
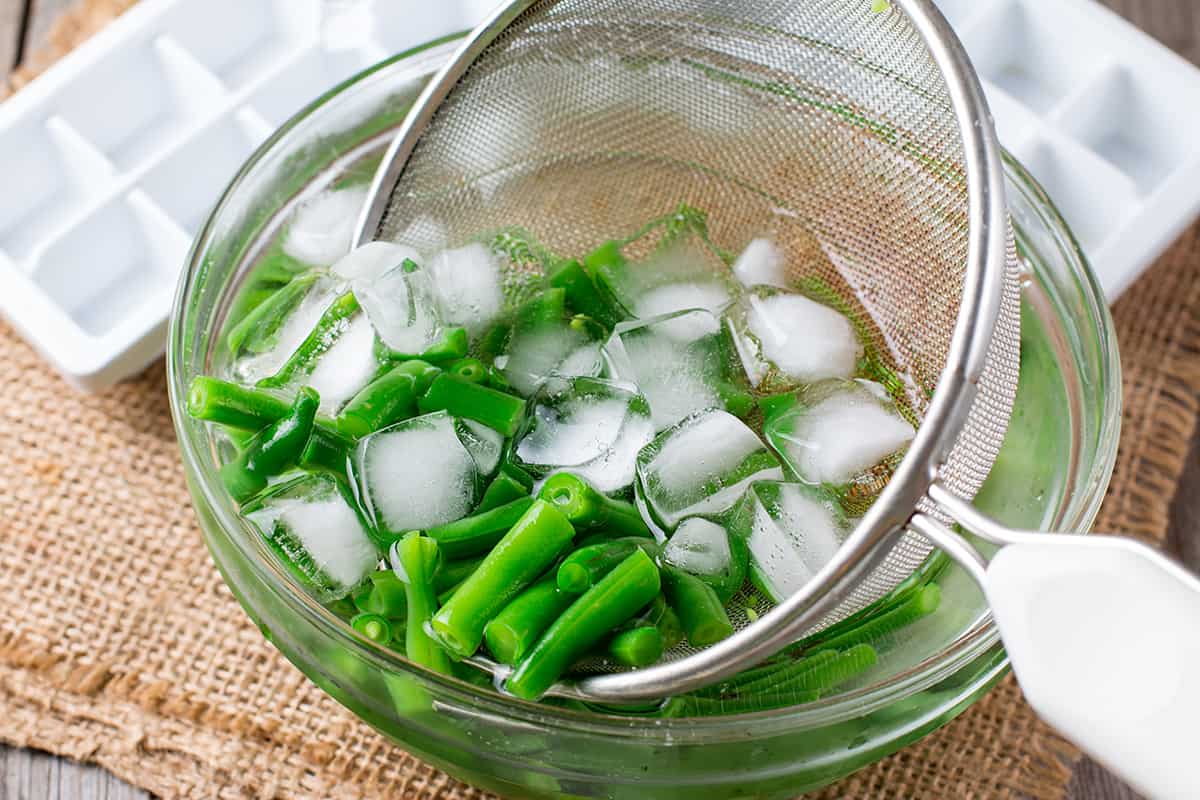
- When done blanching, remove the ears of corn from the boiling water with a slotted spoon or tongs and place them in the ice water.
- Allow the corn to cool in the ice water for at least 3 to 5 minutes.
- Take the corn out of the ice water and pat it dry with a towel or paper towel once it has cooled.
- Corn can be stored in the freezer for up to a year if it is packaged in airtight containers or freezer bags with as much air removed as possible.
How to Blanch Corn for Cooking
The only difference between blanching corn for freezing and for cooking is that the former is done in less time. This is because you do not need to cook the kernels as much prior to storage. In addition, blanching corn for longer will produce more tender kernels that are easier to remove from the cob.
So, if you want to blanch corn for further processing, the corn should spend about 2 to 3 minutes longer in the pot of boiling water. Additionally, you should leave the corn for about 2 minutes longer in the bowl of ice water.
Blanching Times Based on Size
Corn ears of varying sizes and stages of maturity require different blanching times. Depending on the size of the ears, the following are some ballpark estimates for the necessary blanching times:
- Small ears (less than 6 inches long)—3 minutes
- Medium ears (6-7 inches long)—4 minutes
- Large ears (7 inches or longer)—5 minutes
These recommendations are meant as a starting point; the exact amount of time needed to blanch the corn will depend on a number of factors, including your preference and how the corn will be used. To achieve a firmer “al dente” texture, for instance, your corn should spend less time in the pot of boiling water. If you’re not sure how long the corn needs to be blanched, you can always do a trial blanch with a few spare cobs.
How to Freeze Corn

By freezing corn, its shelf life can be extended and its flavor, texture, and nutritional value preserved. Here are some guidelines for freezing corn properly:
- Blanch the corn first— To keep the corn’s vibrant color, robust flavor, and tender texture after freezing, blanching is recommended. Blanch the corn using the procedure described above.
- Dry the corn thoroughly— After blanching and shocking, pat the corn dry with a clean towel or paper towel. Corn loses quality and experiences freezer burn if there is too much moisture in it before it is frozen.
- Package the corn properly— Package the corn in freezer-safe containers or airtight bags. It’s important to get rid of as much air as you can before putting something in the freezer. If a vacuum sealer is available, you can use that to get rid of even more air before sealing the bags.
- Label and date the corn— Put the type of corn and the date it was frozen on the labels. Keep tabs on how long the corn has been in the freezer so you can use it before it spoils.
- Store the corn in the coldest part of the freezer— Frozen corn should be kept at or below 0°F (-18°C). This will help maintain the corn’s quality and flavor for as long as possible.