Cook a turkey in a convection oven? It may sound like a strange suggestion, but it works! We’ll into the detailed step to do it properly.
Prepare the Turkey
Before you put the turkey in your convection oven, you should make sure it is cleaned, prepared, and has the right size. Remove the giblets and neck from inside the cavity of the turkey. Rinse your turkey with cold water in a sink or large pot, then dry it thoroughly with paper towels.
Some people like to brine their turkeys before cooking them; others don’t. If you like stuffing your bird with loaves of bread or herbs and other seasonings, now is when you want to do that too (but don’t stuff it until just before cooking).
Finally, some people like to truss their turkeys for even cooking; if so, follow whatever instructions come with your particular brand of trussing string/kit/etc., being careful not to cut into any internal organs during this process!
Prepare a Rack
Before you cook your turkey, you’ll need to prepare a rack. This will allow the turkey to rest while it cooks and keep it from sitting directly on the bottom of your roasting pan.
You can use a metal rack or just crumple up some foil and place that on the bottom of your roasting pan instead.
Preheat the Oven to 325°f (163°c)
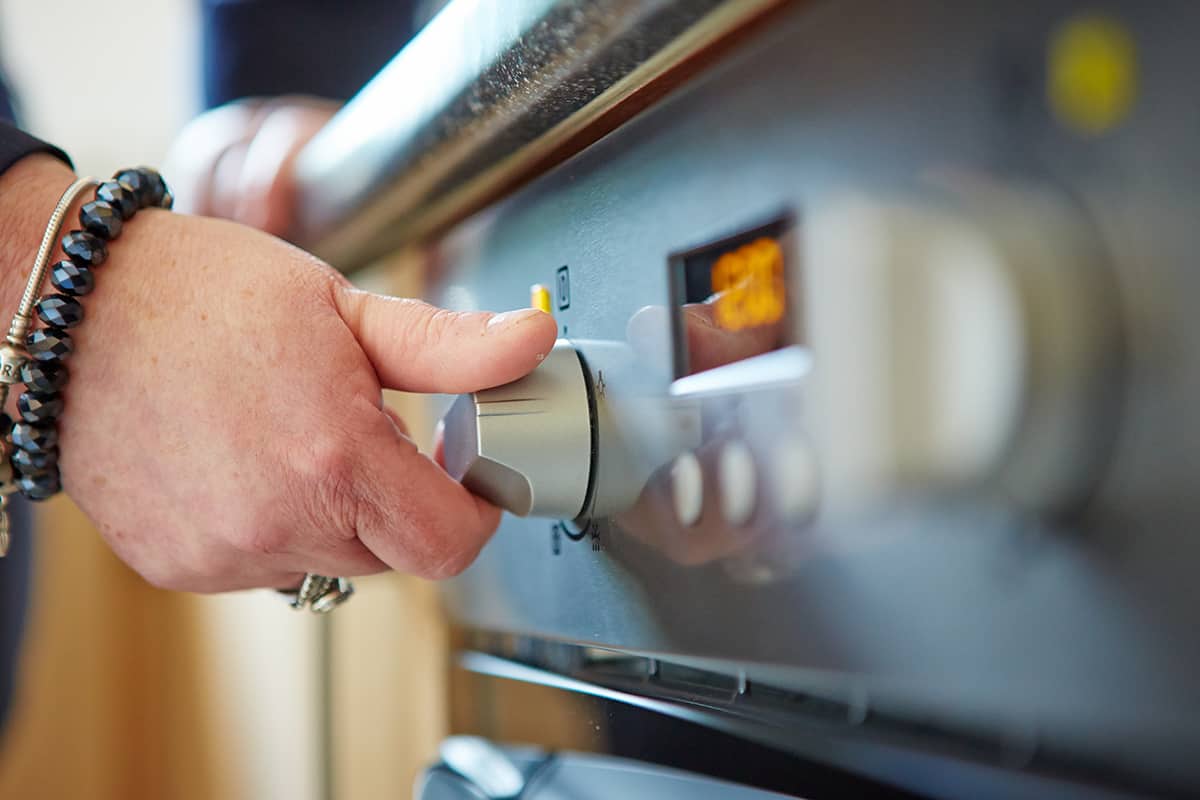
Don’t open the door unnecessarily, or you’ll lose much-needed heat. Place a meat thermometer in the thigh of your turkey to ensure it’s cooked thoroughly.
Season the turkey
Season the turkey inside and out before cooking. Sprinkle salt and pepper all over the turkey, but also consider adding any other herbs or spices you’d like. A little butter on the inside can help keep it moist as well.
Prepare a Baking Sheet
The most important part of cooking a turkey is using the right equipment. To avoid burning the bottom of your bird or having it stick to its pan and make a mess, use baking sheets.
These will help you get your food out of the oven more easily, as well as protect its delicate surface from any burns or scratches. They’re also great for catching any drippings that might be left over from cooking!
A baking sheet makes cleanup easier by providing you with an easy place to put dirty pots and pans—you can just slide them onto one of these trays and let them sit until they’re done soaking in hot soapy water later on in the evening.
Place the Turkey on The Baking Sheet
Make sure it is centered in the middle of the pan and not too close to any edges. This will allow for even heating throughout and prevent overcooking at the edges.
You may also want to place a baking rack or rack of some sort underneath your bird so that air can circulate beneath it as well. If you have room, this will let the heat get closer to all parts of your turkey, making sure it gets cooked evenly throughout rather than just browned on top like when roasting in an open pan (just make sure not to overfill your oven!).
Don’t crowd the pan; leave space between each piece of food so that heat can reach them all evenly.
You don’t need much oil when cooking with convection since there is no direct contact between food and tray (the oven itself does most of the work).
Cover the Turkey in Aluminum Foil, if Desired
Cover the turkey in aluminum foil, if desired. This is called “tenting,” and it helps prevent the breast from drying out while allowing the heat to circulate around the entire turkey. You can do this for up to an hour before you remove it and let your bird finish cooking uncovered.
If you don’t have time for this step or don’t feel like tented aluminum foil is necessary, just make sure to turn your oven down a couple of degrees at least 30 minutes before you think your turkey will be ready (usually about two hours after it goes into the oven). This will help keep things moist without having to cover your bird with foil all day long!
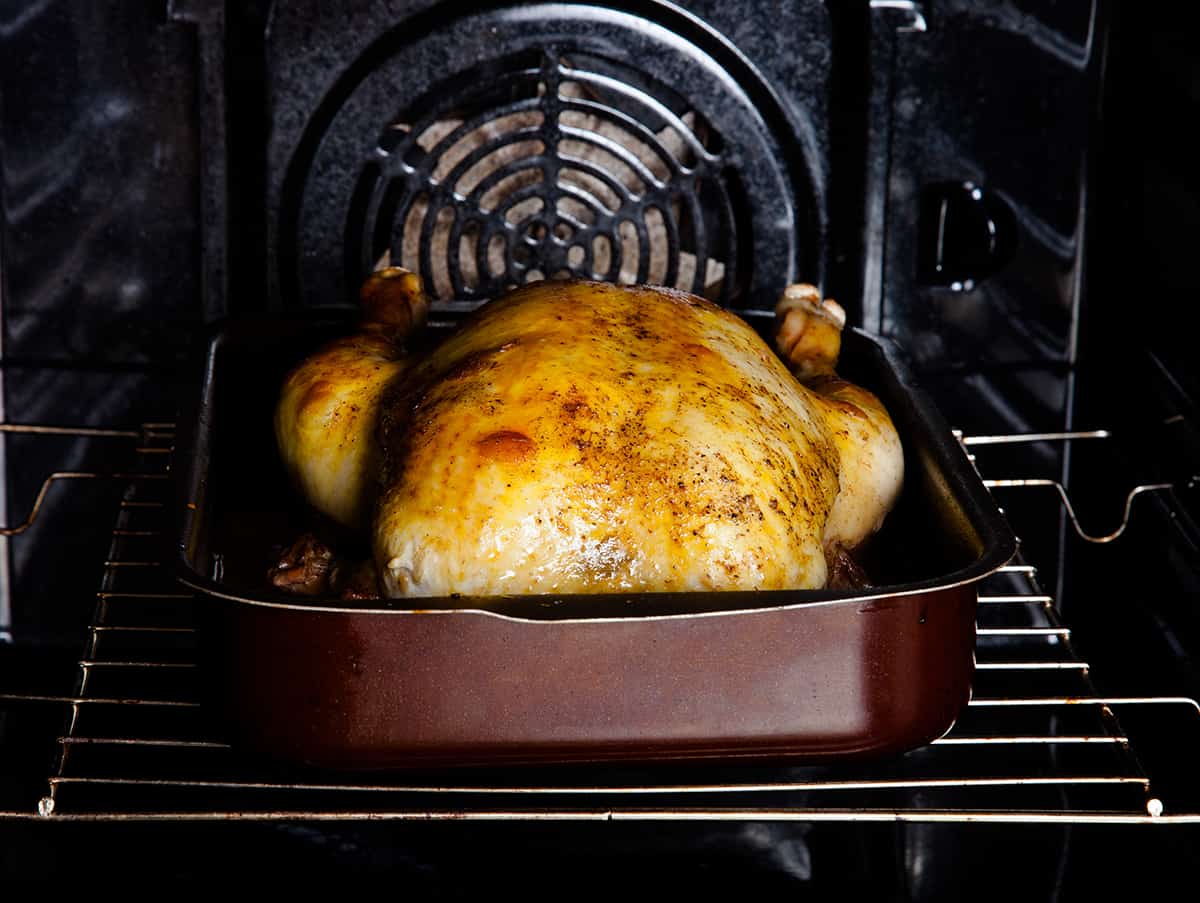
Place the Turkey in The Oven
Cook at 325F for 1.5-2 hours. Do not open the oven to check on your turkey until it reaches an internal temperature of 165F (74C) or higher, or else you will lose some of your heat and moisture, which can dry out parts of your bird’s skin as well as cause overcooked meat in other areas.
Use a meat thermometer to monitor cooking progress and get a better idea of when it’s time to remove the turkey from the oven so that you can make sure it’s cooked thoroughly yet still juicy enough to be delicious!
Check the Temperature of the Turkey.
Check the temperature of the turkey with a meat thermometer. Insert the thermometer into several places, including:
- The thickest part of the breast and thigh
- The thinnest part of the breast and thigh
- Inside stuffing (if present)
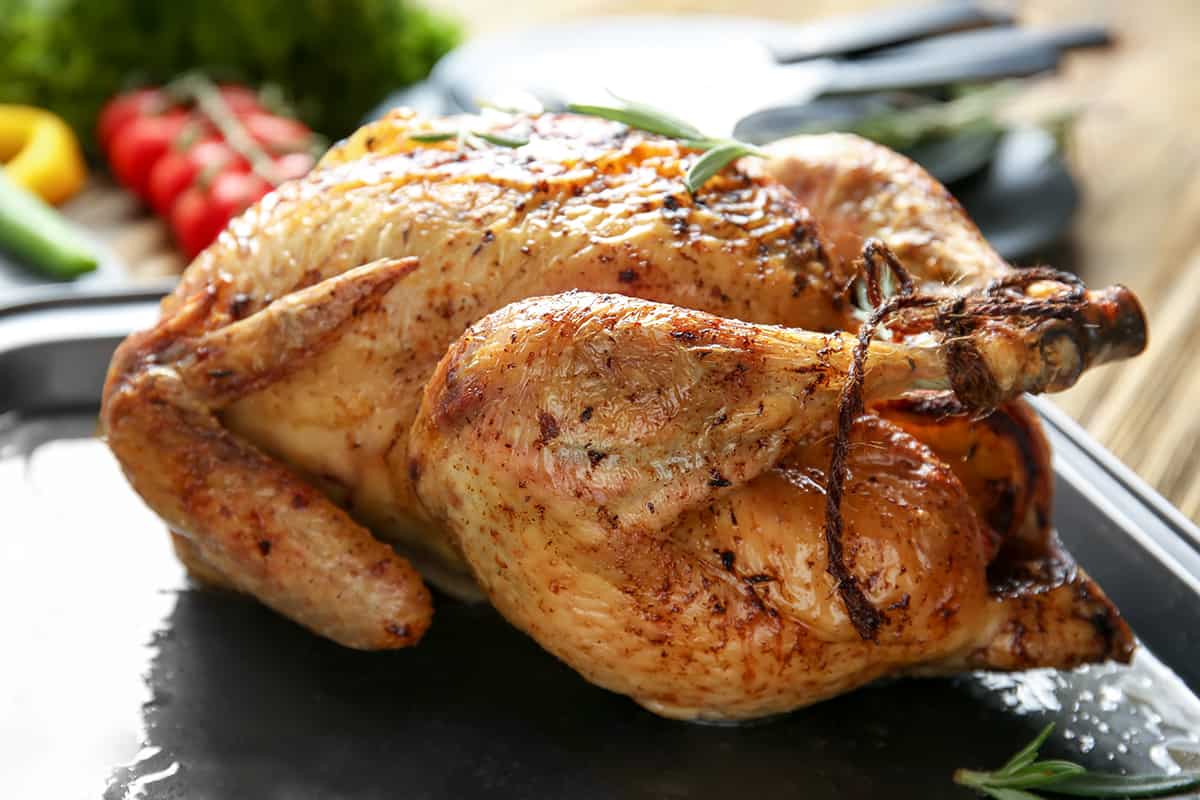
Serve and enjoy!
Now that you’ve successfully roasted your turkey, it’s time to serve and enjoy! Let the turkey rest for 20 minutes before carving. This will allow the juices to redistribute throughout the meat, allowing for a more tender cut.
Tips on Preparing and Cooking Your Turkey in a Convection Oven
Roast it at a very high temperature
Roasting a turkey at 400°F is the fastest method, and it’s also one of the most common. To do this, place your bird in an oven preheated to 400°F, then set your timer for 20 minutes per pound.
If you’re cooking a stuffed turkey (and you really should be), add 15 minutes for each extra pound of weight. After about 3 hours (or when the temperature in the thigh reaches 170°F), remove from heat and let rest for 15 minutes before carving.
Be careful not to overcook it
When it comes to turkey, don’t rely on the pop-up timer or the color of its inner thigh meat. The latter can be tricky because you have to cut into it and see if it’s red or pink—but don’t do that until after you’ve taken the bird out of the oven!
The easiest way to tell if your turkey is cooked is with a meat thermometer inserted into its thickest part: The temperature should be 170F for dark meat and 180F for white meat. If you forget your equipment at home, use this trick: Press firmly down on top of each breast; if it feels soft (like raw chicken), then continue cooking; if not, then take it out!
Brine it overnight
If you’re going to cook your turkey, you might as well do it right. Brining the bird overnight before roasting will give it a nice flavor and keep the meat moist. The main reason why people brine their turkeys is that it gives them a more flavorful result. However, there are also other benefits to doing so:
- Brining adds flavor to the meat through osmosis—the process by which liquids are absorbed into foods. As water moves across the surface of proteins in meat, salt and sugar molecules enter those same proteins and change their structure, making them taste better without adding anything else to your dish!
- Brining makes sure that every part of your turkey (including all those nooks and cranberry-spiced crannies) stays juicy instead of dry once cooked. The salt content in most brines helps keep moisture inside cells throughout cooking, so everything stays tender even if overcooked slightly; plus, ingredients like sugar act as an antioxidant that prevents oxidation from occurring during cooking processes like roasting or frying up some bacon strips for a garnish (I strongly recommend doing both!).
Thaw it in the refrigerator–never on the countertop
Whether you’re planning to cook a small bird or a whole Thanksgiving feast, you’ll want to make sure your turkey is thoroughly thawed before cooking.
Why? For starters, an unbaked chicken will take on the unpleasant taste of raw meat while cooking and might even spoil if cooked without thawing first. If the bird has been frozen for too long, it will be dry and tough when cooked—so make sure that doesn’t happen!
Use an oven bag to keep it moist
A turkey is a large bird, and it can dry out while cooking. An oven bag is the best way to keep it moist. Oven bags come in different sizes, so you’ll want to make sure your turkey fits into whatever size you choose. A large turkey will fit in a large oven bag, while a small one should be able to fit into a small one.
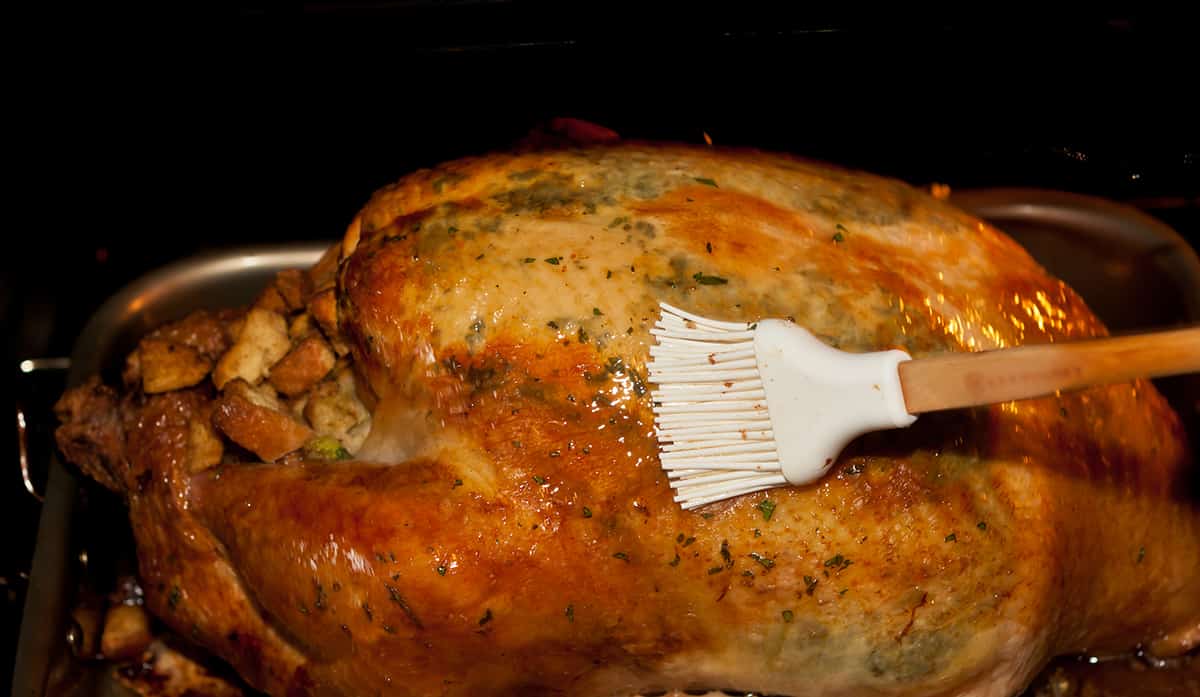
Baste it frequently
You can baste your turkey with a spoon or a bulb baster. The latter is a long, narrow tube that you usually use to squeeze out the last bits of ketchup from an empty bottle. There are two big benefits to using it here: it lets you get at all sides of the bird and holds enough juice so that you won’t have to refill too often.
Basting helps retain moisture in the meat and develop crispy skin. By rubbing juices over the surface of the turkey while it cooks, you’re creating a sort of protective barrier against burning—and making sure that every single bit gets some attention!