I love my Dutch oven. It’s the only kitchen item I both use and display prominently. Unfortunately, it’s starting to look a little rough with all those chips on the enamel!
But instead of shelling out another $300 for a new one, I’ve decided to try fixing it myself. Maybe you can learn from my successes and failures in restoring this beloved cookware instead of replacing it!
Things You Need to Fix a Chipped Enamel Dutch Oven
Here’s what you’ll need:
- Enamel Dutch oven
- Grinding tool
- Paint touch up kit
Enamel Dutch Oven
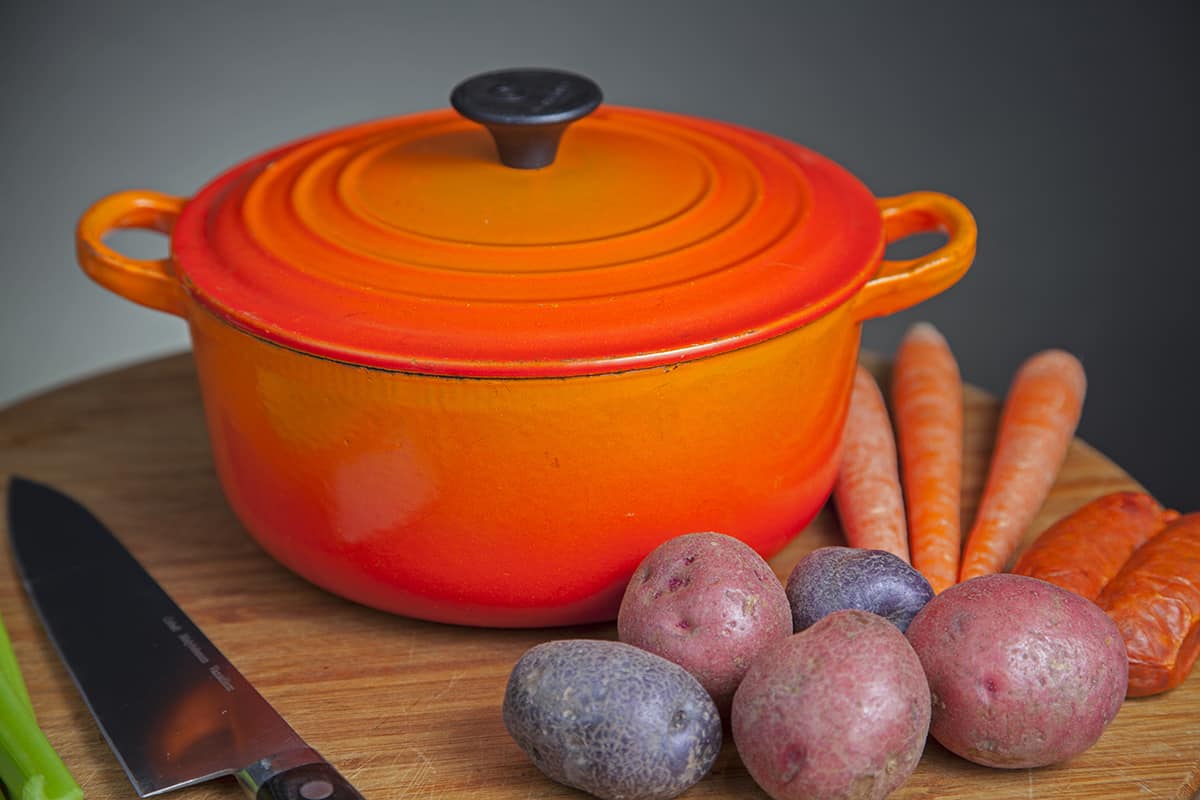
An enamel Dutch oven is a versatile piece of cookware that’s perfect for soups and stews. But what if your enamel Dutch oven chips? Fortunately, repairing the chip can be as easy as re-seasoning the pan.
Enamel is a type of metal that has been baked onto the surface of another metal (usually cast iron). It’s very durable, but it can still chip if you’re not careful. If you live in an area with hard water or use soap to wash your pots and pans, this may happen more frequently than it would otherwise. To make sure you don’t have any problems down the road with chipping enamels, here’s how to fix them:
Grinding tool
So, you’ve got a chipped enamel Dutch oven. Now what?
The first step is to find the right grinding tool. You can either buy an electric grinder or get a manual one. For this particular project, I recommend getting yourself an electric one since it’ll be easier to use on your pot lid than a manual one would be. Once you have that chosen, grind down all of the edges, so they’re nice and even with each other again!
Paint touch up kit
A paint touch-up kit is another option that can be used to cover the blemishes in your enamel cookware. A variety of colors are available, and the process for using it is similar to that of using a car touch-up kit.
Choose a color that closely matches the color of your cookware so you won’t have to worry about it being noticeable when using it.
How to Fix a Chipped Enamel Dutch Oven
Start by cleaning the chip. If you can, remove the enamel pot from your stovetop and place it in a sink filled with warm soapy water. Use a sponge or scrub brush to get all of the dirt out of the chip, then rinse well and dry thoroughly before moving on to step two.
Next, follow instructions for the touch-up paint that you’ve chosen (the manufacturer will usually have some recommendations). It’s important that you do not use acrylics or latex paints; these will only make matters worse when used to repair an enamel Dutch oven because they’re too watery and could cause further damage if they seep into cracks in your Dutch oven’s glaze.
When applying paint to your chipped Dutch oven, apply just enough so that there’s barely any visible white enamel left around its edge—you don’t want too much color showing through!
How to Protect Enamel Dishes
Now that your enamel Dutch oven is looking new again let’s talk about how to protect it.
- Use only wooden or plastic utensils.
- Don’t subject enamel dishes to the heat of a microwave, as the intense heat can damage the surface of your dishware.
- Avoid abrasive cleaners that could scratch your enamelware’s surface, including steel-wool pads and scouring powders, which abrade away at the coating over time; instead, wash with warm soapy water by hand in gentle circles to keep your cookware looking like new!
- Wash enamel cookware by hand. Never put it in the dishwasher, as the heat is too intense and can cause your pan to warp.
- Use a sponge and dishwashing liquid to clean it. Always use hot soapy water when cleaning enamel cookware, as milder cleaners can damage the enamel coating over time (and who wants that?).
- Dry it with a soft cloth or paper towel immediately after washing before you put it away for storage (as opposed to letting it sit wet overnight). This will help prevent water spots from forming on the surface of your piece later on.
Don’t let enamel cookware boil dry
The next step in keeping your enamel cookware looking great is to avoid letting it boil dry. This can happen when you leave water in the pot and don’t dry it out before putting it away. To help prevent that, keep a plastic dish rack nearby and drain your pots into the rack after use.
This will also help prevent rusting on the bottom of your pans if you have one that doesn’t have a nonstick coating on its bottom (not something I recommend!).
If you already have an old-fashioned metal sink with no countertop hooks near where you normally cook, consider getting a wall-mounted drying rack for those times when drying dishes isn’t as convenient as simply leaving them in their usual place. Or try using some cheap dollar store hangers!
They’re great for holding pots up high enough above other things, so they don’t drip onto anything else while still being easy enough to reach from anywhere near where I’m cooking or baking without having to move anything too far around my counter space (which is what happened last time).
You may also want to use glassware instead of plastic when serving hot beverages like coffee or tea because this will ensure there aren’t any harmful chemicals leeching into whatever drink might be served in those containers over time due to heat exposure during regular use; plus they’ll look nicer too! It’s nice having something pretty against which we can display our crafts 🙂
Don’t turn the fire up too high when you’re cooking with enamel pots and pans
The most important thing to remember when cooking with enamel pots and pans is that they need to be treated gently. Enamel-coated cookware has the potential to be durable, but it is still delicate.
If you let your cereal burn or let your milk boil over, you’ll damage the enamel coating on your pot or pan by exposing it to high heat and burning food particles.
You also want to avoid letting water sit in an empty pot for too long before washing it out—this could result in mineral buildup between the surface of the pan and its interior coating, which can make cleaning more difficult in turn.
A good trick for avoiding this situation is having a lid handy so that you can cover your pots while they cook; this allows steam from boiling foods like spaghetti sauce or chili beans to build up inside without causing additional moisture loss from evaporation (which can result in dryer foods).
Store your enamel tableware carefully
Enamel is delicate and can be damaged by improper storage, so it’s important to make sure you’re storing your enamel in the right way. We recommend lining your shelves with felt or using a soft cloth, as this will protect the surface of the item from scratches.
Don’t stack enamel tableware
Also, remember that if you put anything on top of an enamel item (like another dish), it could scratch the surface and cause damage to your tableware.
Instead, use stackable plastic containers for organizing them at home or when transporting them somewhere else (like bringing a set on vacation).
Take extra care with light, patterned enamel pieces
This is a good rule of thumb: If you have a light enameled dish and you want to be sure it stays in tip-top shape, follow these guidelines:
- Avoid using abrasive cleaners on the piece. That includes bar soap and dish detergent. Abrasive cleaners can scratch the surface of the enamel or wear away at its color. Instead, use mild soaps and warm water with a sponge or cloth when cleaning your dishes. Be sure to dry them thoroughly after washing them so that water doesn’t pool inside them (and cause rust).
- Store your light enameled pieces carefully—use velvet-lined drawers or caddies, for example—and avoid stacking them together in cabinets where they might bang against one another accidentally.
- Don’t use these types of pieces for cooking acidic foods like tomato sauce or spaghetti sauce since acids can eat away at the surface over time (you should also avoid putting any kind of acid directly on top of enameling). This includes storing leftovers in these types of dishes as well; instead, transfer leftovers into glass containers right away after taking out what you need!
- Don’t drop anything made out of fragile materials onto hard surfaces either (you know who I’m talking about), especially if they’re made out of glass material like Pyrex cookware sets which have been known to break apart when dropped onto concrete floors.
If you love this article, be sure to check these