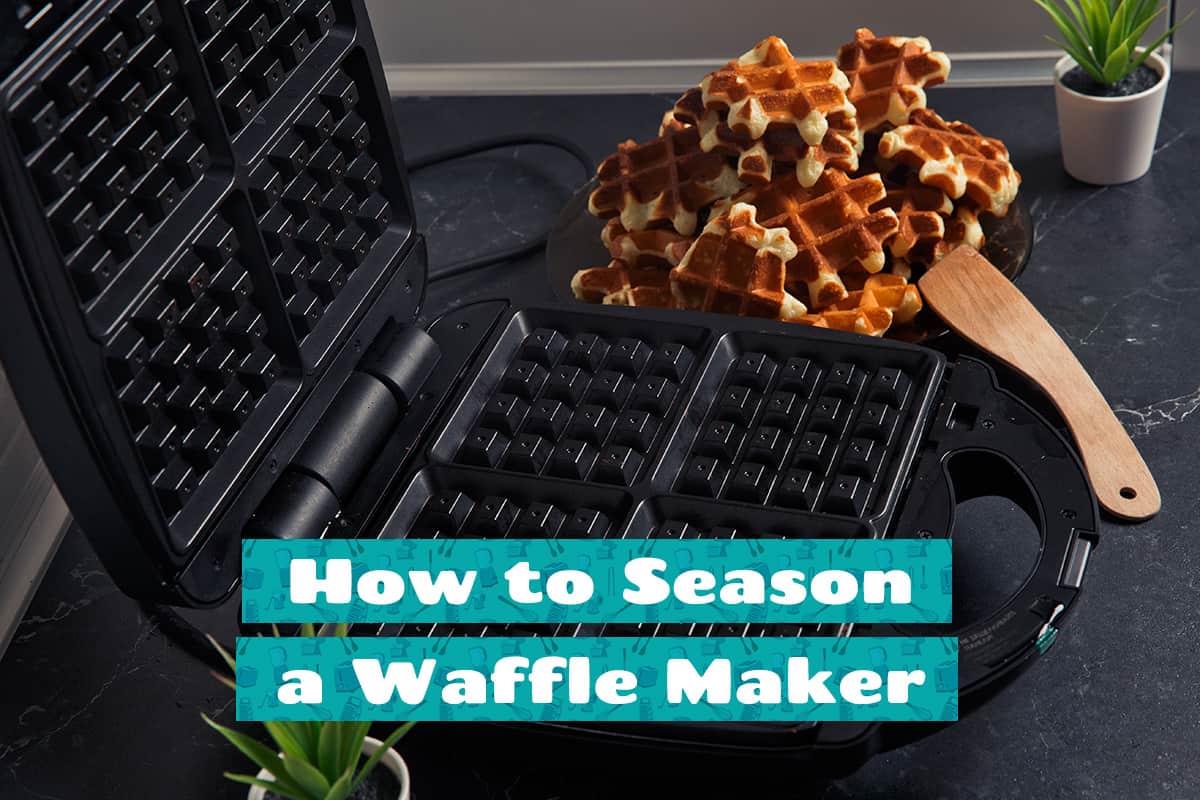
Everyone has fond memories of biting into a perfect waffle that’s crisp on the outside and soft inside. But to recreate that magic at home, your waffle maker needs a little TLC, known as ‘seasoning.’
Seasoning builds up a protective layer on the waffle iron that not only makes your waffle easy to remove but also enhances its flavor. It also prevents rusting, ensures an even heat distribution, and prolongs the life of your waffle iron. Here are the steps for seasoning a waffle maker:
- Clean it thoroughly to remove manufacturing residue
- Coat with suitable oil (high smoke point)
- Heat until hot on a stove (preferably an oven)
- Wipe away extra oil
- Cool down before storing
In this guide, we’ll explain each step in more detail, discuss the reason for seasoning your waffle maker, and offer tips to get it right every time.
Why You Should Season Your Waffle Maker
Every homeowner dreams of serving up those perfect waffles: crispy on the outside and fluffy inside. Seasoning your waffle maker is the golden ticket to that dream. But why?
Protection from Rust
Like your favorite cast iron skillet, waffle makers can rust. Seasoning creates a protective layer, shielding the iron from moisture.
Non-Stick Goodness
Stuck waffles? No thanks! Seasoning builds a non-stick surface. So, your waffles slide out with ease, saving you from the dreaded waffle-sticking tragedy.
Enhanced Waffle Flavor
It’s not magic, but seasoned waffle irons can make your waffles taste better. How? The oil used in seasoning can add a subtle richness.
Longer Appliance Life
Seasoning isn’t just about today’s breakfast. It’s an investment for many breakfasts to come. This process maintains your waffle maker, ensuring it stays in tip-top shape for longer.
Even Heating
Nobody likes a patchy waffle. Seasoning helps in achieving an even heat distribution, giving your waffles that consistent golden hue.
Step-by-Step Seasoning Process
It’s time to dive into the nitty-gritty of seasoning your waffle maker. Follow this guide, and you’ll be a waffle wizard in no time.
1. The Clean Slate Start
Before we begin, let’s make sure your waffle maker is squeaky clean. Residues from previous uses can sabotage the seasoning process.
Method: Use a damp cloth to wipe the plates. For stubborn spots, a soft brush or toothbrush works wonders. Refrain from using harsh chemicals or soap; water usually does the trick.
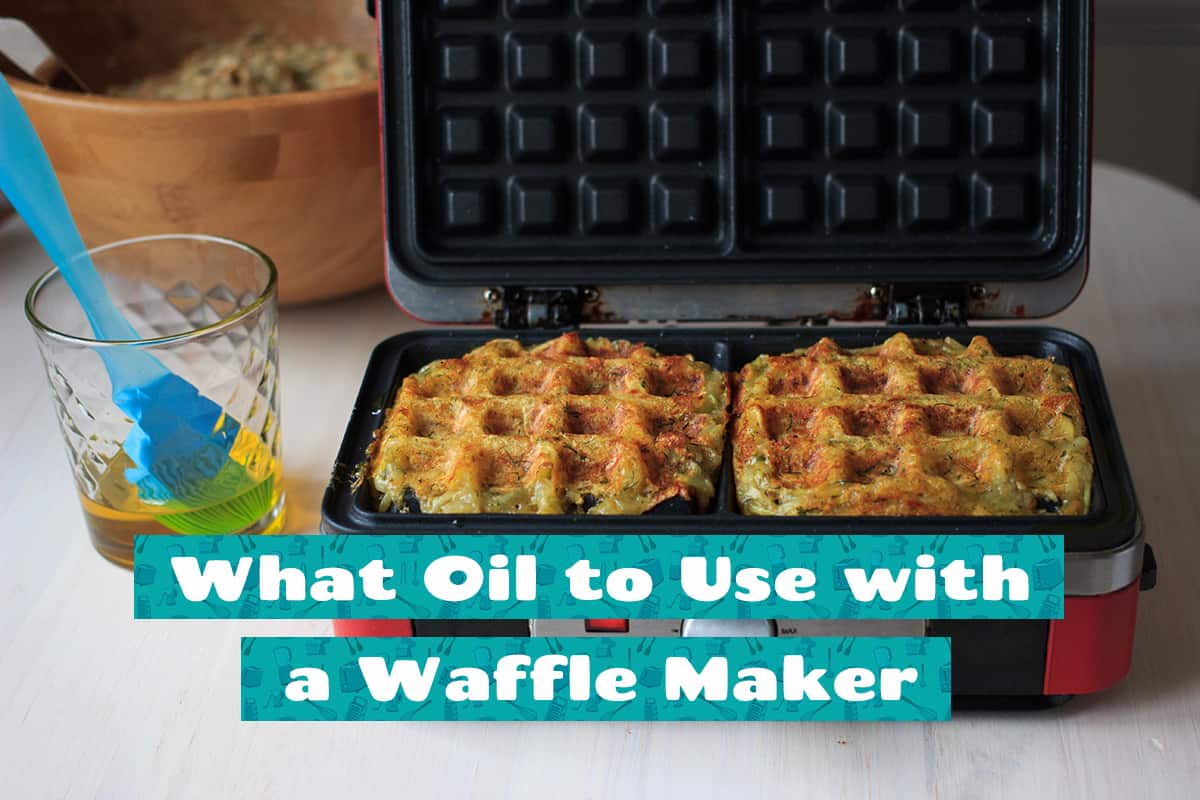
2. Picking the Right Oil
The oil you choose matters. While Aunt Edna swears by bacon grease, we recommend vegetable-based oils.
Top Picks: Grapeseed, canola, and flaxseed oil are favorites. These oils have high smoke points, meaning they can handle the heat without going all smoky on you.
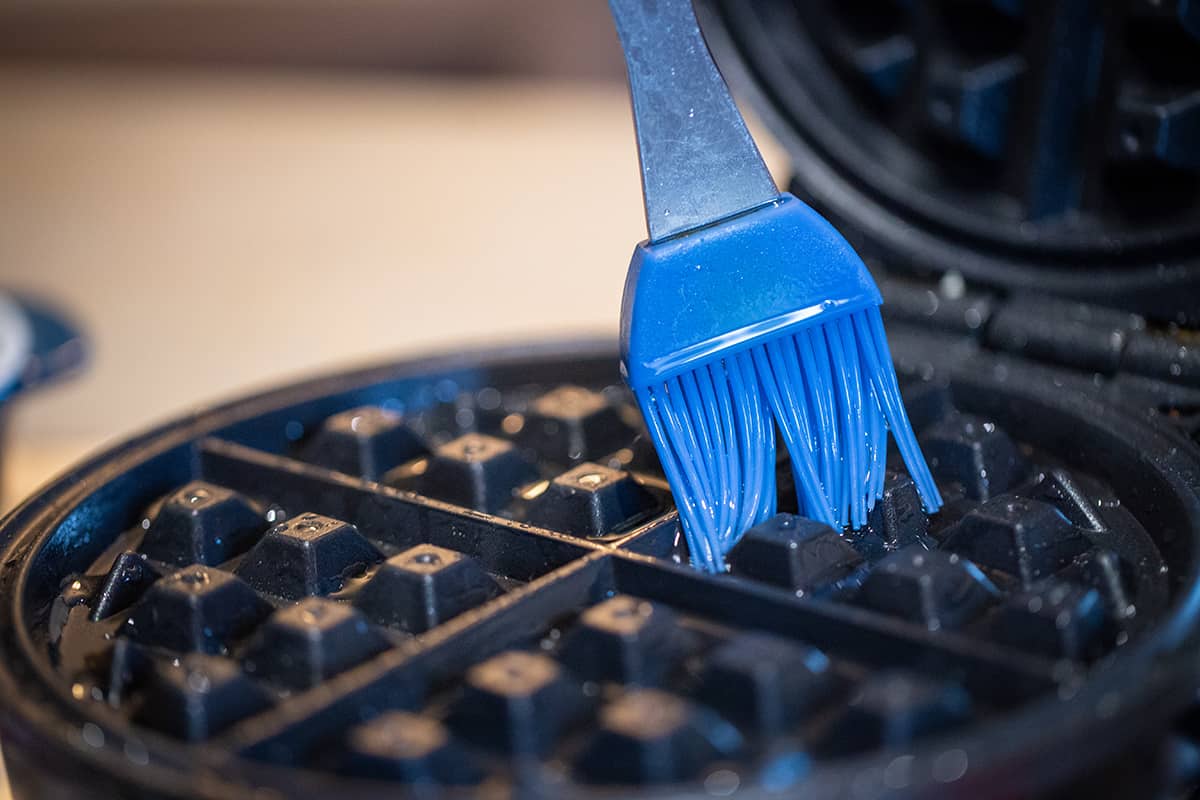
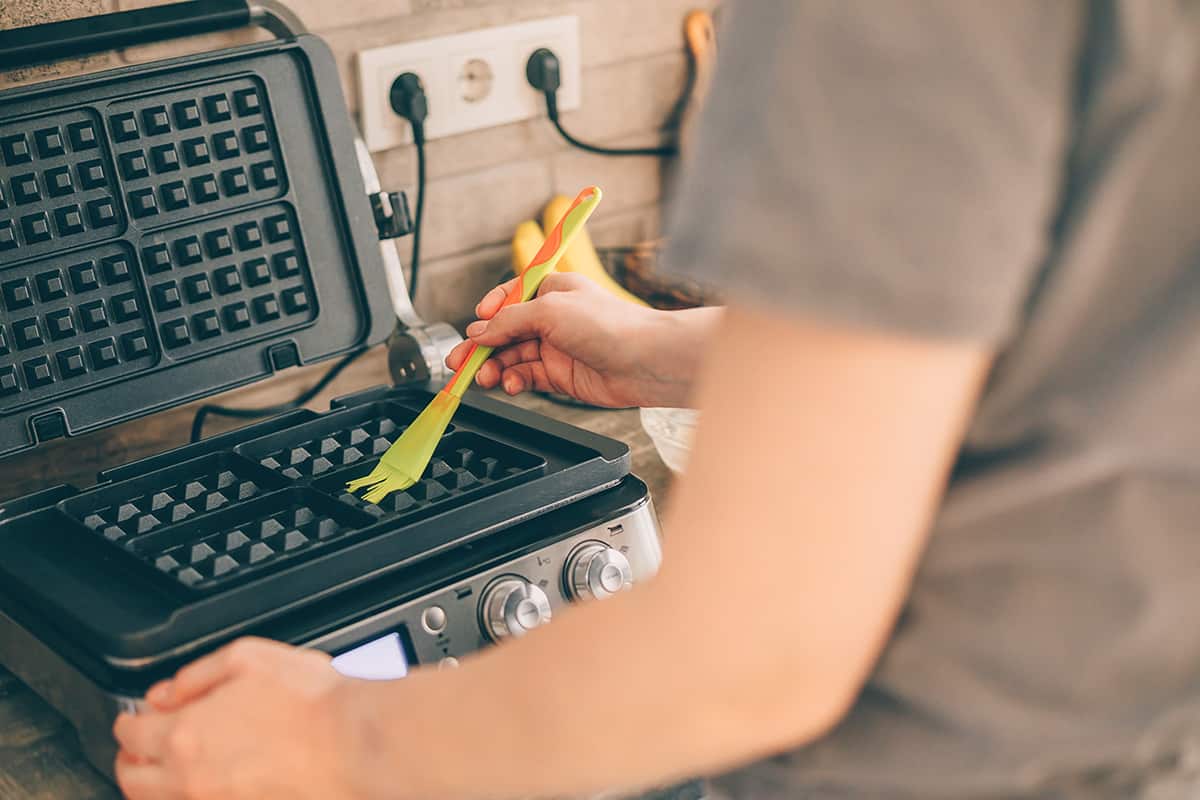
3. Lightly, Yet Thoroughly, Oil It Up
This isn’t a salad; you don’t want to drench your waffle maker in oil.
Method: Pour a tad bit of oil on a paper towel or soft cloth. Gently rub it onto the waffle plates, so a thin layer coats every nook and cranny.
4. Turn Up the Heat
Now, we cook! Well, sort of. You’re cooking the oil into the waffle iron.
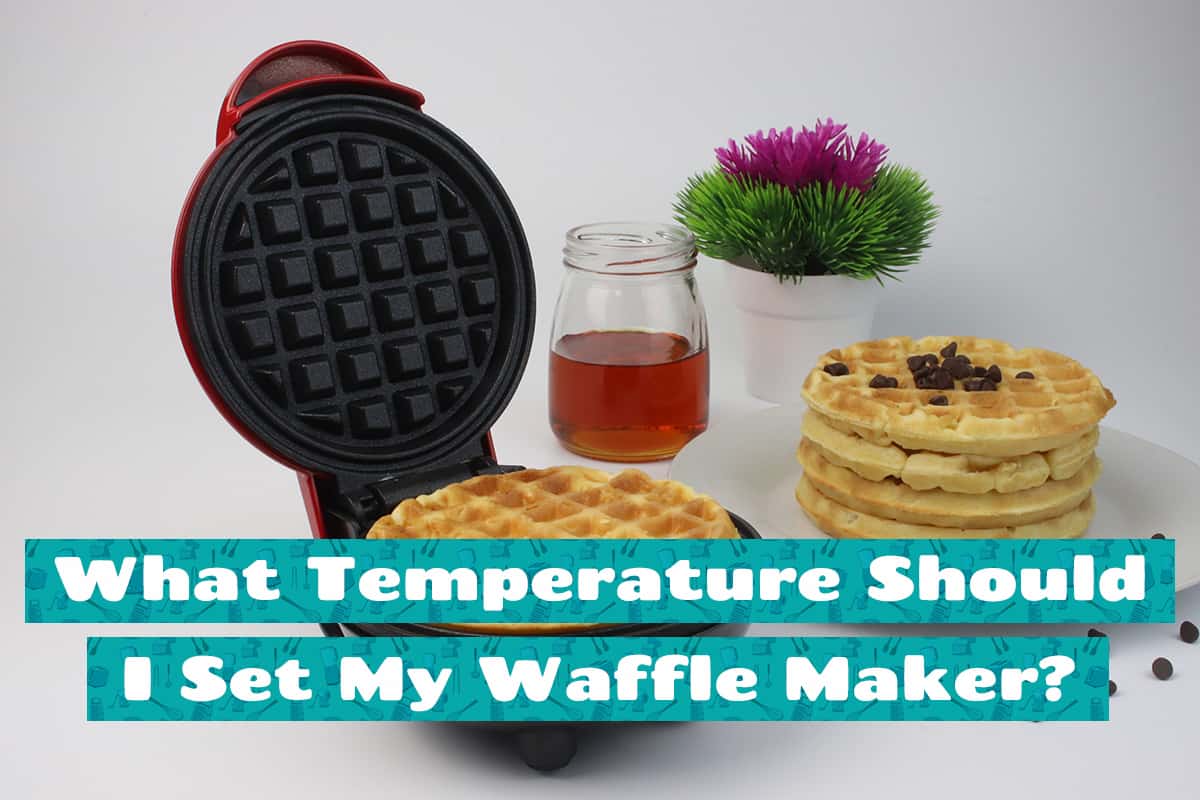
Method: Plug in your waffle maker and set it to its highest temperature setting. Let it heat until the oil starts to smoke. This usually takes around 5-10 minutes. If you have a waffle iron, place it on the stove on medium-high heat or in an oven a 425°F.
5. Let It Smoke (Just a Little)
A wee bit of smoke is a good sign! It means the oil is bonding with the metal.
Hint: Open your windows or activate the exhaust fan. We’re aiming for “seasoned waffle maker,” not “smoke alarm concert.”
6. Wipe Off the Excess
After the smoking stops, turn off the waffle maker. Once it’s cool enough to touch, take another paper towel and wipe away any excess oil. You want a sheen, not a puddle!
7. Round Two (and Maybe Three)
For an impeccable non-stick surface, repeat steps 3 to 6 a couple of times. Each layer you add enhances the non-stickiness and protection.
8. Cooling Off Period
Patience is key. Once you’ve seasoned to satisfaction, let the waffle maker cool down completely before storing it.
9. Storage Tips
Keep your freshly seasoned waffle maker in a dry place. If you’re going to cover it, ensure the cover is breathable.
10. It’s Go-Time!
Before making your inaugural post-seasoning waffle, do a test run. Heat the waffle maker, pour in your batter, and behold the magic of your well-seasoned appliance.
Additional Tips
So, you want to be the king or queen of the breakfast realm? Well, here’s the insider scoop to get you there. Seasoning your waffle maker the right way can mean the difference between “meh” waffles and “mind-blowing” waffles.
1. Season the Waffle Maker Regularly
Like most things in life, when it comes to oiling, consistency matters. Always ensure an even, thin coat. You’re aiming for a light sheen over the entire surface, not just random patches.
2. Listen to Your Machine
Every waffle maker is unique, with its quirks and moods. Pay attention to the signs. If the oil is smoking excessively or the waffles are sticking, it’s time to season again.
3. Room to Breathe
Air circulation is good for the soul and your waffle maker. Avoid wrapping your appliance in plastic or storing it in a damp place. Letting it breathe prevents moisture buildup, which can ruin the seasoning.
4. Be Gentle, It’s Not a BBQ Grill
When cleaning, treat your waffle maker with a gentle touch. Ditch metal brushes or scouring pads. A soft brush, cloth, or silicone spatula will do the trick without scraping off the seasoning.
5. Cleaning with Soap Will Ruin the Seasoning
While it might seem like a good idea, soap can strip away the seasoning. Warm water and a soft cloth usually do the trick.
6. Falling for the Spray Trap
Those non-stick sprays seem convenient, but beware! Over time, they can leave a gummy residue, making the surface stickier. Stick to natural oils.
Making Your First Waffle Post-Seasoning
Your waffle maker is all seasoned and shiny, waiting for its big debut. But before you start belting out a breakfast anthem, let’s set the stage for your waffle’s first performance.
Preheat to Perfection
Just like an oven, your waffle maker needs to get all warm and cozy before the batter goes in. Turn it on and wait for the indicator light. If there isn’t one, five minutes should do the trick.
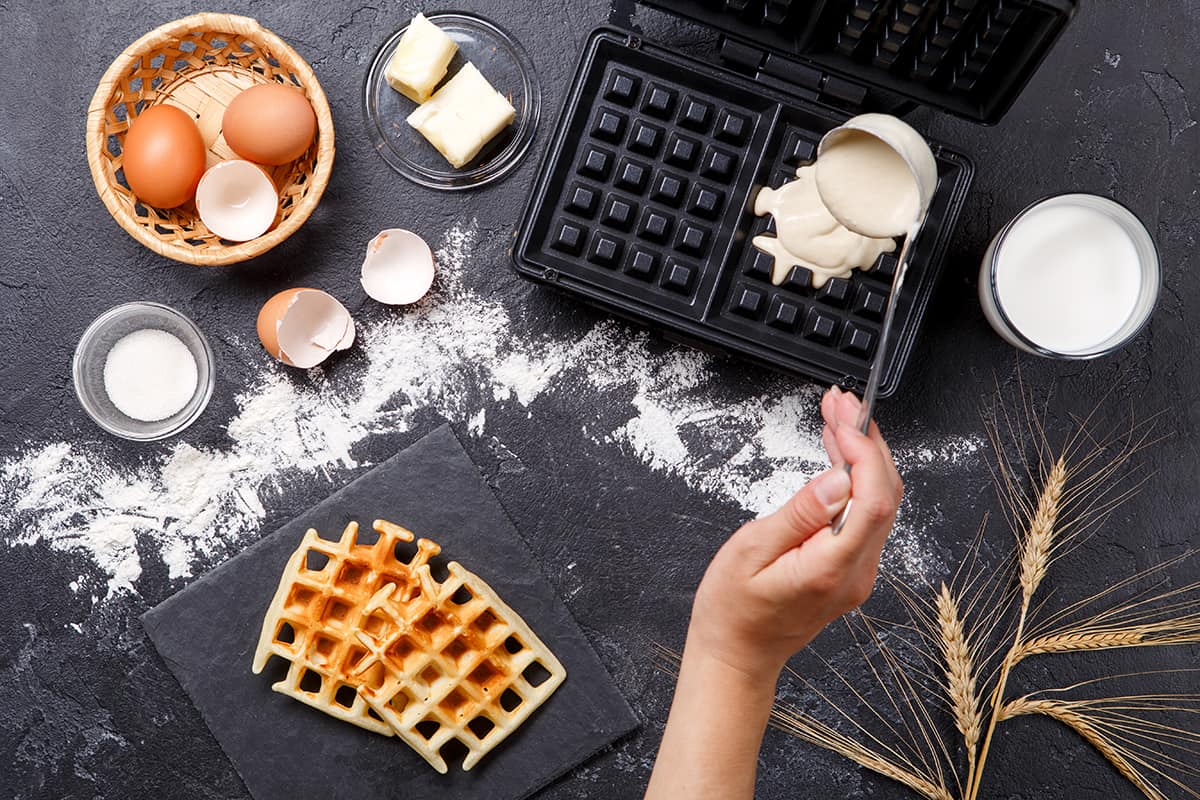
Batter Matters
The star of the show! A good waffle is all about the batter. Opt for recipes with a slight crisp. Think buttermilk or yeast-based. They complement the seasoned surface, ensuring a golden-brown hue.
Too crispy? Not fluffy enough? Adjust the batter or cooking time accordingly the next time you whip up a batch of waffles.
Less is More
Don’t drown the plates in batter; it can seep out and create a messy encore. Use a ladle or cup with a spout for controlled pouring. Aim for the center and let it spread out.
Patience, Grasshopper
Don’t keep peeking! Opening the waffle maker too soon can lead to a torn waffle. Hold off for at least 5 minutes. Some waffle makers have an indicator light to signal when it’s ready.
Rescue Mission
Your first waffle might stick a little, but don’t panic! Use silicone tongs or a fork to gently nudge it. Remember, it’s a waffle, not a pancake; handle with care.
Cleanup & Care
Once the curtain falls, it’s time to clean up. Use a soft cloth to wipe away any residue with the waffle maker unplugged and cooled down. There is no need to re-season immediately but keep an eye on its sheen.