Whether you like them crispy, fluffy, or dripping in syrup, there’s a waffle style for everyone. And if you’ve landed on a Cuisinart waffle maker to fulfill your breakfast dreams, you’ve made a delicious choice. From family breakfasts to Sunday brunches, a waffle maker can be your best pal in the kitchen.
To use a Cuisinart waffle maker for the first time: Unbox it, clear any packaging materials, wash the plates with mild soap, dry thoroughly, plug in, preheat until the ready light illuminates, and pour your batter.
This guide will teach you the basics of using a Cuisinart waffle maker, from setting it up to crafting the perfect batter to maintenance tips and some delicious recipes to try. Ready to get waffling?
What Makes Cuisinart Waffle Makers Special?
When it comes to whipping up the breakfast of champions, Cuisinart waffle makers stand out in a crowd. Sure, any old gadget might give you a waffle, but Cuisinart is like the wizard behind the tastiest, crispiest, and most mouth-watering waffles ever.
1. Sleek Design Meets Durability
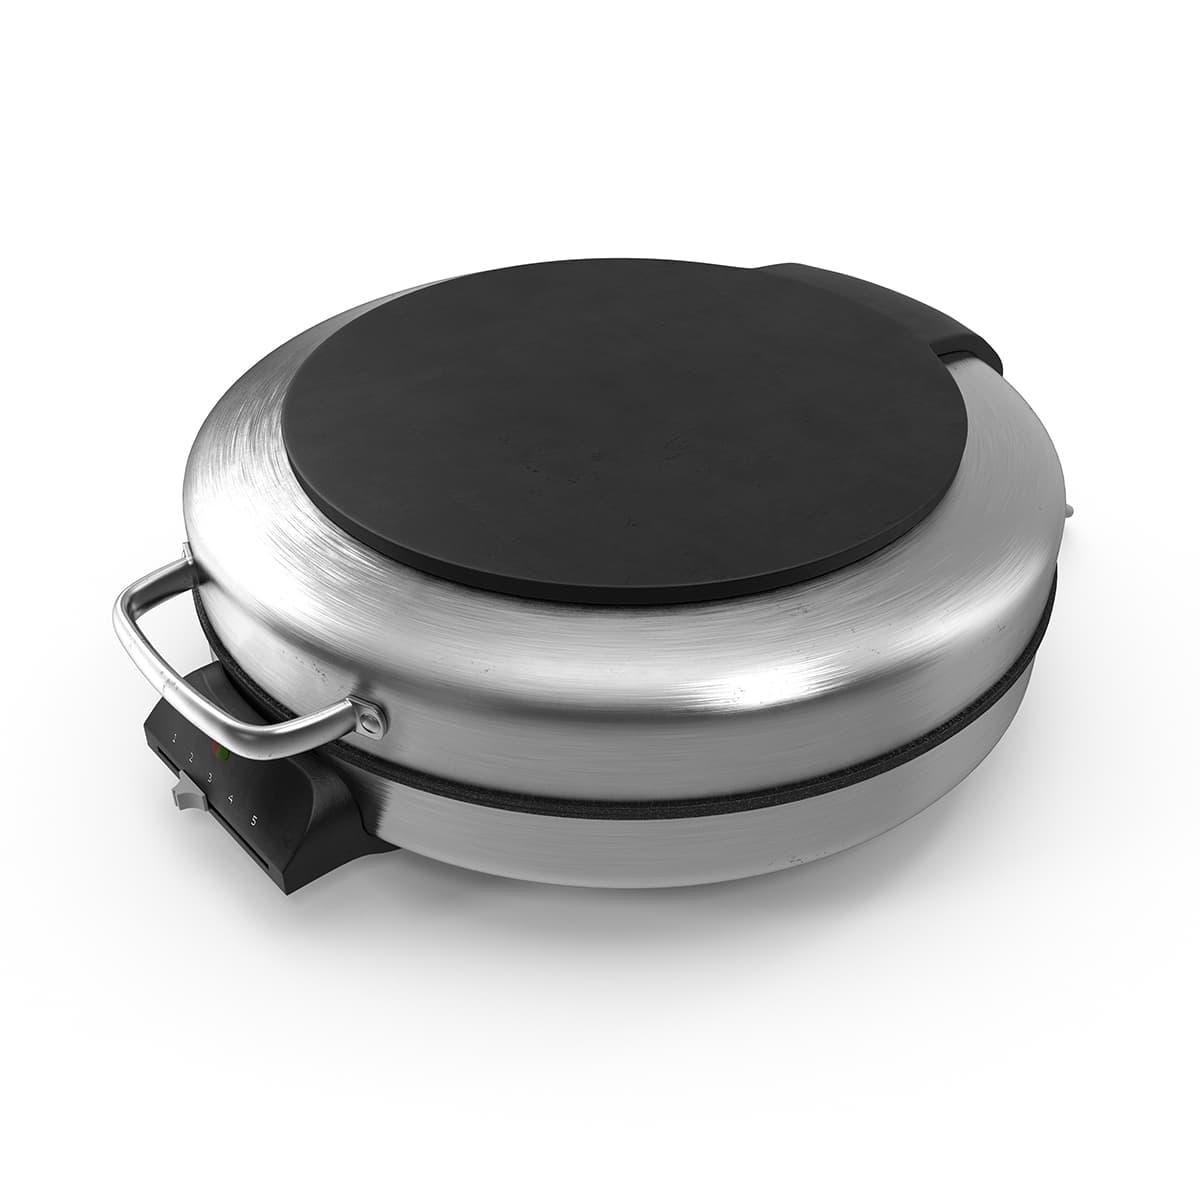
Cuisinart waffle makers aren’t just about pretty faces (although they do look pretty snazzy on your kitchen counter). Made with high-quality stainless steel and non-stick plates, they promise to last you many Sunday brunches. Plus, the compact design means it won’t hog all your counter space.
2. Consistency is Key
Every waffle you make with Cuisinart comes out with a consistent size, shape, and crispiness. That’s because of its stellar temperature control. You won’t find one side pale and the other side looking like it spent too much time sunbathing. Nope, just golden perfection every time.
3. Easy-Peasy Cleanup
Waffle batter can be sticky, and if you’ve ever had to scrub a waffle maker, you know it’s a workout. But with Cuisinart’s non-stick plates, cleaning is a breeze. A simple wipe down post-cooking, and you’re good to go. Less cleaning, more eating—sounds like a win!
4. Safety First
No one wants a side of boo-boos with their waffles. Cuisinart gets that. With cool-touch handles, you can open and close without a worry. Plus, there are safety latches to ensure it stays closed when you want it to. No surprise waffle showers here!
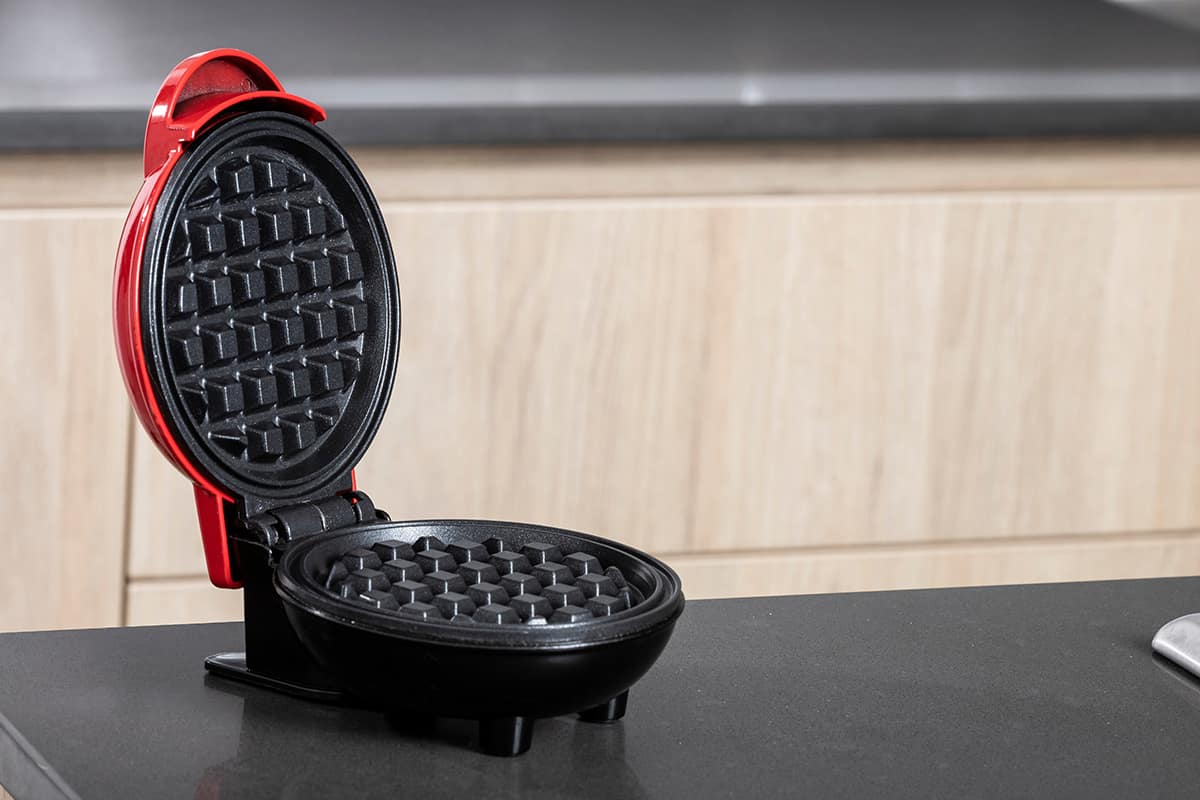
Unboxing Your Cuisinart Waffle Maker
That moment has arrived! You’ve got your brand-new Cuisinart waffle maker, and the aroma of crispy, golden waffles is almost in the air. But before we dive into the waffle-making madness, let’s take a minute to properly unbox and set up your shiny new appliance.
1. Find the Perfect Spot
Find a flat, stable surface where your waffle maker can sit comfortably. Keep it away from the edge to avoid any tumble accidents. Allow some space behind the waffle maker for better ventilation (around 2 inches of clearance in all directions).
2. Ready, Set, Unbox!
Handle with care. Remember, it’s not a jack-in-the-box. No sudden movements. Confirm you have the main unit, plates (if detachable), and any accessories. Some models come with a measuring cup or even recipe booklets. Sweet!
3. First Look and Feel
Familiarize yourself with the buttons, dials, and features. Where’s the power button? How about temperature settings?
4. Pre-Clean Ritual
Dampen a soft cloth with soapy water and gently wipe the plates. Even though it’s new, it’s always a good idea to clean off any factory residues. With a wet cloth (no soap), wipe off the soap. Then, thoroughly dry with a towel.
5. Plug and Play
Safety first! Before plugging in, inspect the cord for any damages. Ensure you’re using an outlet that matches the waffle maker’s power requirements. Avoid using extension cords if possible.
6. First-Time Heat Up
Before making your first waffle, turn it on and let it heat up empty. This will burn off any residues. Don’t worry if there’s a slight odor–it should dissipate. Once heated for a few minutes, turn it off and let it cool.
The Basics of Waffle Making with Cuisinart
Making waffles isn’t rocket science, but when you’re armed with a Cuisinart, it sure feels like you’ve got some secret culinary magic up your sleeve. Ready to graduate from Waffle Novice to Waffle Pro?
1. Preparing Your Space
Clean Work Area: Start with a tidy counter. You don’t want yesterday’s toast crumbs sticking to today’s waffles.
Gather Essentials: Your Cuisinart waffle maker, batter, a ladle or cup for pouring, and toppings. Having everything within arm’s reach makes the process smoother.
2. Turning On the Magic Machine
Plug It In: Sounds simple, but hey, it’s the first step!
Preheat: Turn on your Cuisinart and wait. Many models will beep or light up when they’re hot and ready. It’s like the waffle maker’s way of saying, “Bring on the batter!”
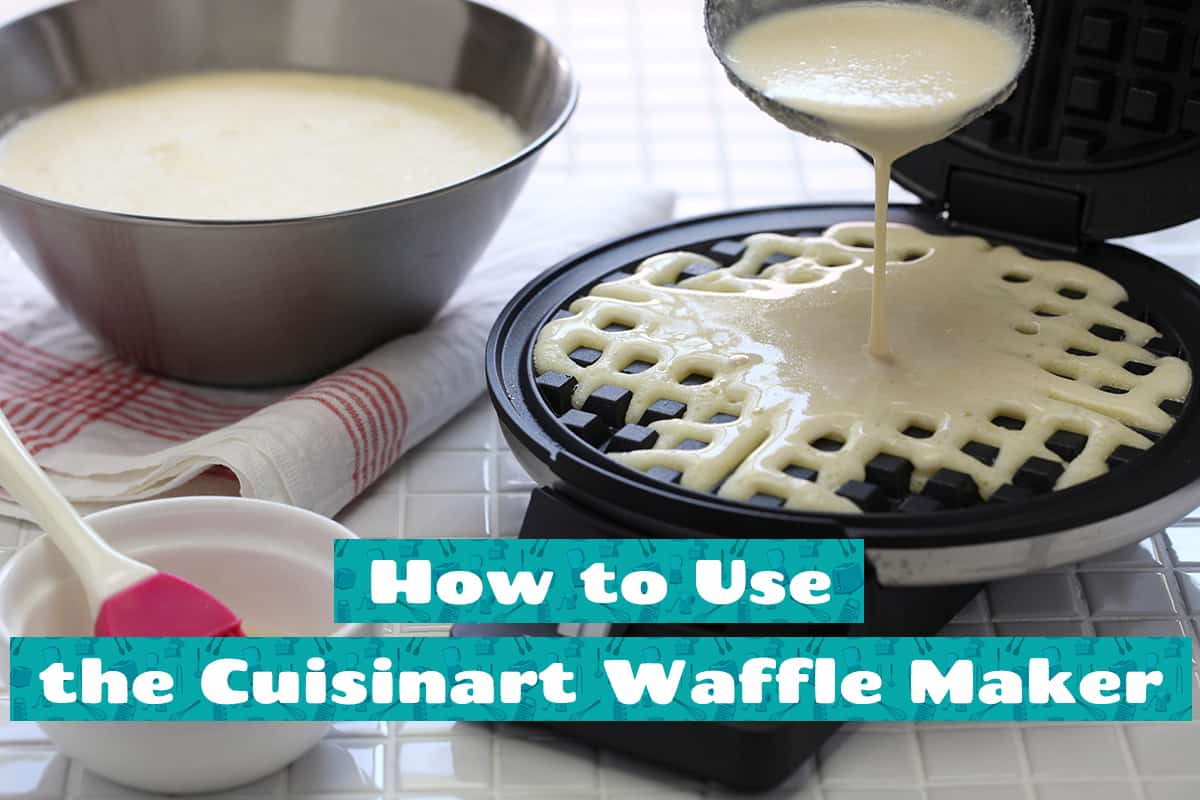
3. Batter Up!
Choosing the Right Batter: Store-bought or homemade, ensure the batter is mixed well. No one wants a lumpy waffle!
Monitor the Consistency: Too Thick? Add a touch of milk. Baby steps! Too Runny? A bit more flour should do the trick.
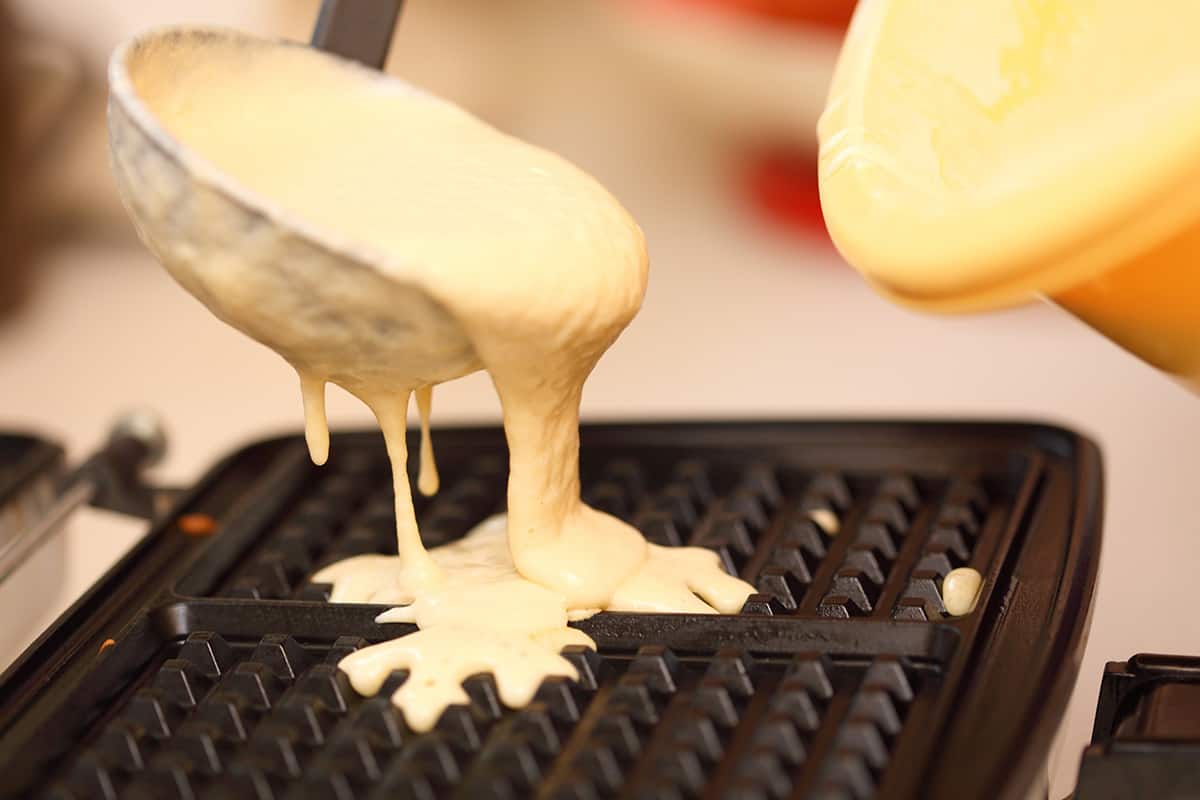
Pouring Technique: Start in the center and gently circle your way outwards. This helps spread the batter without overflowing.
4. Cooking Time
How Long? Different batters and preferences mean cooking times can vary. But a good rule of thumb? Wait for the beep or light signal on your Cuisinart.
Flip or Not? If you’ve got one of those fancy flippable Cuisinart models, give it a turn halfway for even cooking.
Crafting the Perfect Batter for Your Cuisinart Waffle Maker
Ah, the soul of every waffle: the batter. You can have the fanciest waffle maker on the block, but without the right batter, it’s like putting regular gas in a racecar.
The Classic
- All-purpose flour (2 cups)
- Eggs (2, separated)
- Milk (1 ¾ cups)
- Vegetable oil (½ cup)
- Baking powder (1 tablespoon)
- Sugar (1 tablespoon)
- Salt (a pinch!)
Whisk those egg whites till they form soft peaks – this is your fluff secret. Mix everything else in another bowl. Gently fold in egg whites. Voila!
Berry Blast
- Classic batter
- Blueberries, raspberries or strawberries (1 cup)
Slightly mash the berries. This isn’t berry juice, so don’t go overboard! Stir into the batter for a fruity twist.
Choco-licious
- Basic batter (from the classic)
- Cocoa powder (½ cup)
- Chocolate chips (1 cup)
Mix in that cocoa powder with your classic batter. Throw in the choco chips. A dessert-disguised-as-breakfast is born!
Zesty Mornings
- Classic batter
- Lemon or orange zest (2 tablespoons)
- A squeeze of lemon/orange juice!
Add the zest and juice to the classic batter. The tangy surprise is a real wake-up call.
Vegan Vibes
- Flour (2 cups)
- Almond milk (2 cups)
- Coconut oil (½ cup)
- Baking powder (1 tablespoon)
- Sugar (1 tablespoon)
- Apple cider vinegar (1 teaspoon)
- Vanilla extract (1 teaspoon)
Mix wet and dry ingredients separately. Combine, and you won’t even remember what you’re missing.
Keto Krazy
- Almond flour (2 cups)
- Eggs (4)
- Cream cheese (4 oz.)
- Baking powder (1 teaspoon)
- Vanilla extract (a dash!)
Blend until smooth. Who said waffles can’t be on the keto menu?
Other Uses for Your Cuisinart
Bought a Cuisinart waffle maker just for waffles? That’s like buying a smartphone only to make calls. Here’s the scoop on how you can get more bang for your buck with this nifty kitchen gadget.
Note: Misusing your Cuisinart waffle maker in any way may void the warranty
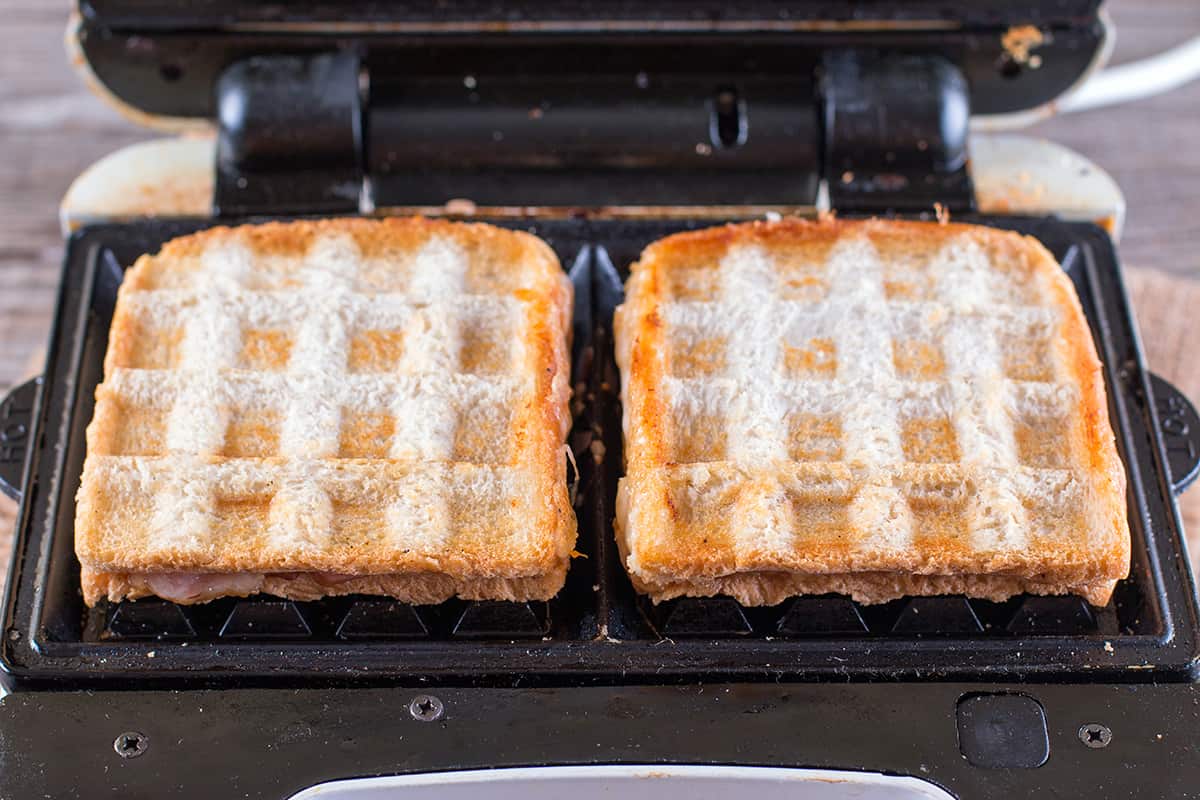
Grilled Cheese Sandwich
What You Need: Bread slices, your choice of cheese, a smidgen of butter.
The Drill: Butter up that bread. Cheese in the middle. Pop it into the Cuisinart. The result? Crunchy, melty perfection in a jiffy.
Waffled Brownies
Ingredients: Your go-to brownie mix or batter.
How-To: Pour that chocolaty goodness onto the waffle iron. A few minutes later, you’ve got crispy-edged brownie waffles. Top with a scoop of vanilla ice cream for a wild treat.
Hash Browns or Potato Waffles
Need: Grated potatoes, salt, pepper, a little cheese if you’re feeling fancy.
Steps: Mix it all up. Scoop onto your Cuisinart. Crunchy potatoey delights await.
Waffled Pizza
Gather: Pizza dough, sauce, cheese, and your favorite toppings.
Make It: Roll out the dough, add toppings, and waffle it up. It’s a pizza party with a twist.
Quick Quesadillas
Must-Haves: Tortillas, shredded cheese, and any fillings like chicken, beans, or veggies.
Do It: Fill, fold, press in the Cuisinart. Faster than saying “Olé!”
Cookie Waffles
The Basics: Cookie dough of your choice.
Bake It: Instead of the oven, drop dough balls on the waffle iron. Cookies in minutes? Yes, please!
FAQs
1. How long is the average lifespan of a Cuisinart waffle maker?
The Cuisinart waffle maker, with regular use and proper care, typically dances through the kitchen for about 5-7 years. Of course, if you treat it like royalty (clean it gently and not overwork it), it might just stick around for longer.
2. Can I use non-stick spray on my Cuisinart waffle maker?
Yep, you can, but here’s the twist: Most Cuisinart waffle makers come with a non-stick surface already, so they’re pretty slick on their own. If you’re facing sticky situations often, a light spritz won’t hurt. However, don’t go overboard—too much can lead to a gummy build-up over time, and nobody wants a sticky waffle party.